This page covers the basic post-install configurations required to join a Windows Server 2022 to the gs.doi.net domain.
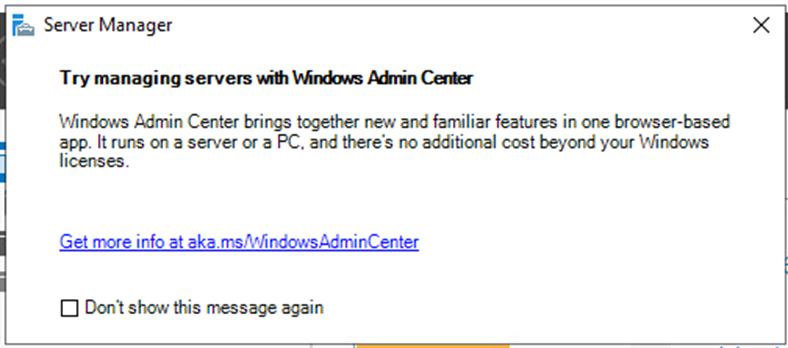
On initial logon, Server Manager will open by default and you will see a prompt promoting Windows Admin Center (WAC). WAC is free and you may find it facilitates management of clients, clusters, and servers in your environment.
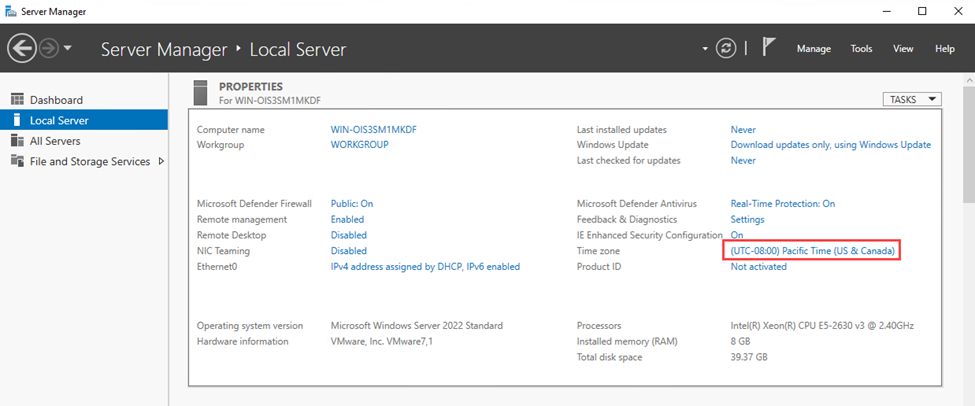
Back in Server Manager under the Local Server menu, click the Time zone settings to configure them to match the location of the server. You may also need to adjust the system time if it’s considerably off, but once joined to the domain, the server will receive the correct time from a domain controller

Next, click on the NIC(s) to configure networking.
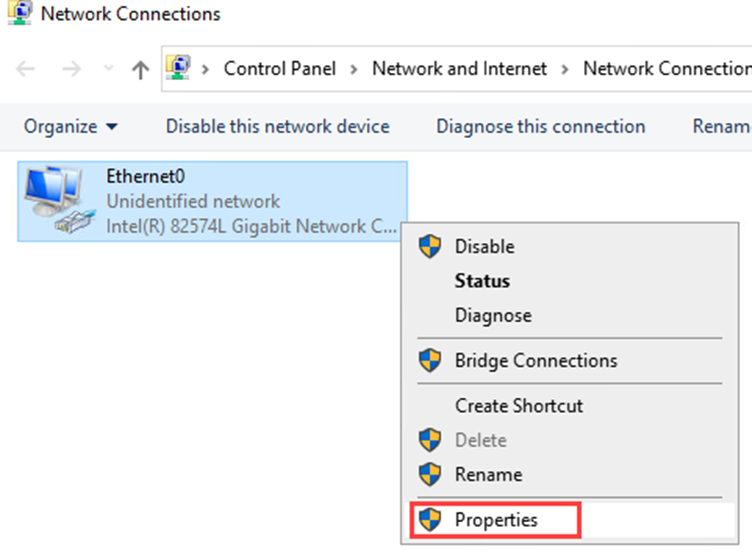
Right-click on the connection and click Properties.
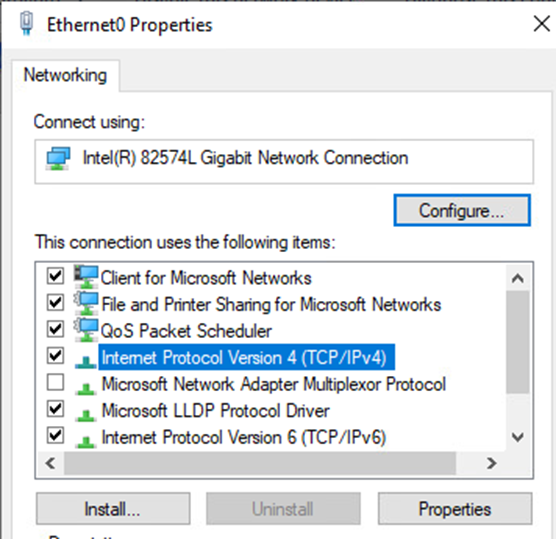
Double click the IPv4 connection to configure it.
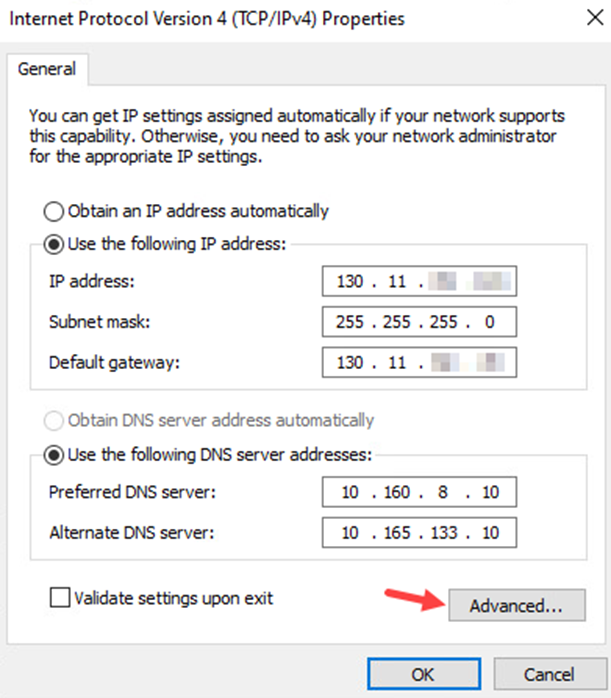
Click the field to specify a static IP address, and enter the IP address, subnet mask, and gateway for your site. Specify DNS servers in a similar manner, and click the Advanced button.
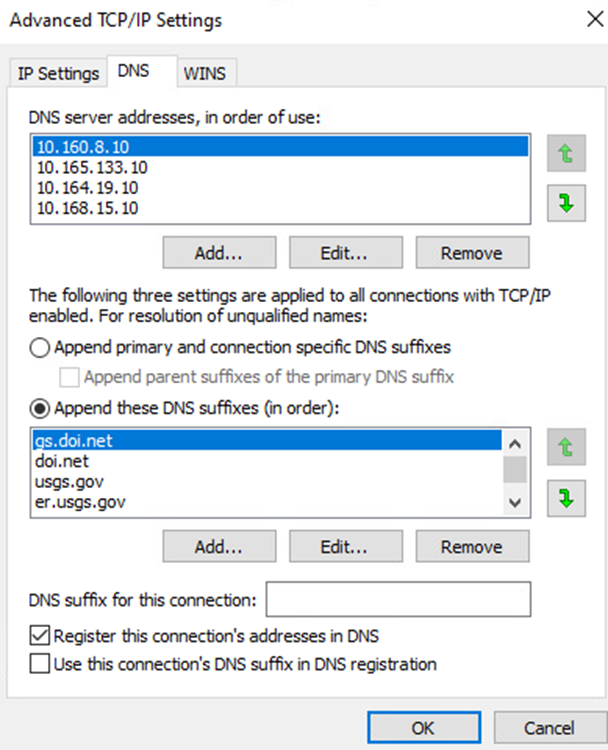
If desired, you can add additional IP addresses and gateways under the IP Settings tab. Click the DNS tab and add additional DNS servers to provide sufficient failover capability. Be sure to follow USGS DNS configuration standards. Next, click Append these DNS suffixes (in order) and add these suffixes: gs.doi.net, doi.net, usgs.gov, er.usgs.gov, cr.usgs.gov, wr.usgs.gov. Click OK twice when finished, then click Close to close the properties window for the network connection. Configure additional connections depending on your environment.
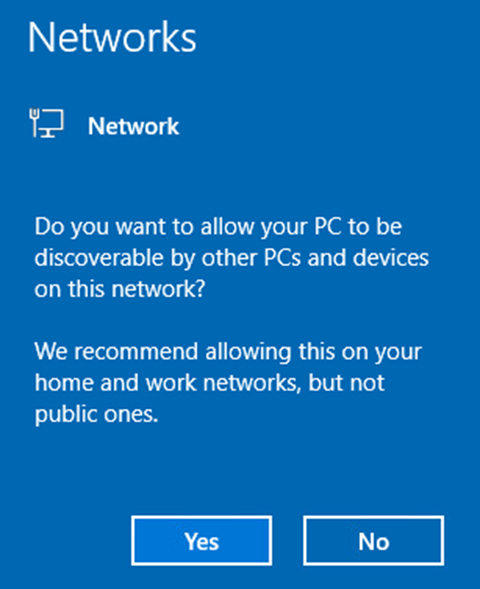
If prompted, click the appropriate option for your environment.
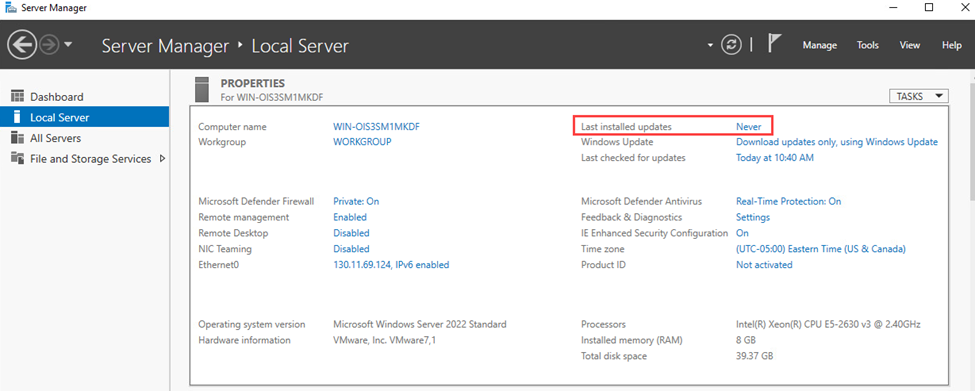
In Server Manager, click on the link next to Last installed updates.
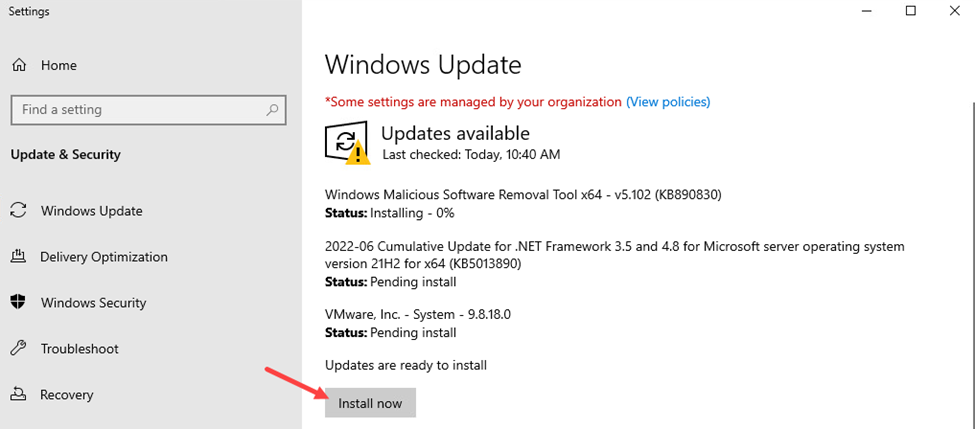
Install any pending updates and restart the server when prompted.
TIP: For servers patched by BigFix, BWTST recommends linking the DI – BWTST Windows Server Disable Automatic Updates group policy to your server OU.
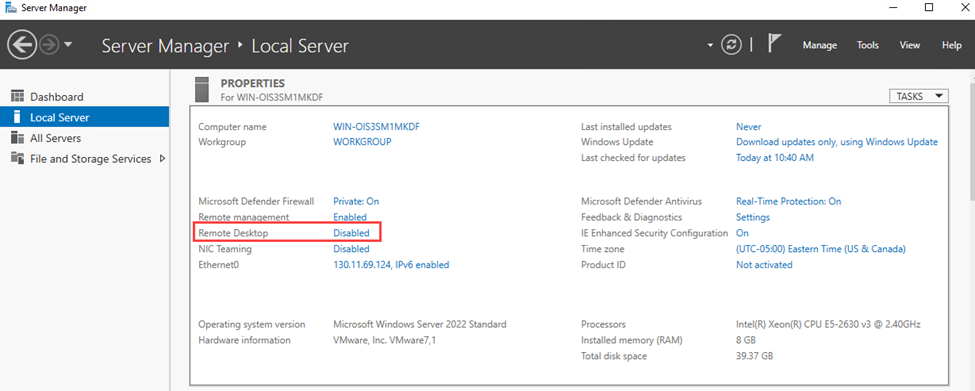
After restart, log back in as an administrator, go to the Local Server pane in Server Manager. If you wish to allow remote desktop access to the server, click Disabled next to Remote Desktop. (If the server is not to have RDP enabled, continue to the next section to join it to the domain).
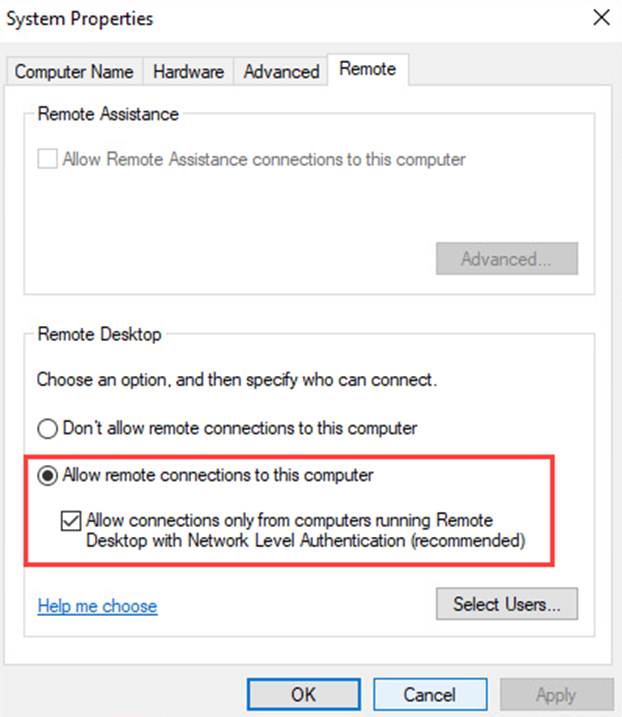
Click Allow remote connections to this computer and check the box below it to require NLA. Click OK.
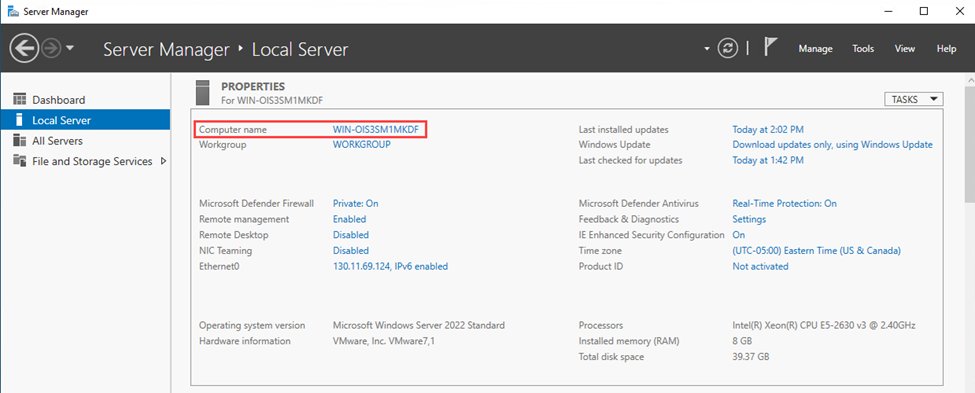
Next, click the host name next to Computer name.
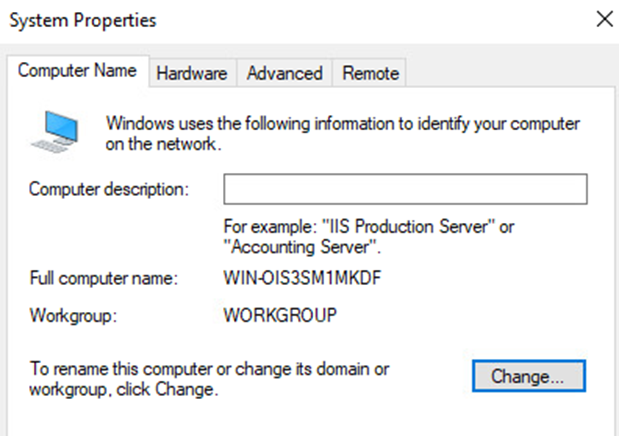
Ensure that you have pre-staged a computer object with a valid name in your Active Directory OU. Once completed, click the Change button on the Computer Name tab.
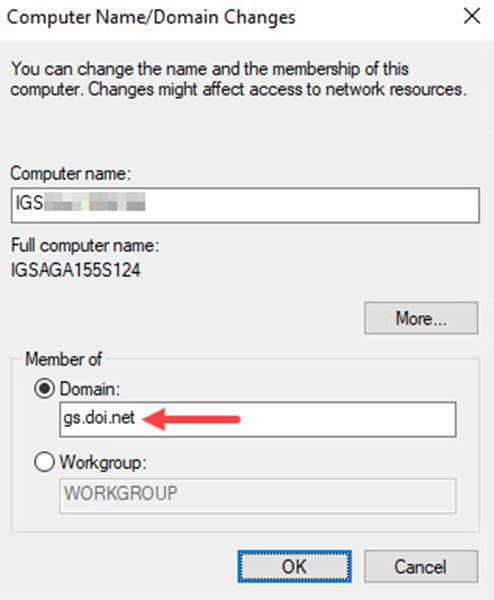
Enter the name of the server, and click the radio button next to Domain, enter gs.doi.net, and click OK. When prompted, enter the credentials that have been delegated AD Joiner access.
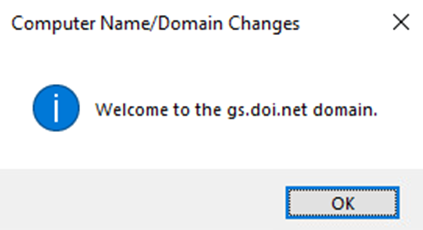
This message indicates that server has been successfully joined to the domain. Click OK twice, close the System Properties window, and click Restart Now when prompted to complete the process.