About Microsoft Defender for Endpoints (MDfE)
USGS is requiring MDfE on all supported OS’s. MDfE is a cloud based anti-malware client that allows for more in-depth reporting on clients than what ITSOT has had previously.
Defender for Endpoint uses the following combination of technology built into Windows 10 and Microsoft’s robust cloud service:
- Endpoint behavioral sensors: Embedded in Windows 10, these sensors collect and process behavioral signals from the operating system and send this sensor data to your private, isolated, cloud instance of Microsoft Defender for Endpoint.
- Cloud security analytics: Leveraging big-data, device-learning, and unique Microsoft optics across the Windows ecosystem, enterprise cloud products (such as Office 365), and online assets, behavioral signals are translated into insights, detections, and recommended responses to advanced threats.
- Threat intelligence: Generated by Microsoft hunters, security teams, and augmented by threat intelligence provided by partners, threat intelligence enables Defender for Endpoint to identify attacker tools, techniques, and procedures, and generate alerts when they are observed in collected sensor data.
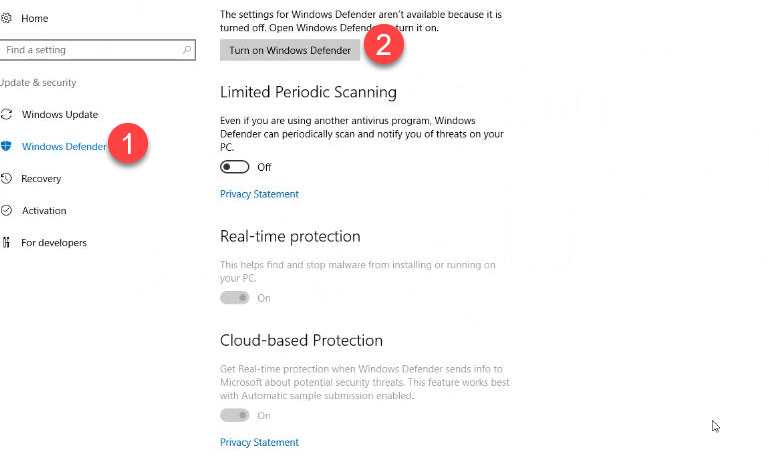
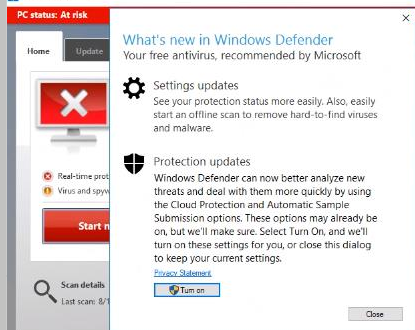
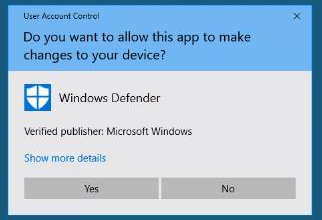
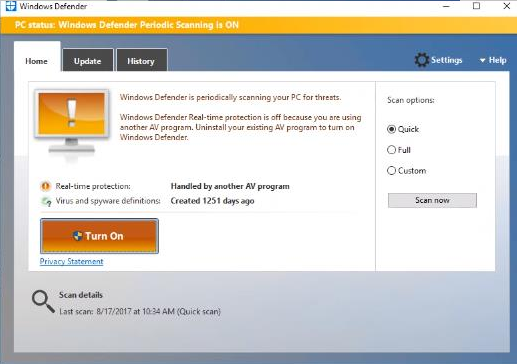
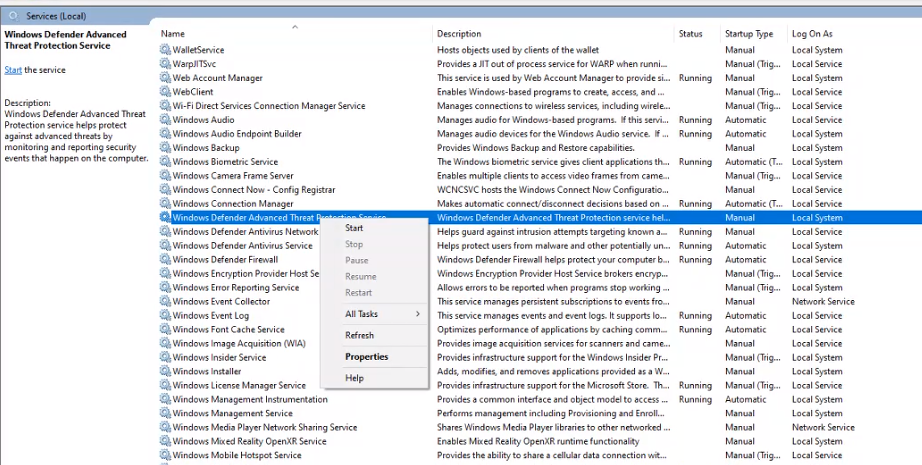
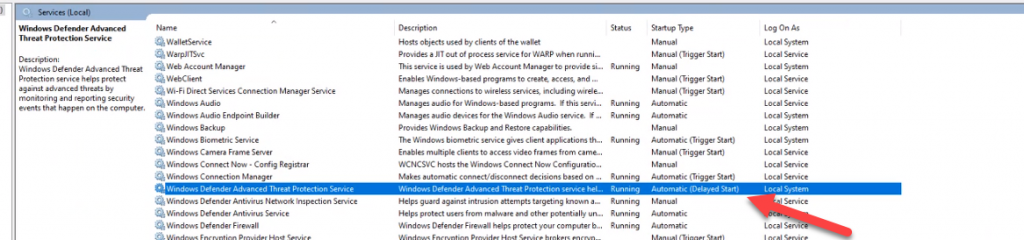
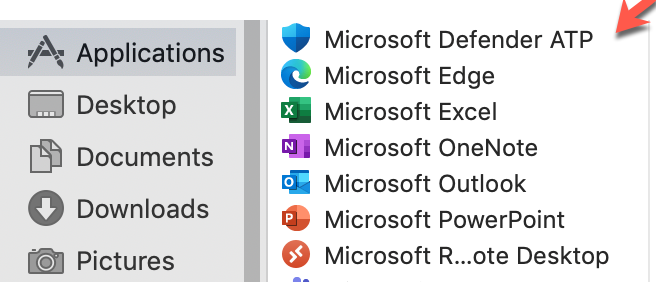
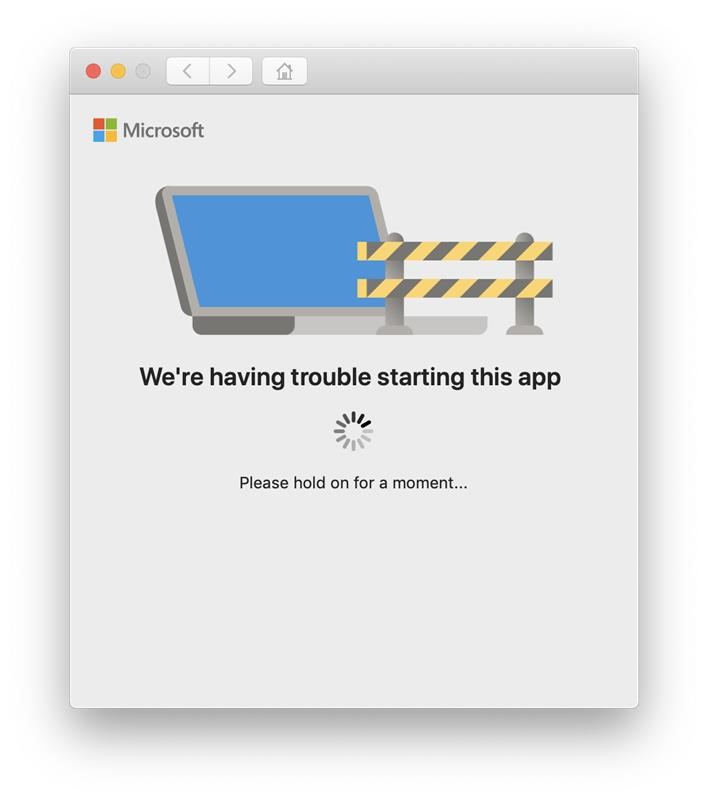
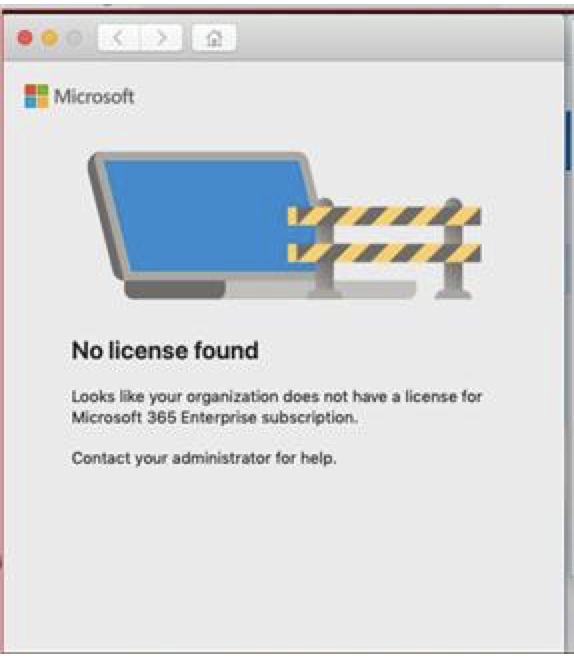
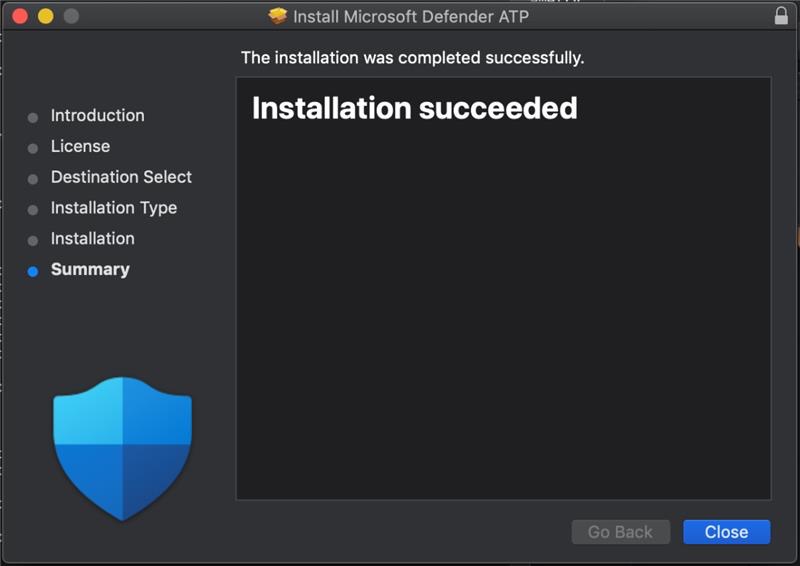
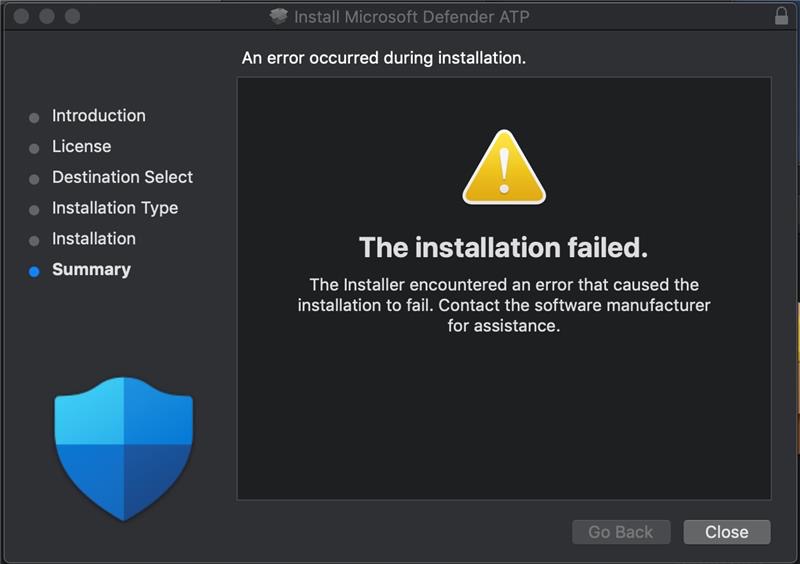
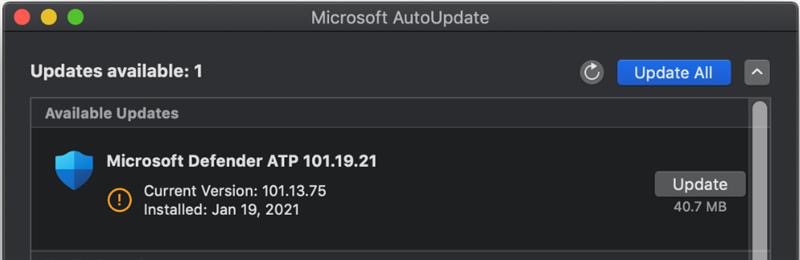
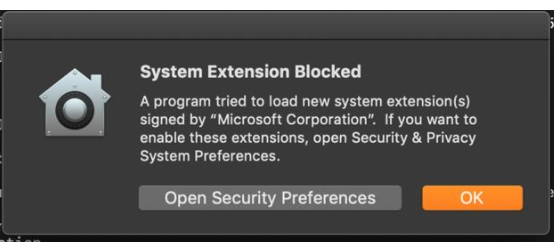
All windows client should receive the client through a BigFix fixlet If a client still has SEP installed and the admin is unable to uninstall it then the cleanwipe tool can be downloaded from here Download the CleanWipe removal tool to uninstall Endpoint Protection (broadcom.com) All Mac OS X clients will receive the client through JAMF enrollment Generating /etc/opt/microsoft/mdatp/mdatp_onboard.json … “8e911e4a-576e-42e9-b142-7edf1ab491ed” True “up_to_date” True ===================================== ===================================== NOTE: The MDfE audit service will not start if there are any issues with /etc/audit/audit.rules. For example: Mar 02 17:43:59 naddevww01 wdavdaemon[14562]: Error sending add rule data request (No such file or directory) Mar 02 17:43:59 naddevww01 wdavdaemon[14562]: There was an error in line 75 of /etc/audit/audit.rules In this example, line 75 has the entry for Symantec which was just removed. Since the audit.rules file can be generated from the files in /etc/audit/rules.d, make sure Symantec is removed from both places. Then restart auditd. And finally restart MDfE. Prerequisites for Ubuntu curl, gpg, libplist-utils, apt-transport-https must be installed Installation Steps for Ubuntu found in the link below If a client still has SEP installed and the admin is unable to uninstall it, then the cleanwipe tool can be used to remove it and it can be downloaded from here: Download the CleanWipe removal tool to uninstall Endpoint Protection (broadcom.com) Fixlets that configure prerequisites and install the Microsoft Defender Endpoint agents have been deployed. Some servers will need to run the following command in an Administrative Powershell session to ensure the Windows Defender feature is installed and running: If your Windows Defender service is still not running, please perform the following steps manually. First confirm that Defender is installed on the system. Go to Server Manager->Add roles and features. Under features verify that Defender is selected: You can also check these IEM reports: GS: Windows Servers – Windows Defender Antivirus Service – Not Exist GS: Windows Systems – Windows Defender for Endpoint – Status Open Defender on your server by going to Settings, Update & Security, Windows Defender: Click on Turn on Windows Defender In the window that opens, click Turn on, allow the UAC prompt and click Close. In the remaining Windows Defender Window, click Turn On The defender service will start and the virus definitions will update in the background. If you now go to Services you should see the Window Defender service running and set to Automatic: To monitor the status of your Defender service, run the following command in powershell: If the service is running and has checked in, the following registry entry will be present under HKLM\Software\Microsoft\Windows Advanced Threat Protection: Your system should have a key titled senseId as shown above. The actual entry is unique to each system. For systems that are not enrolling, go to the Event viewer (Applications & Services> Microsoft > Windows > SENSE\operational) to see if it has any errors in the operational log. Use the following guide to get more information on the error codes in your logs. Information on Symantec Antivirus Removal can be found here under Microsoft Defender AV Migration FAQs Running sysprep and then re-joining the system to the domain on systems may resolve different error codes with Server OS and windows 10 that can not be resolved with previous troubleshooting. Some of these issues may include: Caution needs to be taken, as running sysprep may corrupt various applications (SQL, APACHE, IIS, etc) Fixlets that configure prerequisites and install the Microsoft Defender Endpoint agents have been deployed. (See email sent on January 12, 2021 here). As of March, 2021 – Enrollment in Jamf will trigger installation of Defender If the hostname isn’t the same as dns / computer name, it will never map up with the Microsoft Defender for Endpoint (MDfE) records. Configure System Name – Required 1. Change ComputerName: 2. Change HostName: 3. Change Local HostName: If the fixlet fails to install or to allow the kernel extension (kext) in System Preferences>Security & Privacy, Defender is not reporting properly. If it’s running you will see one of these icons in the menu bar or Please make sure it’s reporting to the console by opening a terminal window and type mdatp –health You should see the following output The first value ‘edrMachineID’ will have a unique value for each system. The next two ‘realTimProtetionAvailable’ and realTimeProtectionEnabled‘ must read ‘true’. If they read ‘null’, you can reboot and run the command again. Otherwise, go to manual install (below). If you see no shield in the menu bar, open Defender in the Applications folder Double-click the Defender app. If it opens and you see this Delete the current install from the Applications folder. If you see this (no license found) you need to run the Python script. Manual Installation and Running the Script Get the installer and script you will need here Please reboot after every failed installation/removal Run the manual installation and follow the prompts. If it’s successful you will see If not Delete the application and run the installer again. If you continue to see no shield or the shield with the ! or X, open Defender from the menu bar and click on ‘Action Needed’ If you’re still getting the error screen ‘We’re having trouble starting this app’, delete from Applications and install again. If you get the ‘No license found’ error, run the Python script from Terminal. Please be sure to change directory to where you copied the script. This must be run with an admin account. /usr/bin/python MicrosoftDefenderATPOnboardingMacOs.py That should fix the no license issue. Microsoft Update will generate an update After the update you may need to license the install again. Run the Python script. If the shield disappears after Auto Update, run the install again. To check if the extension is installed run kextstat | grep wdav from terminal and see if you get anything to return. If you don’t get the prompt to ‘Allow’ the extension From an admin account in terminal, run sudo kextutil /Library/Extensions/wdavkext.kext Please make sure the hostname is the same as dns / computer name or it will never map up with the Microsoft Defender for Endpoint (MDfE) records. You may have to delete and run the install several times before it’s successful. We don’t know why this happens, but it can. You may get it right in one try. You may also see a degradation in performance after the installation since Symantec is still on the system. This is normal. Symantec is to remain on systems until we receive further notice. Some people have reported success by disabling Gatekeeper and Firewall in System Preferences. To disable Gatekeeper sudo spctl –master-disable (two dashes)spctl –status to see if its enabled or disabled (two dashes)Be sure to enable it again when you’re done or VPN will not work! Resources for Microsoft Defender ATP for Mac https://docs.microsoft.com/en-us/windows/security/threat-protection/microsoft-defender-atp/mac-resources#logging-installation-issues Users have reported success with these instructions here and here. Defender for Endpoint Deployment Failures – Status Reports for Mac OS X: Review the report GS: Mac OS X Systems – Microsoft Defender for Endpoint – Status Review the “GS-MacOS-Defender-Enrollment-Status” column: Email the Service Desk (ServiceDesk@usgs.gov) to open a ticket with the ePatching Team if additional support is needed to resolve problems. Supported OS
Windows
Mac OS X
Linux
Install Directions
Windows10
Mac OS X
Linux
yum-config-manager --add-repo=https://packages.microsoft.com/config/rhel/7.4/prod.repo
yum-config-manager --add-repo=https://packages.microsoft.com/config/rhel/8/prod.repo
yum install mdatp -y
unzip WindowsDefenderATPOnboardingPackageLinuxServer.zip chmod 755 MicrosoftDefenderATPOnboardingLinuxServer.py ./MicrosoftDefenderATPOnboardingLinuxServer.py
mdatp health --field org_id mdatp health --field healthy mdatp health --field definitions_status mdatp health --field real_time_protection_enabled
mdatp exclusion folder add --path /home mdatp exclusion folder add --path /proc mdatp exclusion extension add --name .jar mdatp exclusion extension add --name .war mdatp exclusion extension add --name .zip mdatp exclusion list
systemctl status mdatp.service
Troubleshooting
Windows Server 2016
Install-WindowsFeature -Name Windows-Defender 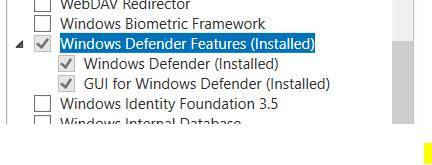

Get-MpComputerStatus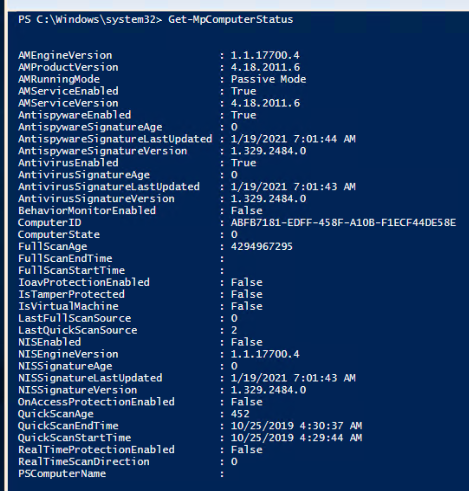

Windows 10 and Server 2019
Symantec Antivirus Removal
Defender Service not Running and Enrollment Troubleshooting


Windows Sysprep directions
C:\Windows\System32\Sysprep\Sysprep.exe
Mac
Open Terminal
sudo scutil –-set ComputerName “newcompname”
sudo scutil –-set HostName “newhostname”
sudo scutil –-set LocalHostName “newlocalhostname”


Tips
Procedures for Enabling a disabled system