Welcome to the Linux technical support page. Below you will find links to current build configurations, tips and tricks, and troubleshooting.
For the latest authorized Linux Distributions, please visit the USGS Operating System Standards Page.
Security Updates - Patching
RHEL/Centos Patching
Overview of the steps to set-up automated RHEL/Centos patching. The yum-cron package (RHEL 7) and the dnf-automatic package (RHEL 8) provide a convenient way to check for, download and apply updates automatically.
1. To install the yum-cron package (RHEL 7)
# yum -y install yum-cron# systemctl enable yum-cron
2. To install the dnf-automatic package (RHEL 8)
# yum -y install dnf-automatic
# systemctl enable dnf-automatic.timer
3. Then edit /etc/yum/yum-cron.conf (RHEL 7) or /etc/dnf/automatic.conf (RHEL 8) to set email_to= and apply_updates= , etc.
email_to = rootapply_updates = yes
4. To exclude packages from automatically updating, edit exclude= in the base section of /etc/yum/yum-cron.conf file (RHEL 7).
[base]exclude=kernel* mysql*
5. To exclude packages from automatically updating, edit exclude= in the main section of /etc/dnf/dnf.conf file (RHEL 8).
[main]exclude=kernel* mysql*
6. If you only want to apply security errata only, use the following option in the configuration file.
[commands]
# What kind of update to use:
# default = all available upgrades
# security = only the security upgrades
update_cmd = security (RHEL 7)
upgrade_type = security (RHEL 8)
7. To start the yum-cron service after editing the configuration file (RHEL 7).
# systemctl start yum-cron
8. To start the dnf-automatic timer after editing the configuration file (RHEL 8).
# systemctl start dnf-automatic.timer
Reference Links
Source: https://access.redhat.com/solutions/1579503 (RHEL 7)
Source: https://docs.oracle.com/en/operating-systems/oracle-linux/8/software-management/dnf-config.html (RHEL 8)
Ubuntu
1. sudo apt-get install unattended-upgrades
2. sudo dpkg-reconfigure –priority=low unattended-upgrades
3. This creates /etc/apt/apt.conf.d/20auto-upgrades with the following contents:
APT::Periodic::Update-Package-Lists “1”;
APT::Periodic::Unattended-Upgrade “1”;
The numbers are how often (every X days) to
1) update the package lists
2) actually run the update process
4. The same process also creates /etc/apt/apt.conf.d/50unattended-upgrades with further configuration options (repos to include, packages to exclude, etc)
RHEL\CentOS
CentOS 7
This site describes the installation of CentOS 7 Server with a basic minimal installation, that can be used as a baseline. Following these instructions will keep you within compliance of USGS Policies.
General Requirements
- CentOS 7 ISO – Click Here
- Memory – 1 GB minimum, 1 GB per logical CPU.
- Storage – 10 GB minimum, 20 GB recommended
Installation
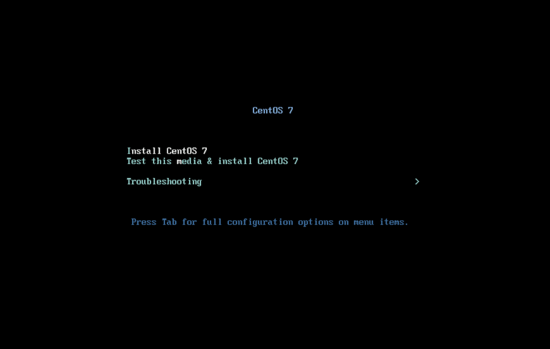
1. Boot from your CentOS 7 ISO. Select Install CentOS 7, and press enter.
2. Next you can select your language, please select English with English United States. Press Continue
3. Next you will see the following screen
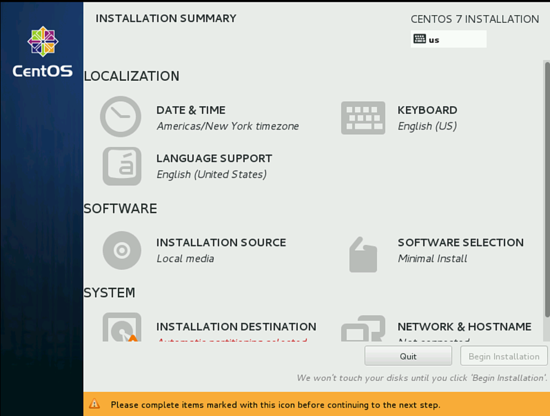
4. Select Date & Time. Now select your timezone. Press Done after finish.
5. Next make sure KEYBOARD is set to English (US) and Language Support is set to English (United States).
6. Next you will proceed with SOFTWARE SELECTION, by default it comes with Minimal Install.
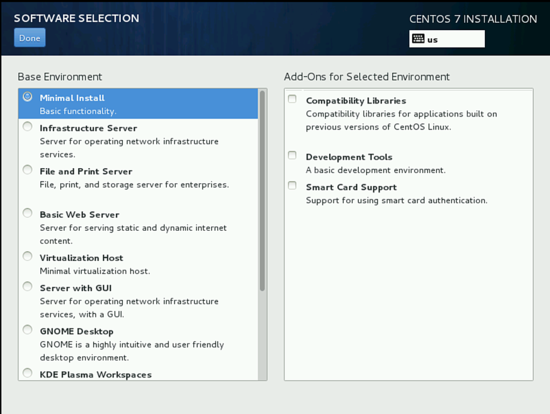
7. You can add more environments if needed, select the default Minimal Install and then press Done.
8. Next, we will move towards SYSTEM and INSTALLATION DESTINATION.

9. If you need a manual partitioning then you can select here, if not select Automatically configure partitioning and then press Done.
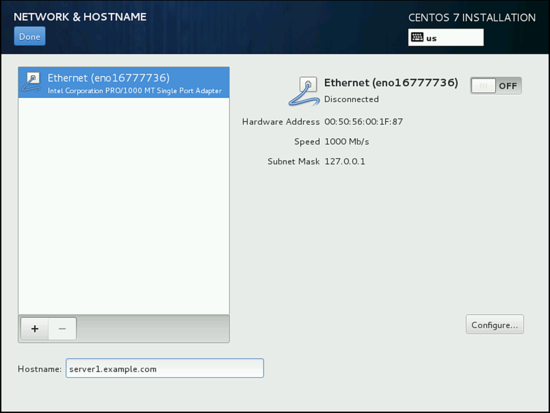
10. Next, select NETWORK & HOSTNAME from Installation Summary screen.
11. Please make sure to assign an IP from IPControl before launching the server and use OS Naming Standards when naming the machine.
12. After assigning the Hostname, then you will customize the ethernet part by pressing Configure.
13. Next step is to add IPv4 Settings by selecting the tab.
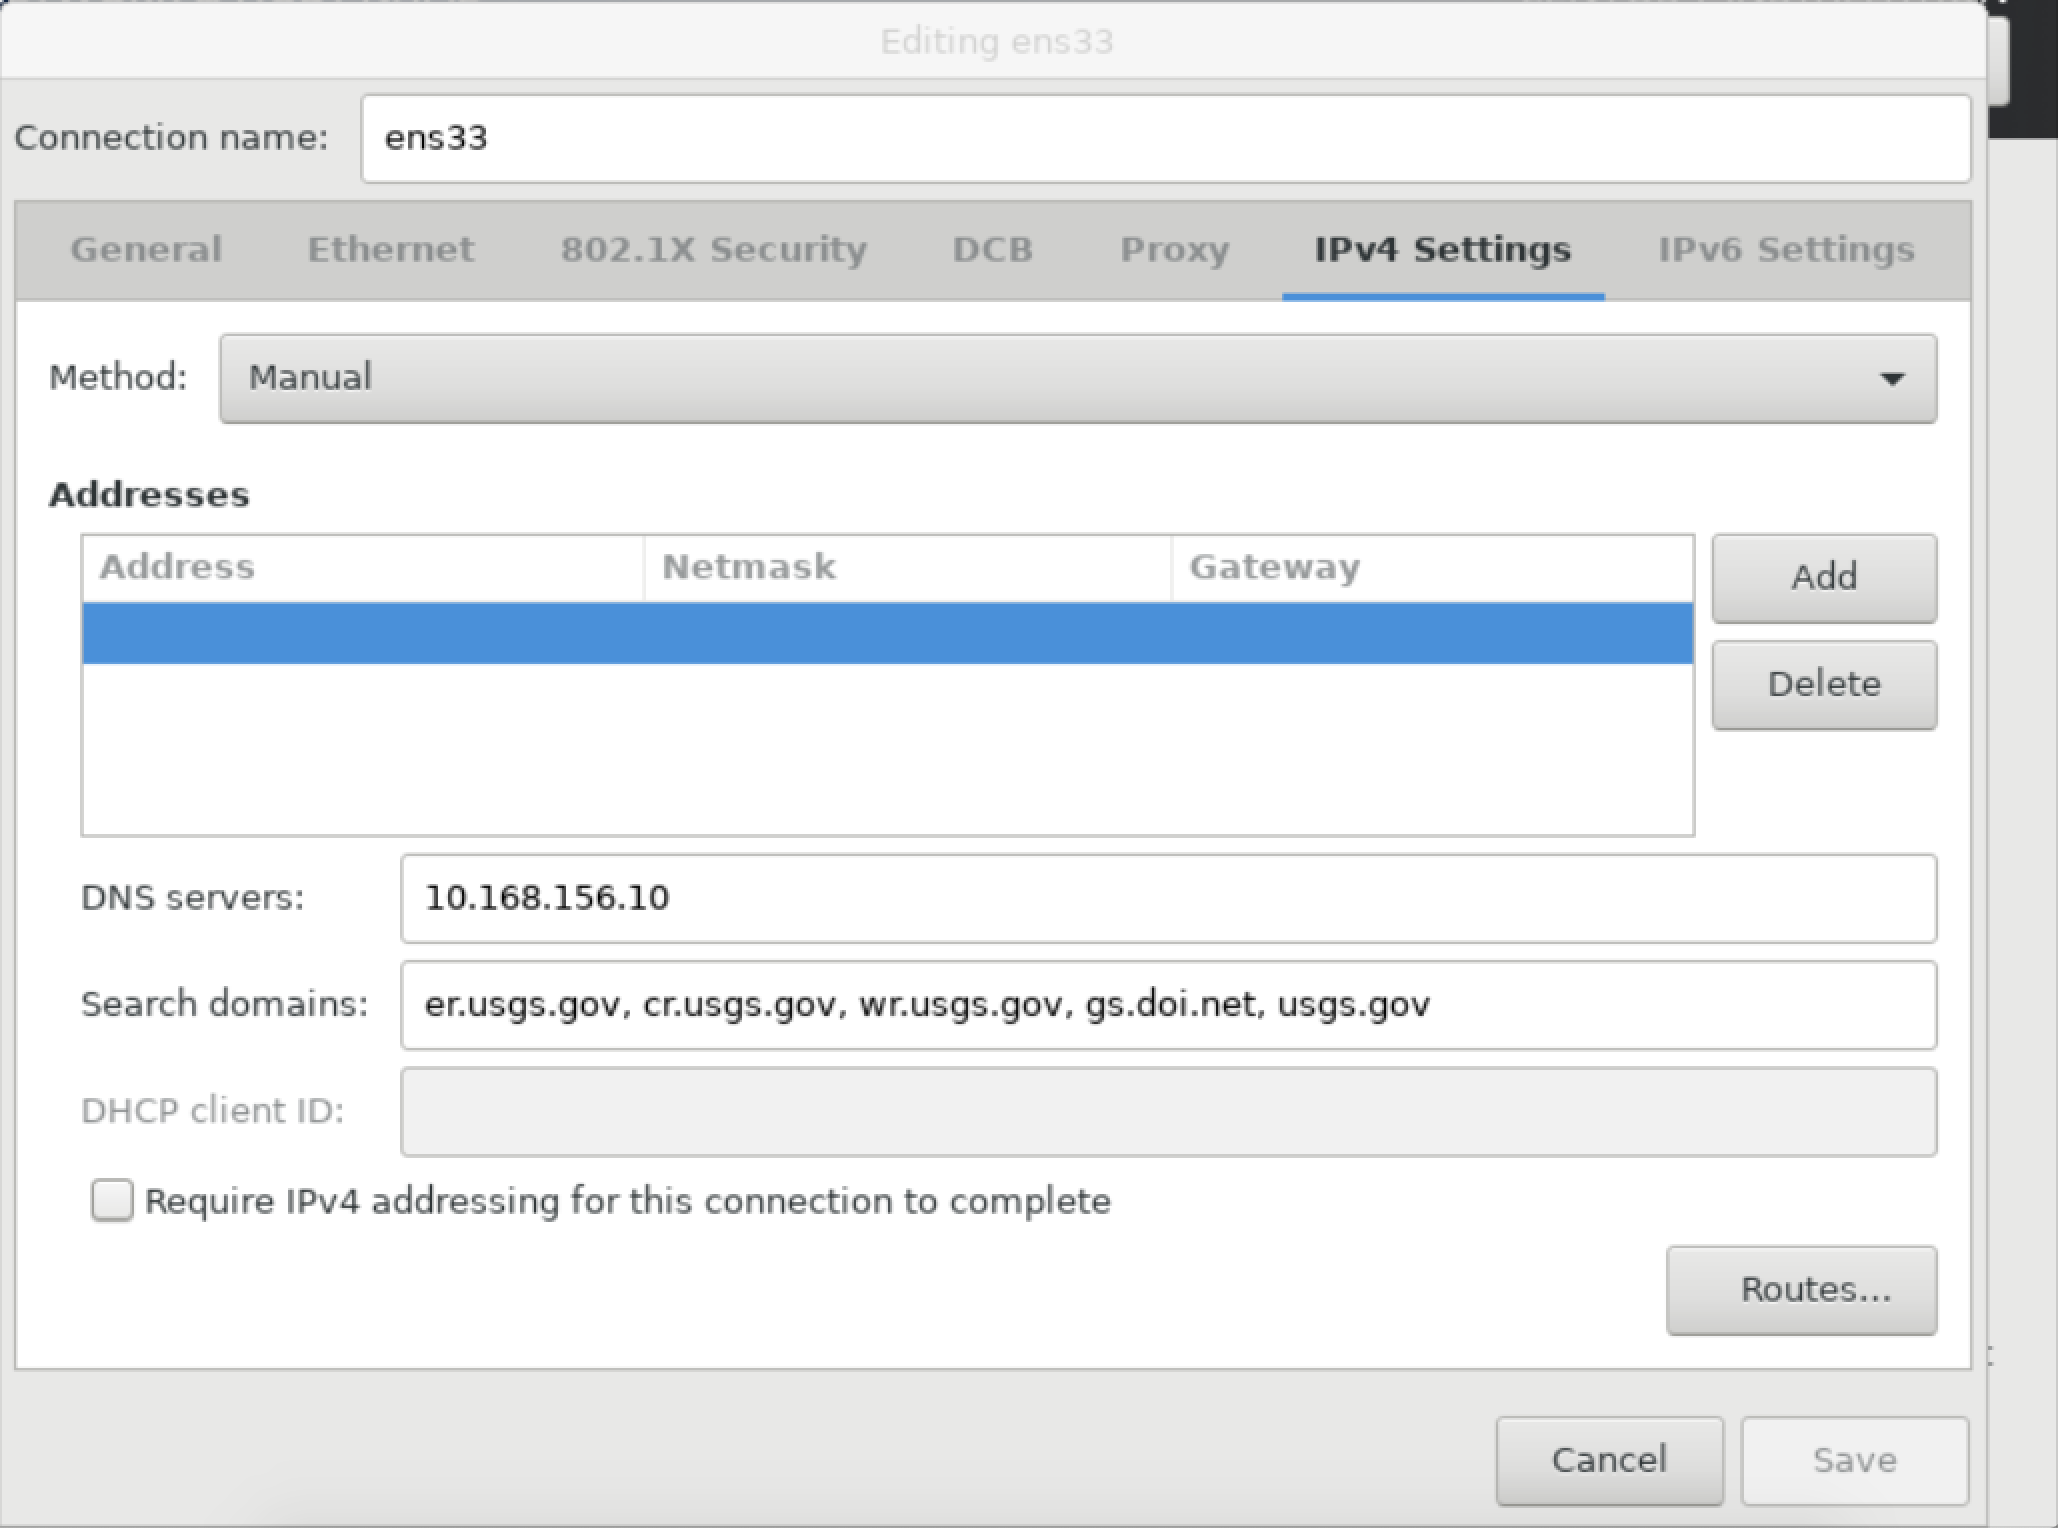
14. You can manage the network as per your LAN/WAN connection in this example select Manual. Next add the entries as per your static IP environment, example Address as 152.61.x.x, Netmask as 255.255.255.0, Gateway as 152.61.x.1 and DNS servers as 10.168.156.10 These values may vary according to your network environment. After that press Save.
15. Next make sure the connection is ON as shown in screenshot below. It will show the details as per settled by you previously. Further press Done.
16. Now the installation process is ready, you can crosscheck all the settings again and then press Begin Installation. It will start the process of installation.
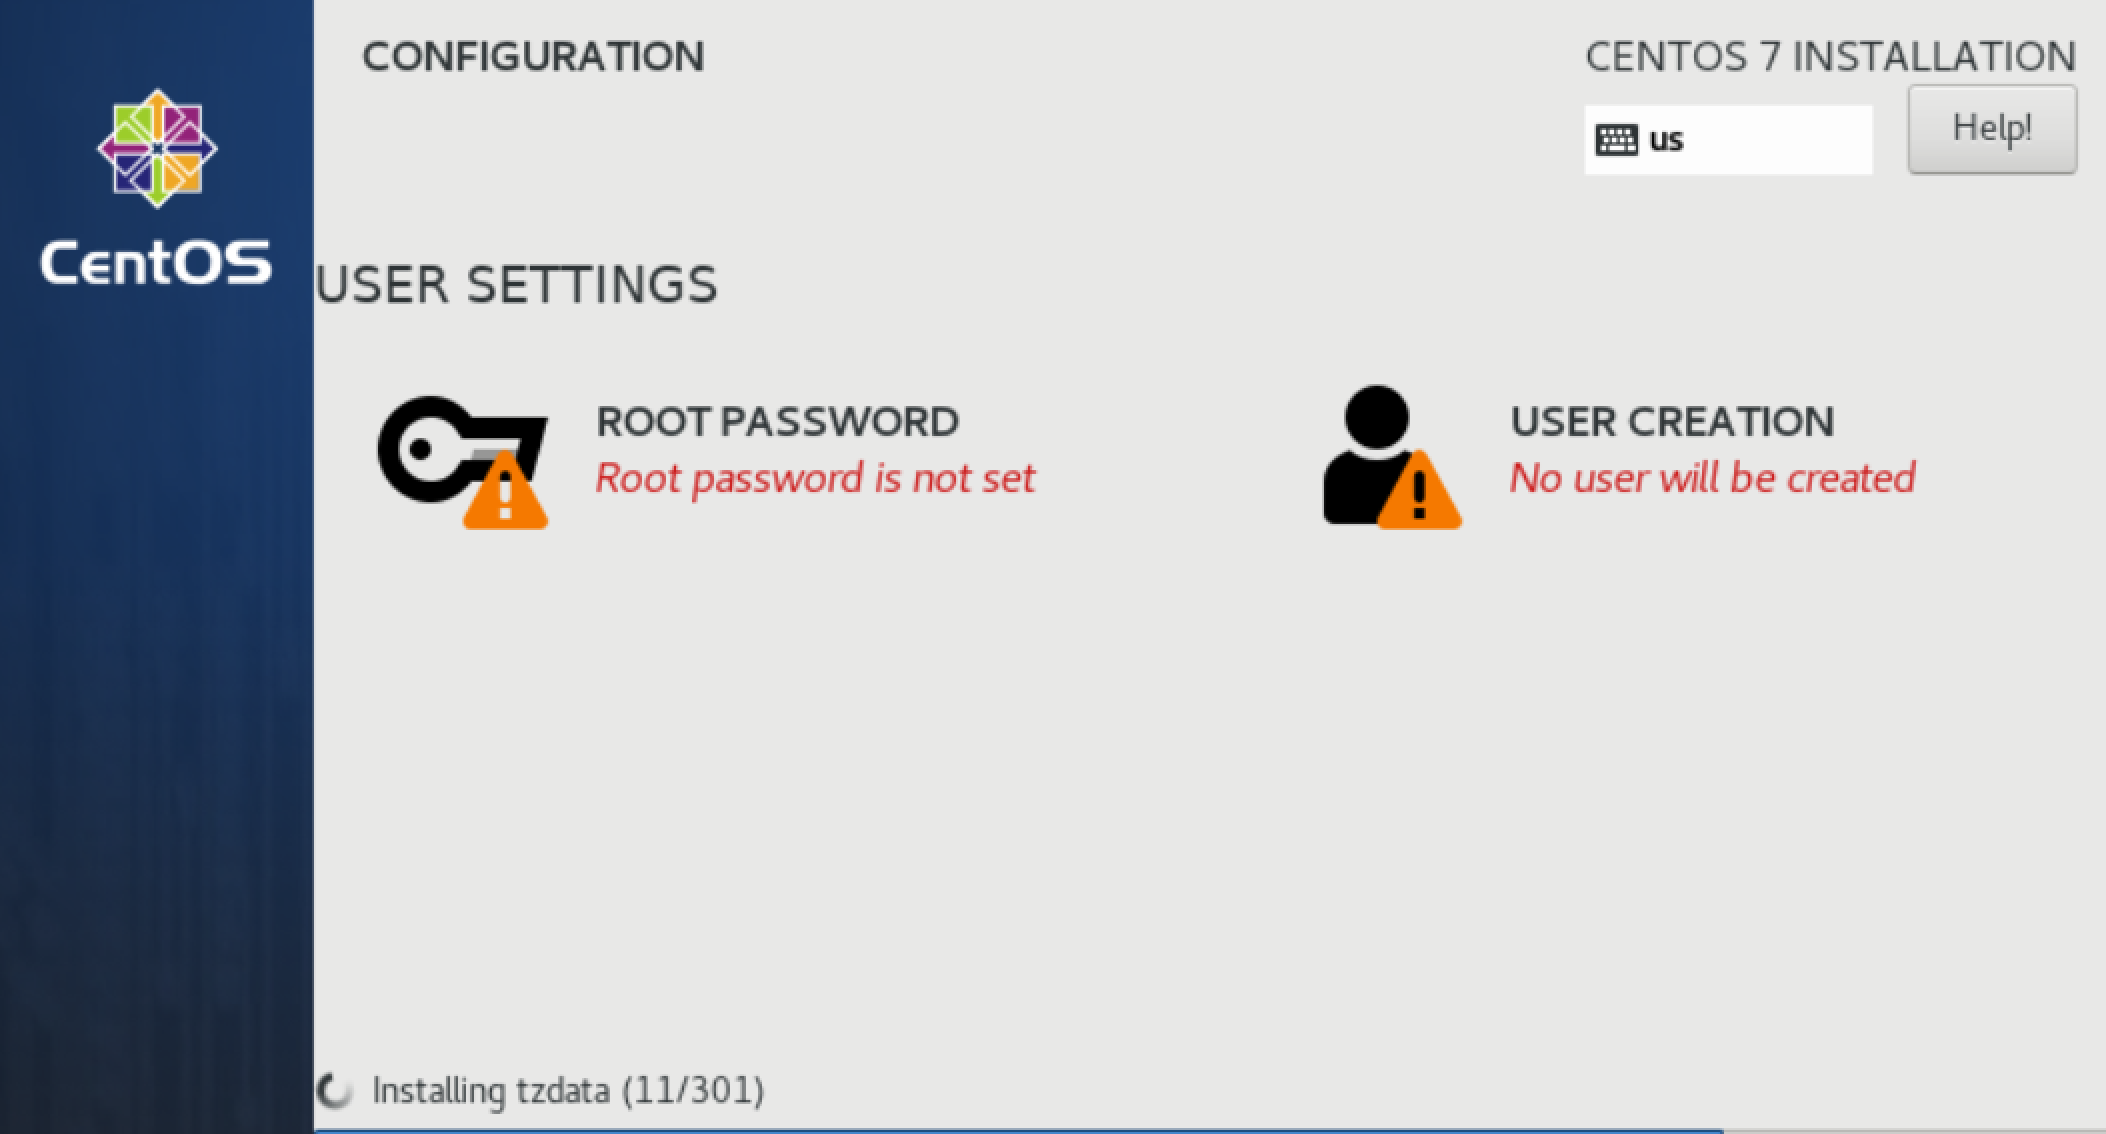
17. Now provide USER SETTINGS with ROOT PASSWORD and USER CREATION. Start with root password. Next Enter any password of your choice and press Done
18. Next select create user, in this example Full name as butst_admin, Username as butst_admin, check the option Require the password to use this account and then press Done. Off-course you can use any value that is used at the local center. Further have patience and wait for the completion of the setup.
19. After completion of the installation, it will ask for reboot, just press Reboot. Next It will boot and your login screen will be onscreen. Now we are ready to do login with the users just created above or we can use root credentials.
20. Run yum update && yum upgrade (This updates the machine of any patches)
21. Double check and make sure the Hostname is set. Run Echo $HOSTNAME
Network Configuration
- Yum install net-tools (optional if new machine)
- Ip addr show
- Got to /etc/sysconfig/network-scripts/ifcfg-ens160
- Note – network interface name can be different. Refer to ip addr.
- vi ifcfg-ens160
- Make the following changes, using local IP info.
- Got to /etc/sysconfig/network-scripts/ifcfg-ens160
DEVICE=ens160
TYPE=Ethernet
ONBOOT=yes
NM_CONTROLLED=no
BOOTPROTO=static
IPADDR=152.61.X.X
NETWORK=152.61.X.0
NETMASK=255.255.255.0
BROADCAST=152.61.X.255
GATEWAY=152.61.X.1
-
-
- vi /etc/resolv.conf
- Make the following changes for DNS (Make changes related to your location)
- vi /etc/resolv.conf
-
search gs.doi.net er.usgs.gov cr.usgs.gov wr.usgs.gov
nameserver 10.168.156.10
-
-
- Reboot the Network Service
- service network restart
- Reboot the Network Service
-
Import and Install the DOI SSL Certificate of Authority for Firefox
Post Installation
CentOS 8 - NOT Supported
Ubuntu
Ubuntu 16.04.3 – End of Life April 2021
Ubuntu 18.04
| Page Last Modified – 11/12/2020 |
|---|
This guide will help you with the installation of Ubuntu 18.04 with a basic minimal installation, that can be used as a baseline. Following these instructions will keep you within compliance of USGS Policies.
General Requirements
- Ubuntu 18.04 Desktop ISO – Click Here
- 2 GHz dual core processor or better
- 2 GB system memory
- 25 GB of free hard drive space
- Either a DVD drive or a USB port for the installer media
- Internet connection is helpful
- STIG – https://code.chs.usgs.gov/tst/butst/ansible-ubuntu-disa-stig-role
Installation
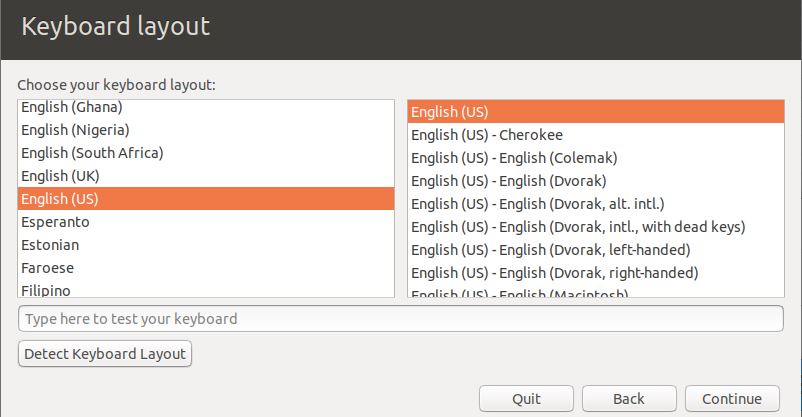
1. Boot from your Ubuntu ISO or DVD. Select Install Ubuntu, and press enter. 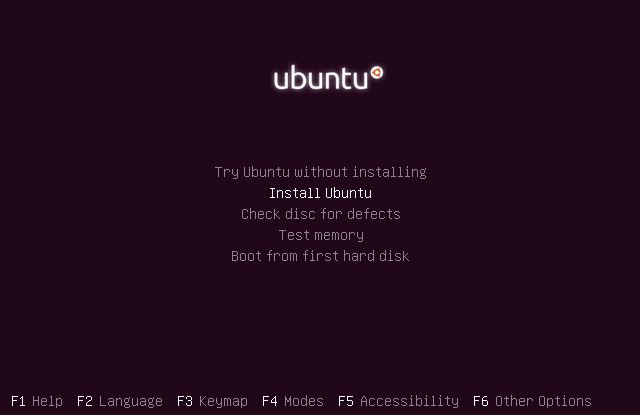 2. Next you can select your language and Keyboard Layout – Click Continue after selection
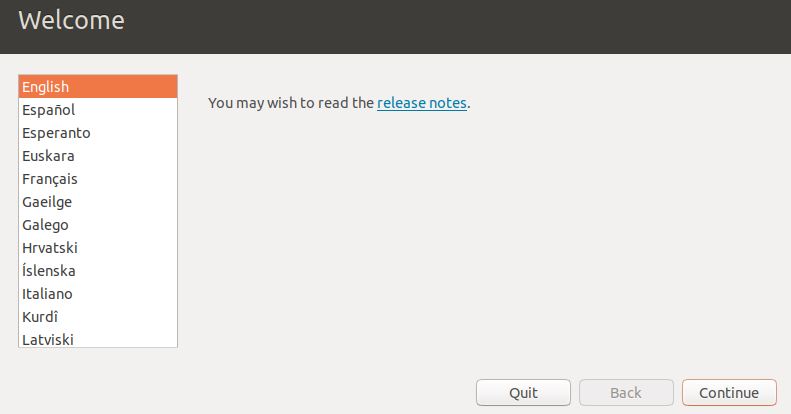
 3. Select Date & Time. Now select your timezone. Press Done after finish.
  4. Updates and other software – it is recommended to choose Minimal installation and Download updates while installing Ubuntu
 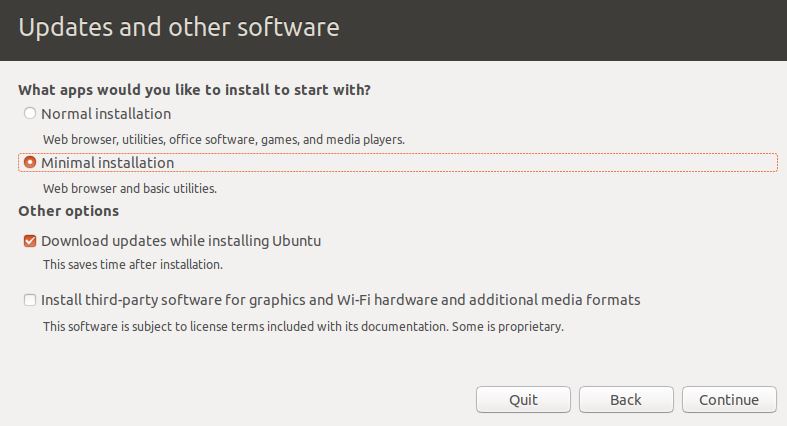 5. Installation type – Erse disk and install Ubuntu (new installations, choose something else box if you want to manually configure your partitions
 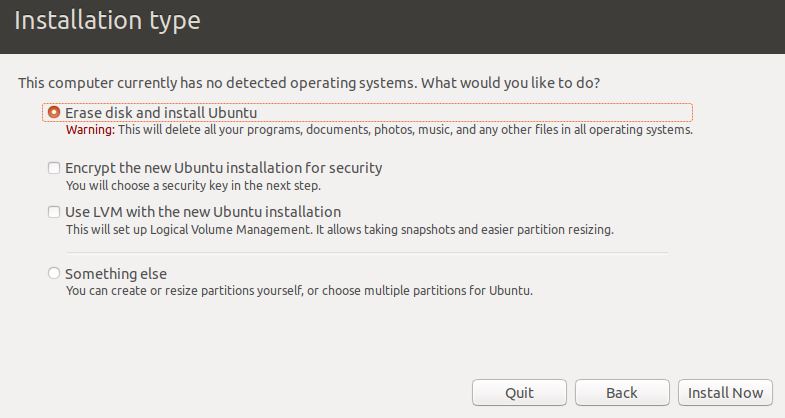 6. Write the changes to the disks – verify the information and click Continue
 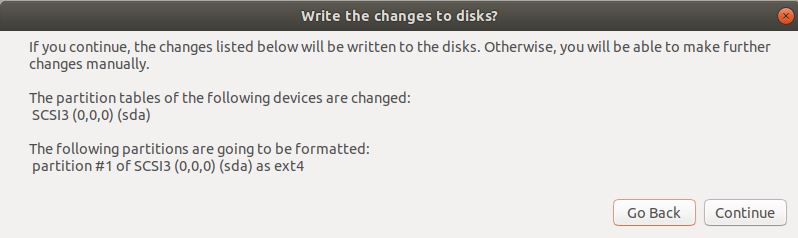 7. Who are you? – Provide Your name\Computer’s name\Username – Then Enter any password of your choice – Require my password to log in – Then click continue
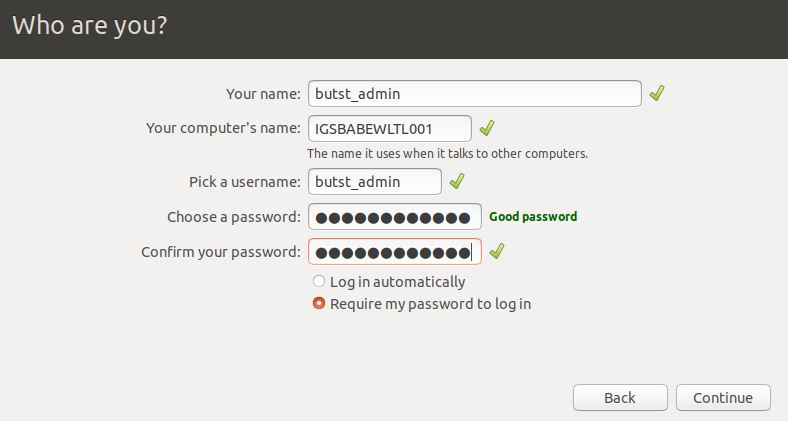
Import and Install the DOI SSL Certificate of Authority for Firefox
Post Installation
Ubuntu 20.04
Overview
BUTST recommends a clean install for Ubuntu Server 20.04. This guide will help you with that.
Requirements
- Ubuntu Server 20.04 ISO – You can download it here.
- CPU: 1GHz, 64-bit processor
- RAM: 1GB
- Disk: 2.5GB minimum
- Supporting instructions/tutorial listed here
Steps
- Boot from the Ubuntu Server 20.04 ISO image
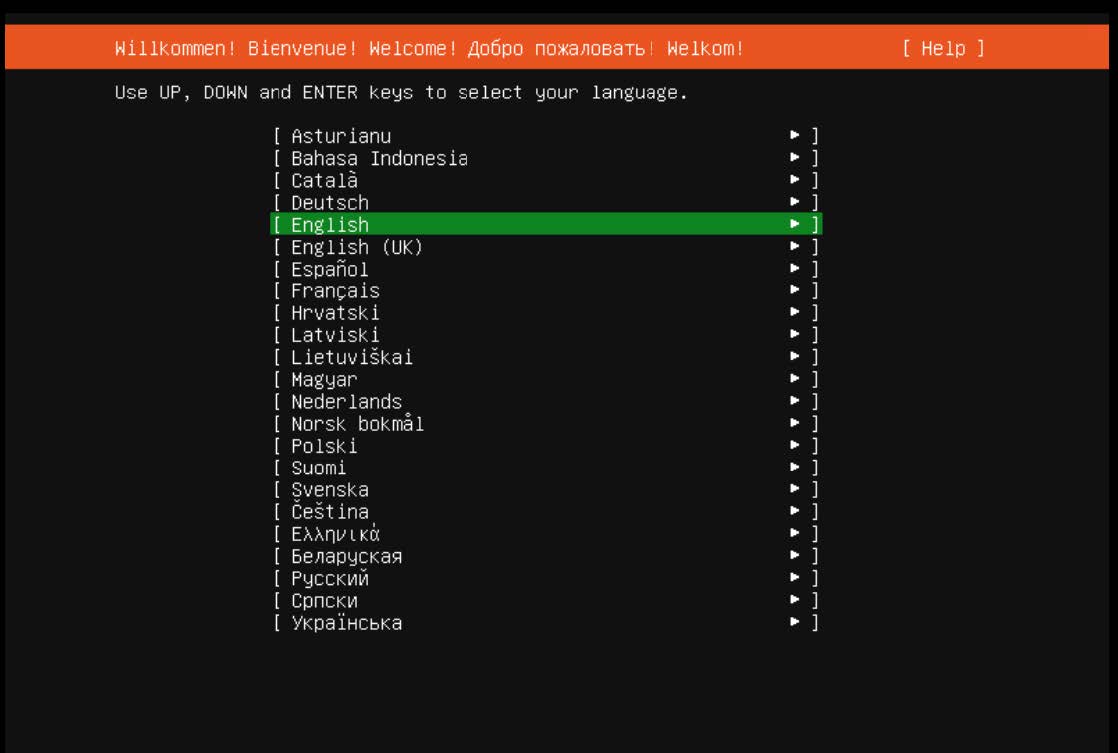
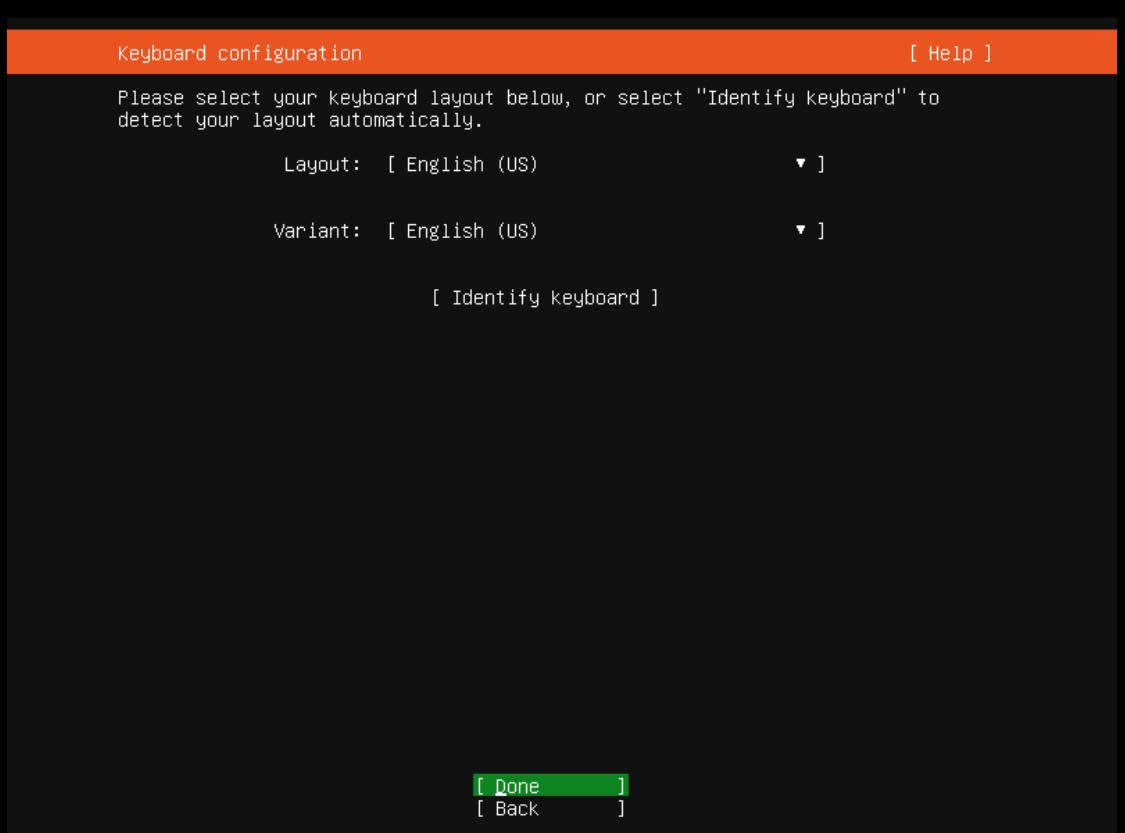
- After booting from the Ubuntu Server 20.04 ISO, you’ll be dropped into the installation program. Start by selecting your language and keyboard configuration:
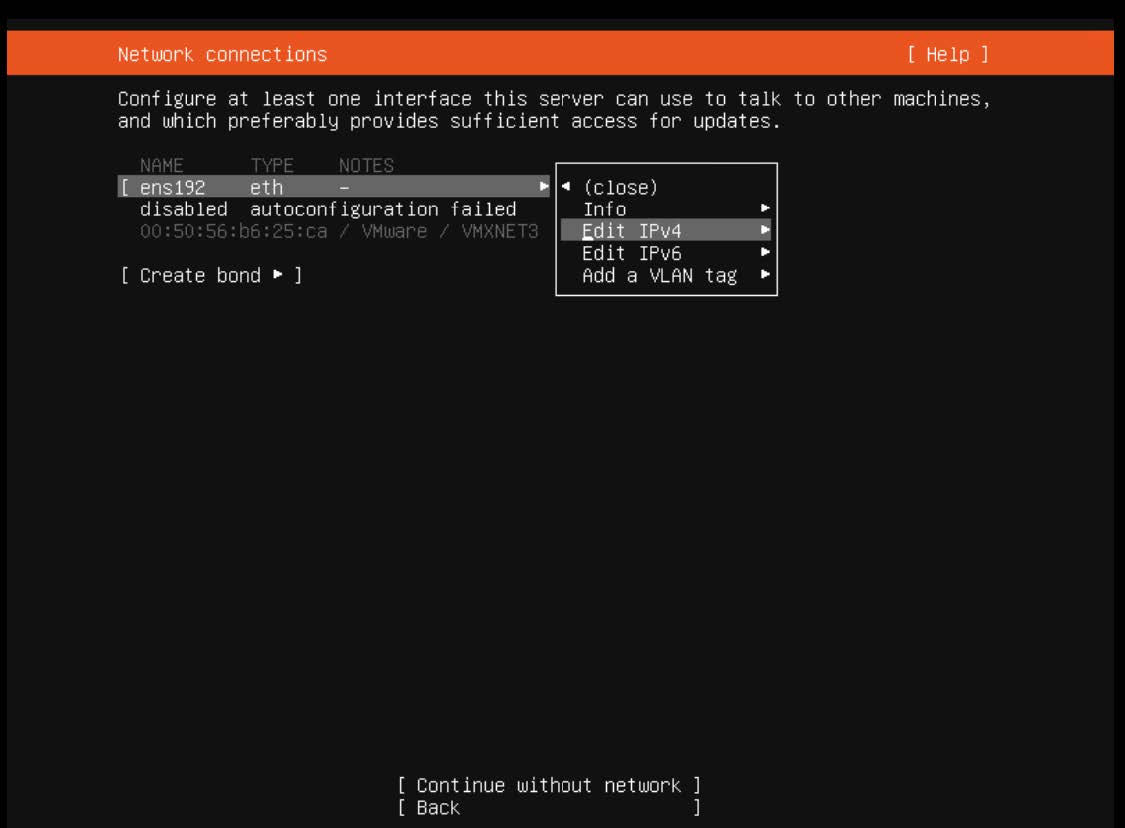
- By default, all network interfaces are disabled. Set yours up with the appropriate configuration:
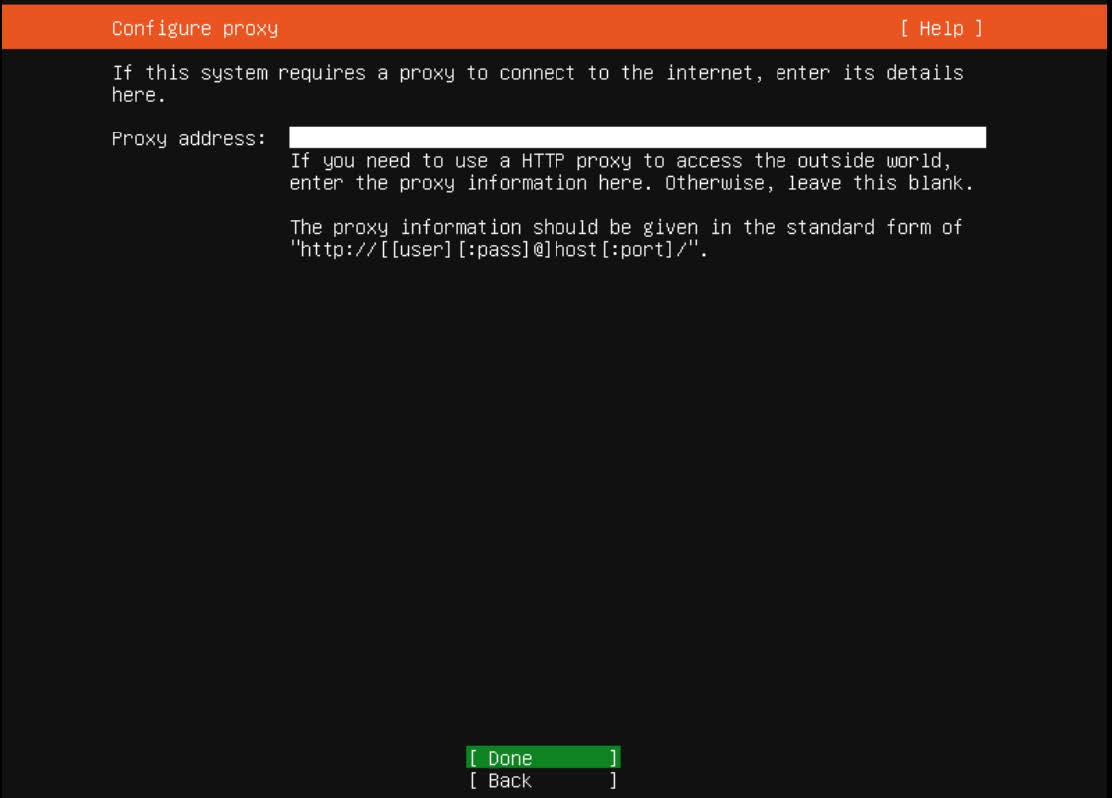
- If a proxy is used at your center, this should be set up as well:
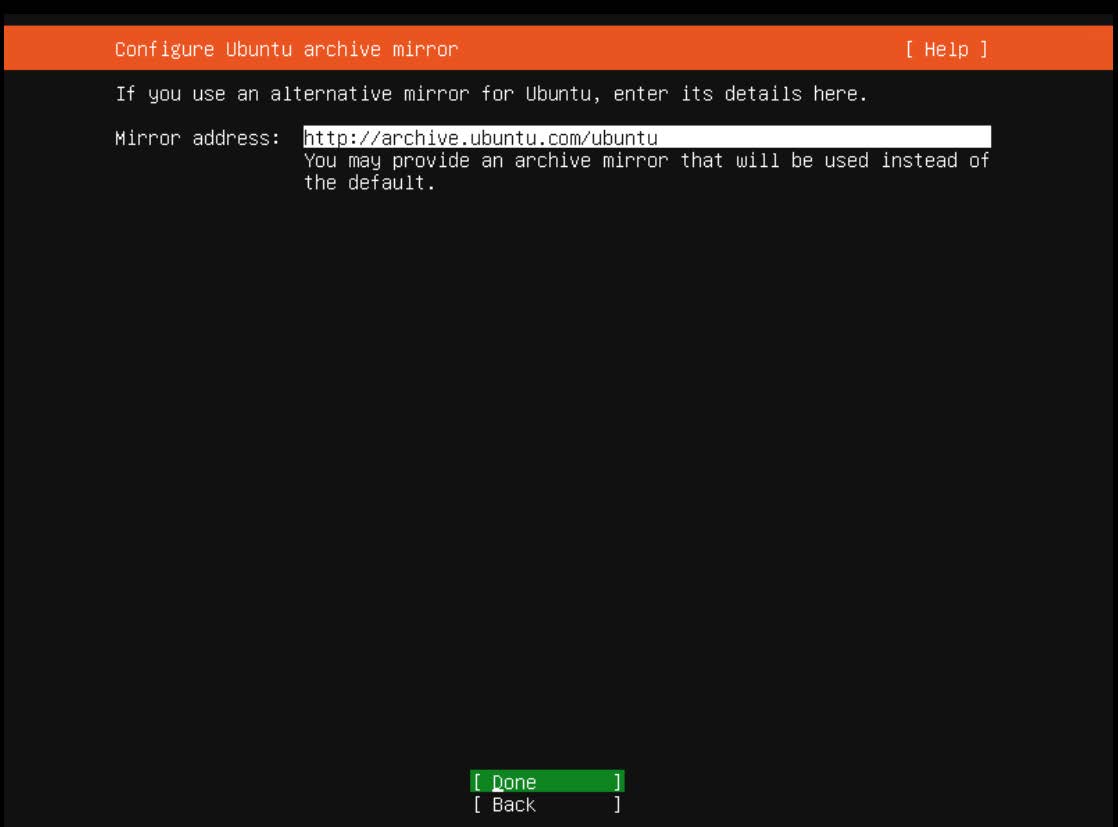
- For a local Ubuntu mirror, setup can be done on the next screen:
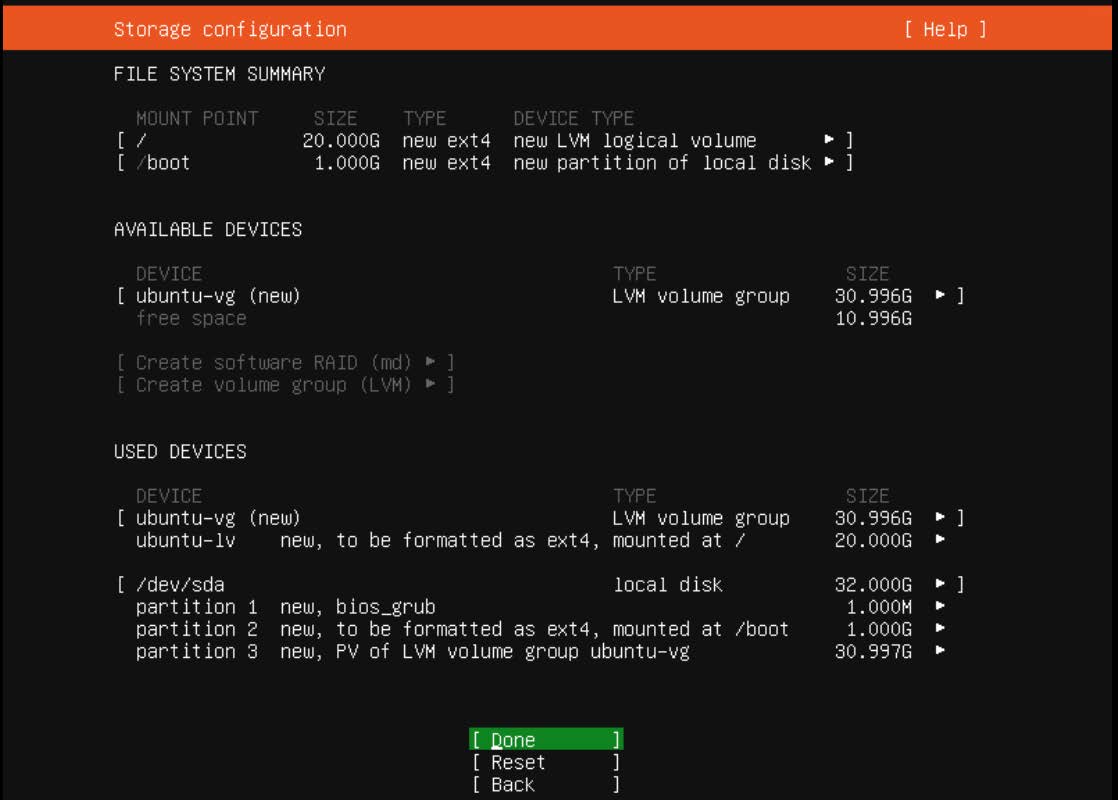
- Next up is the Storage Layout configuration. Ubuntu will automate this process if you don’t have a need to get into the specifics. A summary of changes is presented prior to continuing with the setup:
- After setting up storage, it’s time to give the system a hostname and setup a local user. Note by default Ubuntu doesn’t allow the option to remote in as the root user, so you’ll want to set something up that you’ll remember on this screen.

- Finally, decide whether you want OpenSSH enabled by default – a good idea unless you have direct access to the machine and don’t want to allow remote access.
- The system installation will begin after selecting ‘Done’ on the OpenSSH screen. Updates will be automatically applied at the end of the installation. A reboot is required. After the update and reboot cycle finishes, you’ll have a functional Ubuntu 20.04 server.
Post Installation Resources
Post-installation tasks can be found in the links below
SSL Intercept
Ubuntu STIG Application
Firewalld Setup
Native Binding with SSSD
Microsoft Defender for Endpoint
IEM BigFix
IEM Key File Management
Ubuntu App - Windows Store
Contact the Service Desk or your COUA to be added to the following group
IGSUBWTST-MSfB-Ubuntu
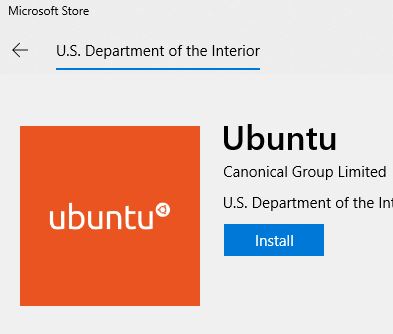
Install the Ubuntu App from the Windows Store – How to use the Windows Store – https://tst.usgs.gov/operating-systems-2/windows-10/windows-10-store/
1. Use the search bar to search for the Microsoft Store

2. Find Ubuntu in the Store (you may have to click show all 15)
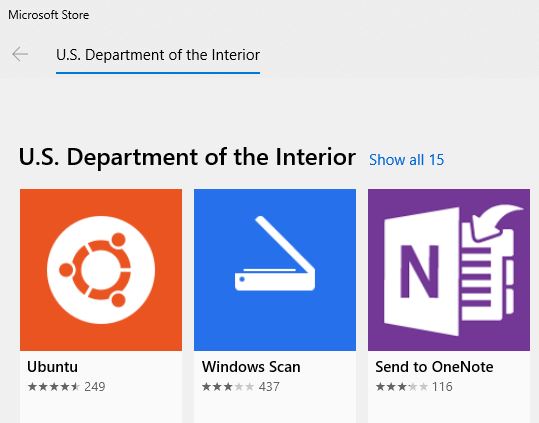
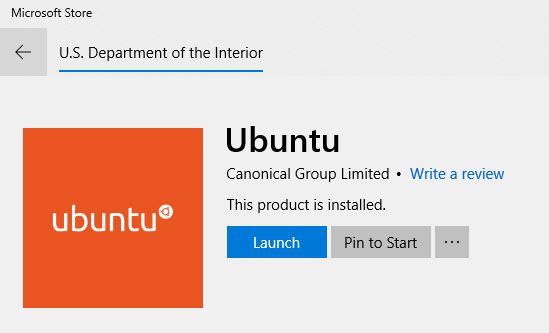
3. Click Install

4. Click Launch (we suggest pinning it to the start as well)
Post Installation
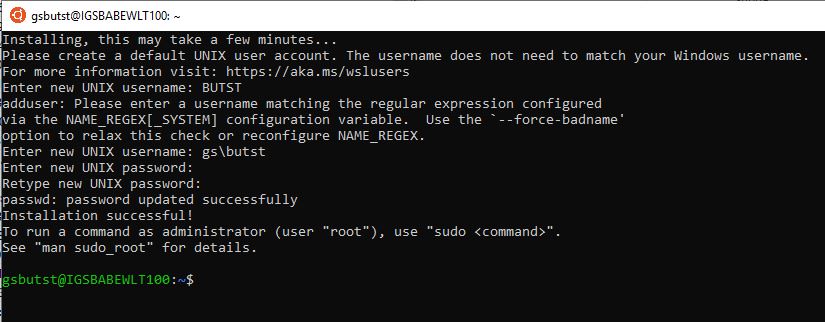
Upgrading your distribution
Users are responsible for keeping their distributions up-to-date as the Windows Store does not automatically upgrade your currently installed distributions. The upgrade command is sudo do-release-upgrade
Known Issues

Required Software and Useful Links
- Linux – Native Binding – is the Department-wide solution for integrating non-Windows systems into Active Directory (AD).
- MS Defender – is the Department-wide antivirus solution for all endpoints.
- BigFix Client – For more information about this click here.
- FireEye HX Endpoint Agent – Installation of FireEye client on Linux systems is on hold due to DOI licensing issues.
FAQ
*To find a FAQ quickly – use Control+F (Command+F on a Mac) to bring up a search box. Type a keyword or phrase in the search box to find text on the current page
AD Binding:
https://tst.usgs.gov/applications/asset-management/linux-native-binding-with-sssd/
TFA/Smart Card: