Google’s Chrome browser was the recommended web browser for use with Outlook Web Access in the Windows, iOS, Android, and Macintosh environment. Sites should move to the new Chromium based Microsoft Edge browser. This page outlines how to properly install and configure Chrome according to the DOI/BUTST Chrome STIG, for use within the DOI.
An MECM application build is already completed for the most recent version of Chrome. BisonConnect has moved to a 64bit build of Chrome to provide better compatibility with systems.
Should user extensions become disabled there is a document included in the zip for bureaus to use as a user education on how to deal with disabled extensions caused by this update.
Installation Instructions
Windows (via MECM)
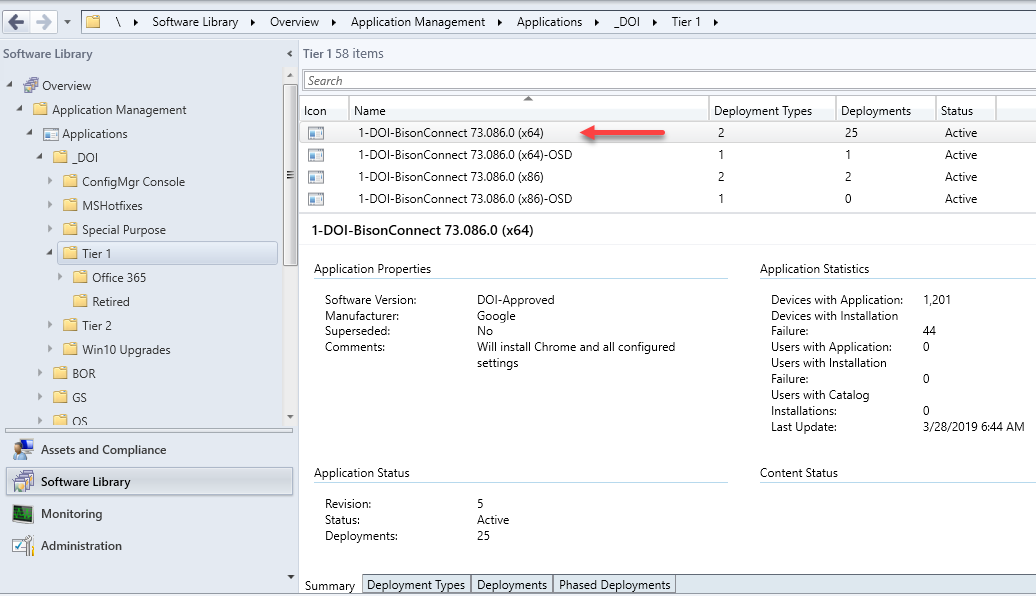
MECM: Distribute and Deploy the 1-DOI-BisonConnect 78.108.0 (x64) or newer application
- Distribute the content to your distribution point
- Deploy the application to your preferred Device Collection
Step by step instructions, with screenshots, on how to distribute and deploy a DOI application can be found here.
Windows (Manual Installation)
Please note, if you are following these instructions to fix an issue with Chrome, first uninstall Chrome and then delete the following directory before continuing: Example: C:\Users\USER\AppData\Local\Google\Chrome
-
- Browse to \\iinsxfcmfs01.doi.net\sccm_source$\DOI\Software\Tier1\Google\Chrome
- Download the most current 64bit application
- Copy the content locally. In this example, the files have been copied to D:\DOIGoogleChromeInstall:
- Open an Administrative cmd prompt. (Even if you are logged on to a Windows 7/8.1/10 computer as an administrator, you MUST still open cmd in “Run as administrator” mode, otherwise pieces of the installation will fail).
- At the cmd prompt, browse to the directory where the install files were extracted, and run “BisonConnect_Install.bat” The installation runs silently. An installation log can be found at: C:\SoftwareLogs
- A new shortcut will be placed on the all users desktop – DO NOT OPEN UNTIL THE USER CONFIG PORTION IS COMPLETE:

- Open a new cmd prompt, under the primary user’s regular credential. Browse to the directory where the install files were extracted, and run user_config.bat
- The user config script sets Chrome to be the default mailto handler for the system.
Macintosh
Troubleshooting
Updates failing
If you notice a BisonConnect install is initiating on your computer, the BisonConnect icon on your desktop should disappear when this is happening and then re-appear on your desktop when it is safe to use the product again. During that time you will have to avoid going into chrome (not just email but also browsing the internet).
After a successful Chrome install, the program files directory should look like the following:

If you notice a second exectuable called new_chrome.exe and see folders for the older version of Chrome, your install was unsuccessful. If you experience failures after installing the Bison Connect MECM application, follow these steps to repair the install.
- Close out all running Chrome instances on the system. Also check task manager and kill off any chrome.exe processes.
- Rename chrome.exe to old_chrome.exe
- Rename new_chrome.exe to chrome.exe
- Delete the old folder(s) from previous version
- Delete old_chrome.exe
- Re-run the Bisonconnect application in MECM Software Center (the detection logic will now work and it should succeed)
- Launch Bisonconnect
Chrome crashes repeatedly on startup
This can be caused by a corrupt extension or another profile specific file that has become corrupt.
To stop chrome from crashing, you can delete the part users locally stored profile by using the following process:
- Close out all running Chrome instances on the system. Also check task manager and kill off any chrome.exe processes.
- Go to “C:\Users\”UserName”\AppData\local\Google\Chrome\User Data\”
- Rename the folder called “Default” to “Default.old”
- Go to the “Default.old” folder
- Copy the “Bookmarks” file
- Launch the Chrome/Bison Connect application
- A new “Default” folder should be created (the user will need to sign into their Email account again)
- Paste the “Bookmarks” file that was copied into the new “Default” folder
- Close then relaunch the Chrome/Bison Connect application
- The users bookmarks will be restored and the crashing issues will likely be resolved
Proper Configuration / STIG Application
Application of the settings in the STIG is required for all Chrome installations on the DOI network.
Instructions to apply the STIG can be found below.
Windows
Macintosh
Linux
Extensions
As of April 12, 2016, a GPO was applied at the USGS-wide level that requires all Chrome Extensions to be approved by the DOI. Extensions not approved for use will not be allowed in the USGS and will no longer work. A list of Extensions that have already been approved or specifically disapproved are listed here: https://doimspp.sharepoint.com/sites/BisonConnect/SitePages/Chrome-Extensions.aspx
At the same time, DOI also granted access to the Google Chrome Web Store to your Chrome web browser on your government device. The Google Chrome Web Store has extensions that you can add to Chrome, making it easier to access websites and provide new, advanced features to your Google Chrome web browser. You can click here to access the Google Chrome Extension Store.
How to Add Extensions
It’s easy to add approved extensions to your Google Chrome web browser. Just follow these steps:
1. Click on a link for approved extensions listed here or visit the Google Chrome Web Store and search for an extension using the search bar as shown below:

2. Click on the extension you would like to add – more information will appear
3. Click the Add to Chrome button located on the right-hand side of the window as shown below:
If you see an extension that you would like to use that’s not approved by DOI, please submit a request via email to servicedesk@usgs.gov with the subject line: Google Chrome Extension. In the body of the email list the extension name, a link to the extension, and a brief description of need.
The USGS Service Desk will forward your request to the DOI. These requests are reviewed weekly by DOI and you should receive a response within 1 – 2 weeks. This gives the DOI BisonConnect team the appropriate time to review the extension’s security requirements and any associated costs.