Windows Admin Center – Standalone
Windows Admin Center is an extremely powerful tool that can be used to remotely manage Windows Servers and Windows Client systems. Which OS to install WAC on comes down to the user or science center preference. WAC can either be installed as a standalone install or as a console on a server. These instructions are for installing WAC as a standalone install.
Installing Windows Admin Center (WAC)
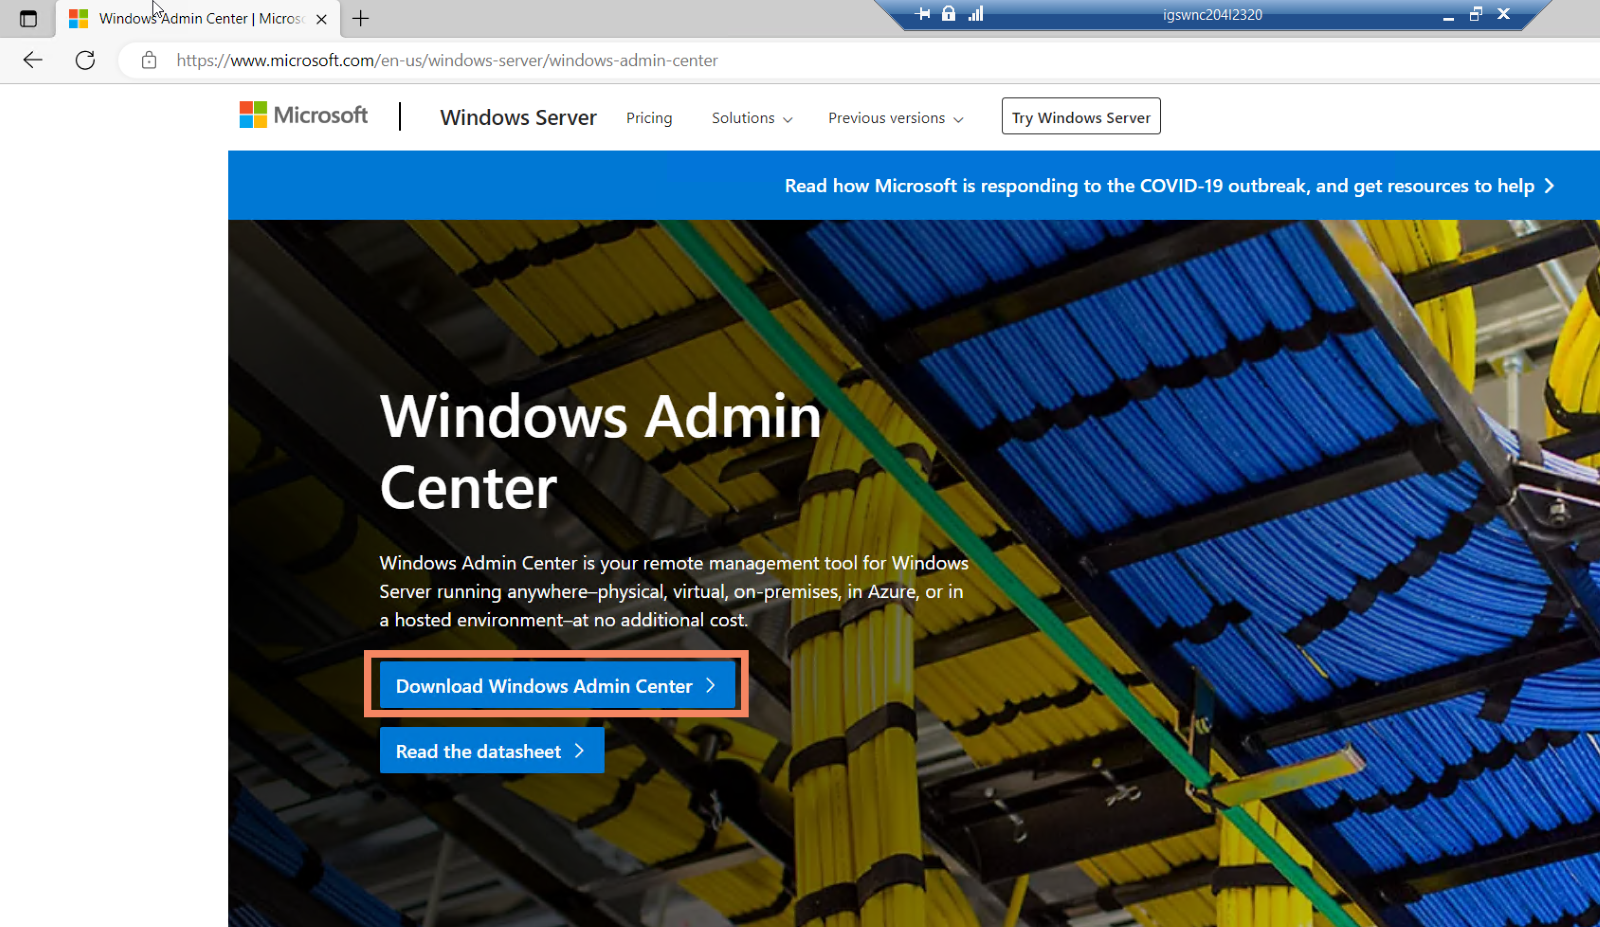
- Using a standard user account, log into a windows computer, go to the following link, and download WAC. Windows Admin Center | Microsoft
- Run the WAC installer
- Accept Terms > Next
- Select Required diagnostic data > Next
- Select I don’t want to use Microsoft Update (WAC will be updated via MECM & BF) > Next
- Next
- Use the following settings:
- Port 6516
- Check – Allow WAC to modify this Machines trusted hosts settings
- Optional – Create a desktop shortcut to launch WAC
- Uncheck – Use WinRM over HTTPS Only
- Check – Automatically update WAC
- Next
- Install with Admin Rights.
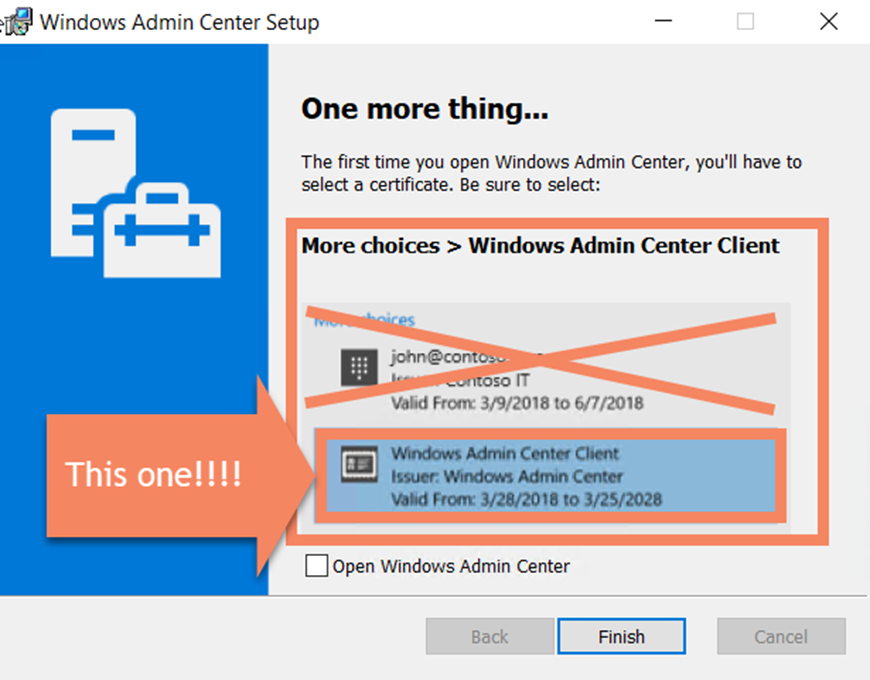
- IMPORTANT – Once WAC has finished installing a window will come up telling the user to select “Windows Admin Center Client” upon first launch of the software. “Windows Admin Center Client” needs to be selected or WAC will not work.
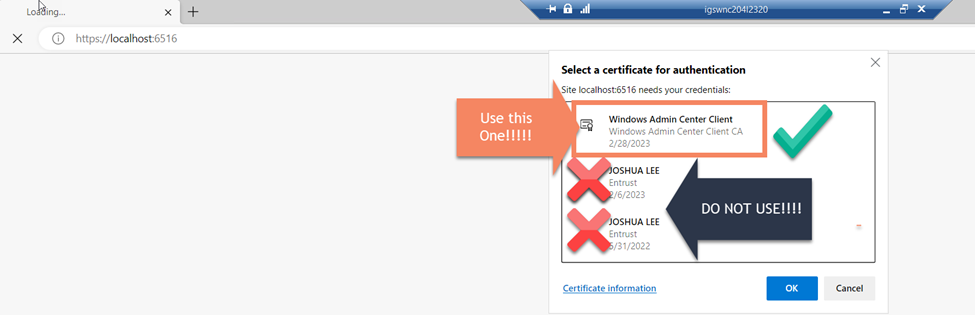
- Once WAC has been installed, launch WAC as an ADMIN. WAC ALWAYS NEEDS TO BE RAN AS AN ADMIN. When WAC is launched as an ADMIN, for the first time, it is imperative that “Windows Admin Center Client” is selected. If the wrong certificate is selected then the user must clear all browser cache and history, then try again.
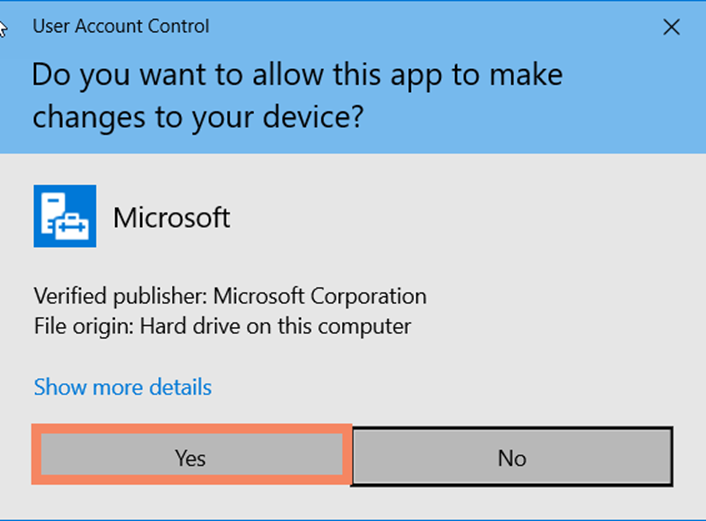
- After selecting the “Windows Admin Center Client” certificate a UAC window will pop up, Select Yes
- WAC should now open in Edge or Chrome.
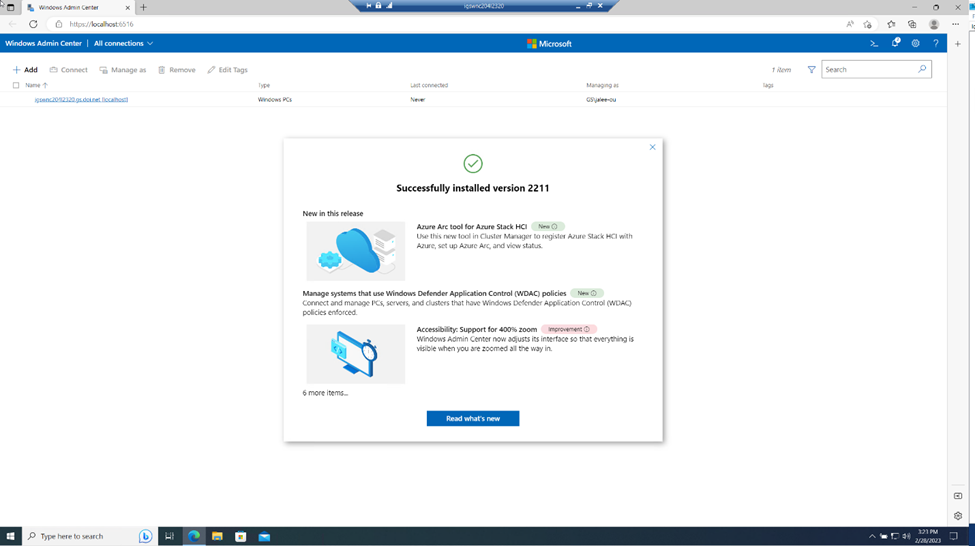
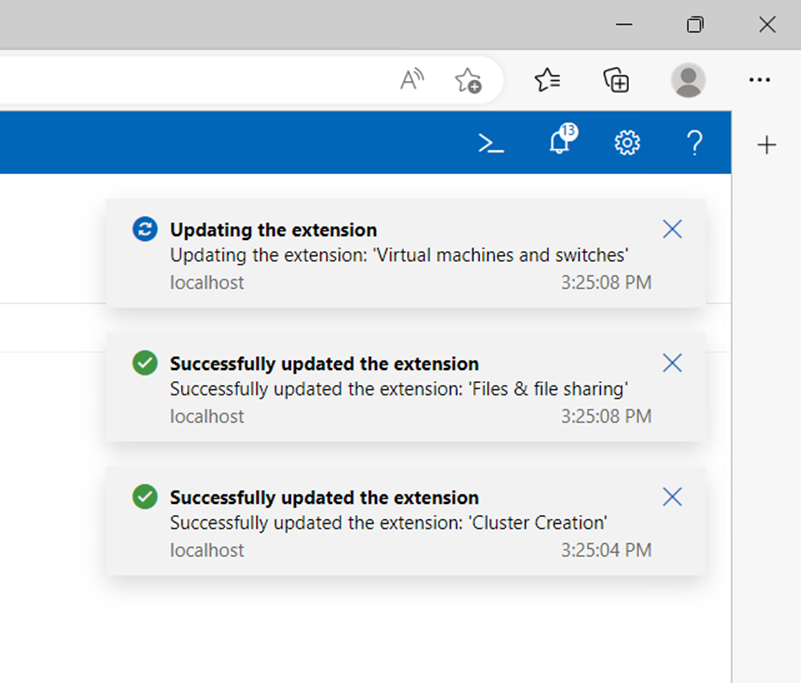
- Please wait 10-15 minutes after opening for all WAC extensions to install. A window will pop up once all extensions are installed. WAC is ready to be used.
Adding Servers to WAC
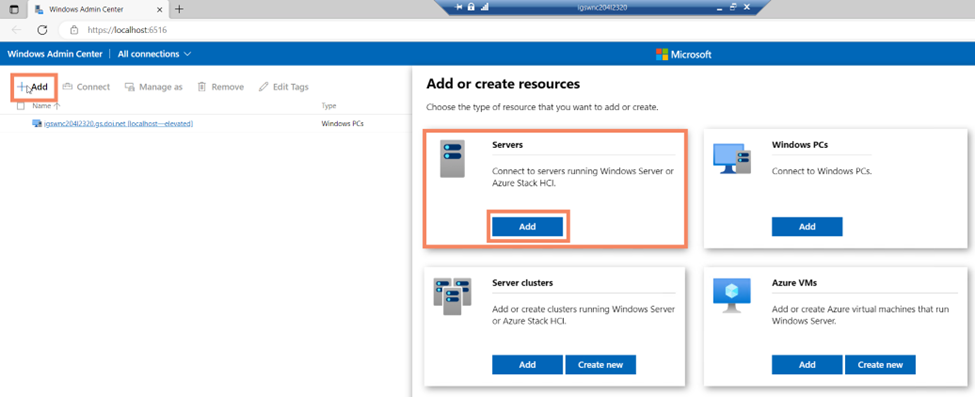
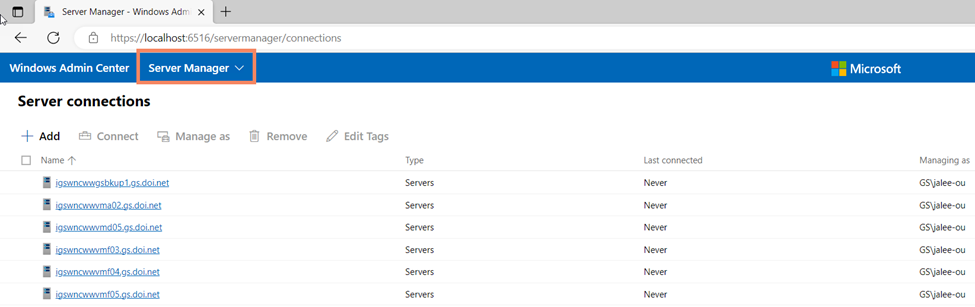
- To add servers into WAC, click on +Add on the upper left of the webpage and select Add under Servers.
- Servers can be added to WAC via 3 different ways:
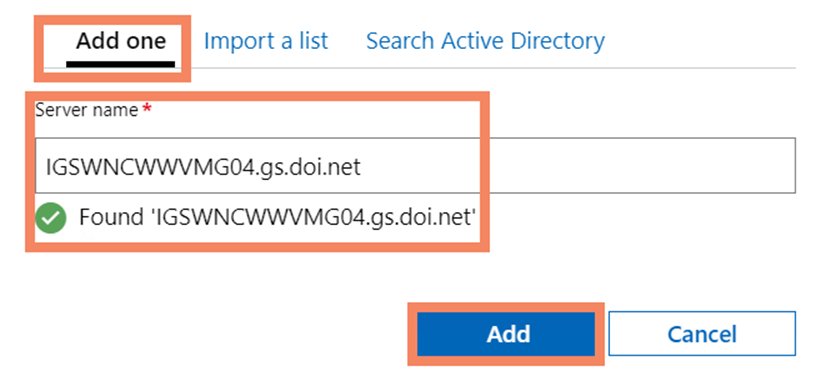
- Add one – Type in the FQDN of the server – IGSWNCWWVMG04.gs.doi.net
- Import List – Create a list of servers using their FQDN in a .txt or .csv file. Upload the file.
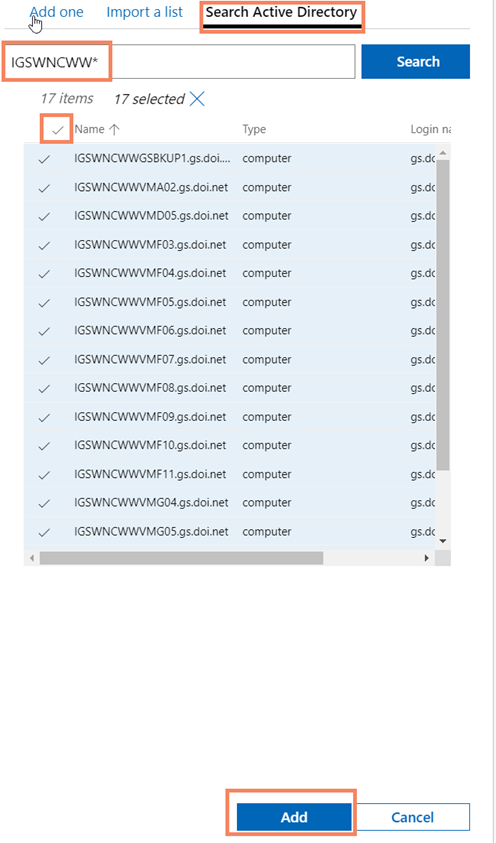
- Search Active Directory – This is by far the best option for adding multiple Servers into WAC. Type the beginning of a hostname followed by *. This will use a wildcard to search for all Servers with the same beginning hostname. – IGSWNCWW*
- Add one – Type in the FQDN of the server – IGSWNCWWVMG04.gs.doi.net
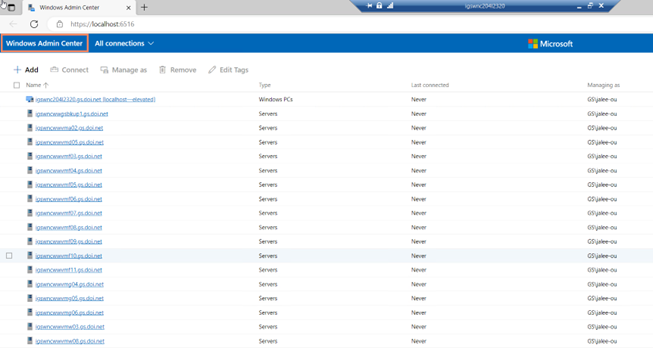
- Once all desired servers have been added to WAC they will appear in the WAC home menu. To get to the WAC home menu, “Windows Admin Center” can be clicked at any time.
Adding Windows Clients to WAC
- Adding Windows Clients is the same as adding a server. Click on +Add on the upper left of the webpage and select Add under Windows PCs.
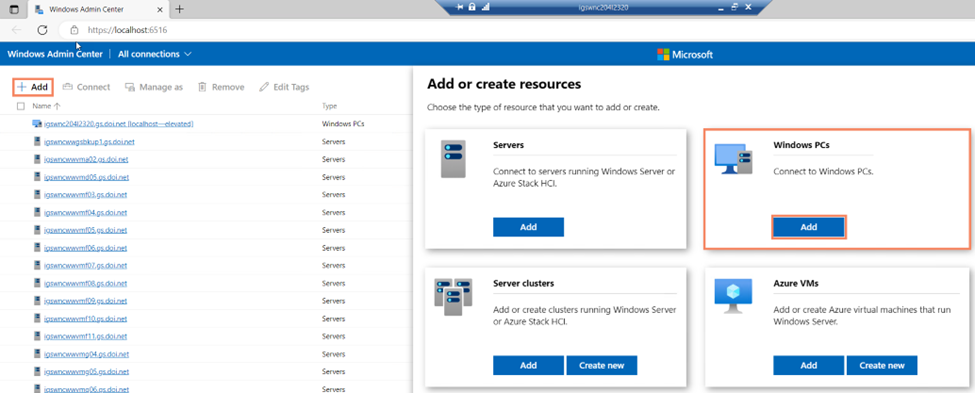
- Windows PCs can be added to WAC via 3 different ways:
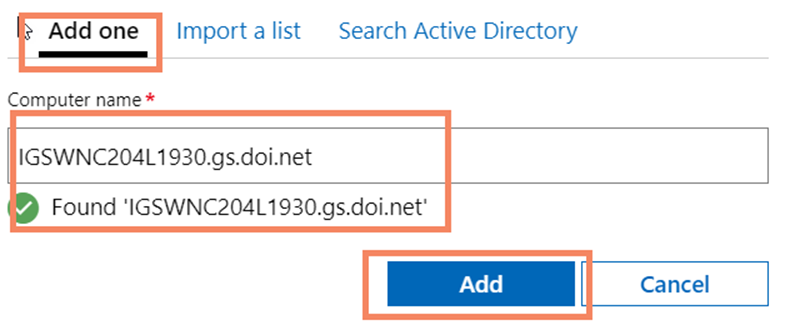
- Add one – Type in the FQDN of the Windows PC – IGSWNC204L1930.gs.doi.net
- Import List – Create a list of Windows PCs using their FQDN in a .txt or .csv file. Upload the file.
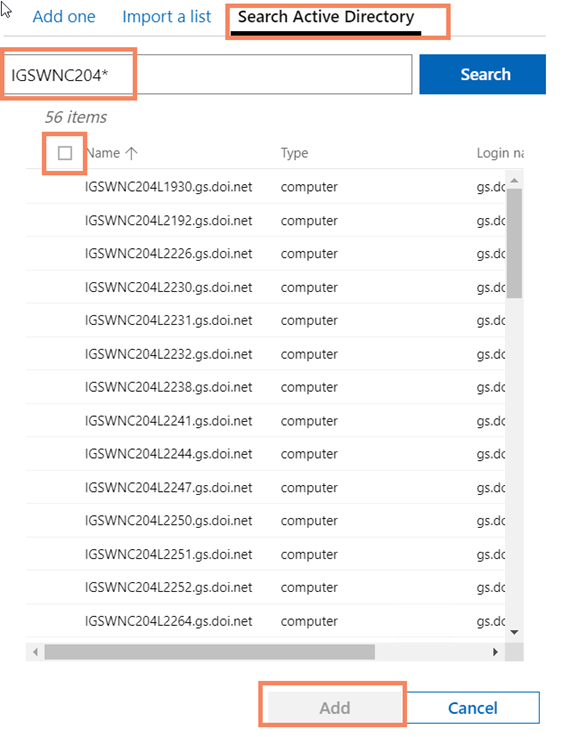
- Search Active Directory – This is by far the best option for adding multiple Windows PCs into WAC. Type the beginning of a hostname followed by *. This will use a wildcard to search for all Windows PCs with the same beginning hostname. – IGSWNC204*
- Add one – Type in the FQDN of the Windows PC – IGSWNC204L1930.gs.doi.net
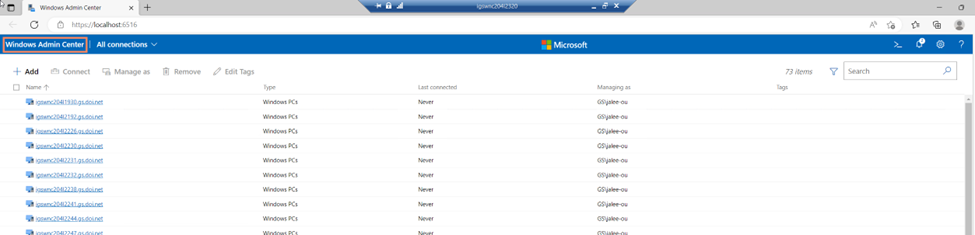
- Once all desired Windows PCs have been added to WAC, they will appear in the WAC home menu. To get to the WAC home menu, Windows Admin Center can be clicked at any time.
Installing and Updating Extensions
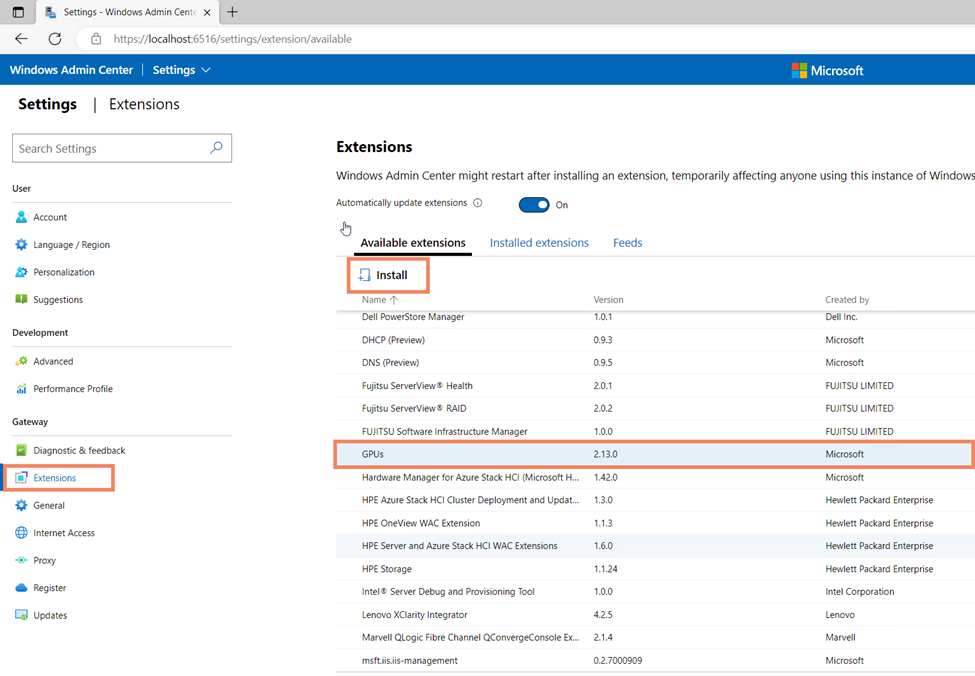
- There are many extensions that can increase the versatility of WAC. To install extensions, go to the Settings Cog in the upper right-hand corner of the browser.

- Click Extensions on the left-hand column. A list of Available Extensions will appear.
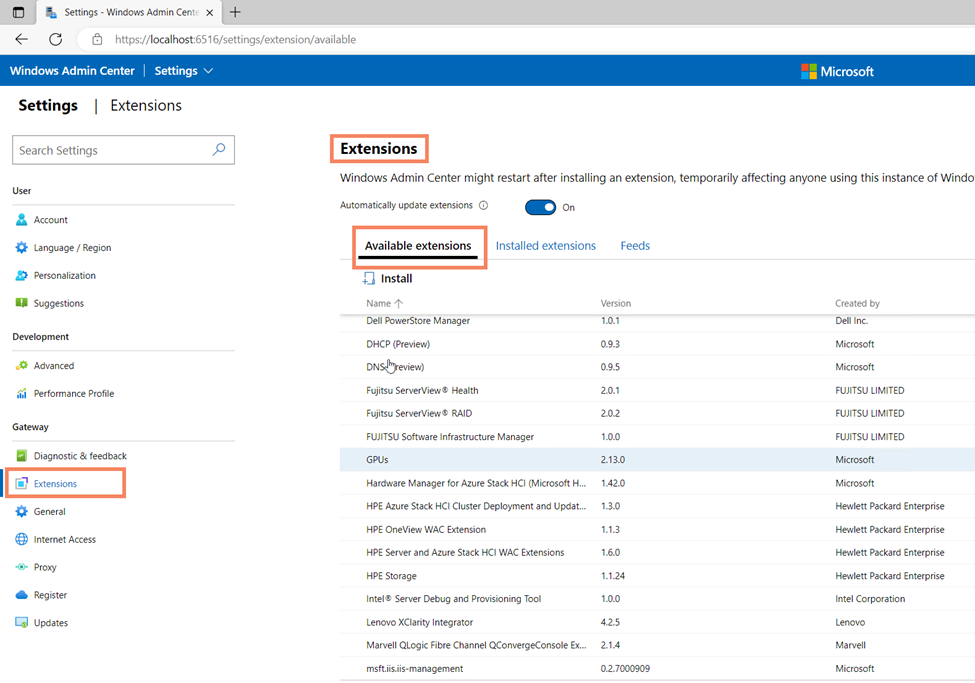
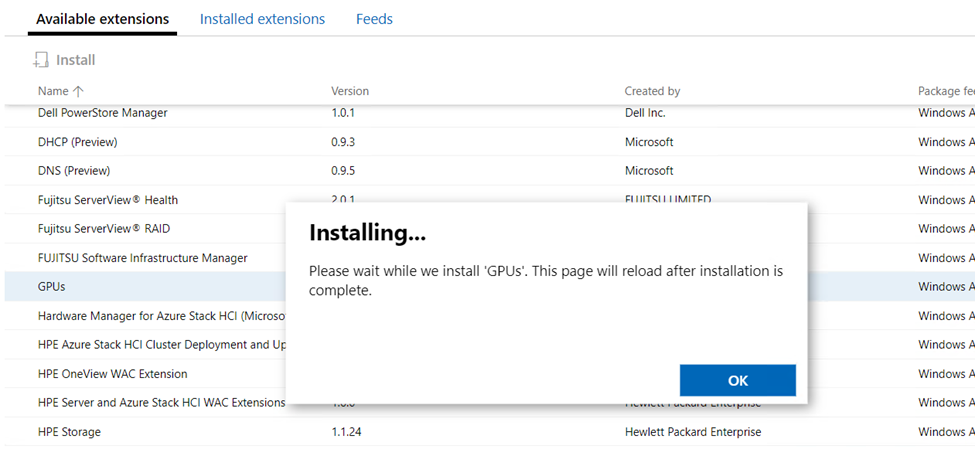
- To install an extension, select the extension and click the Install butting on top of the most left Column.
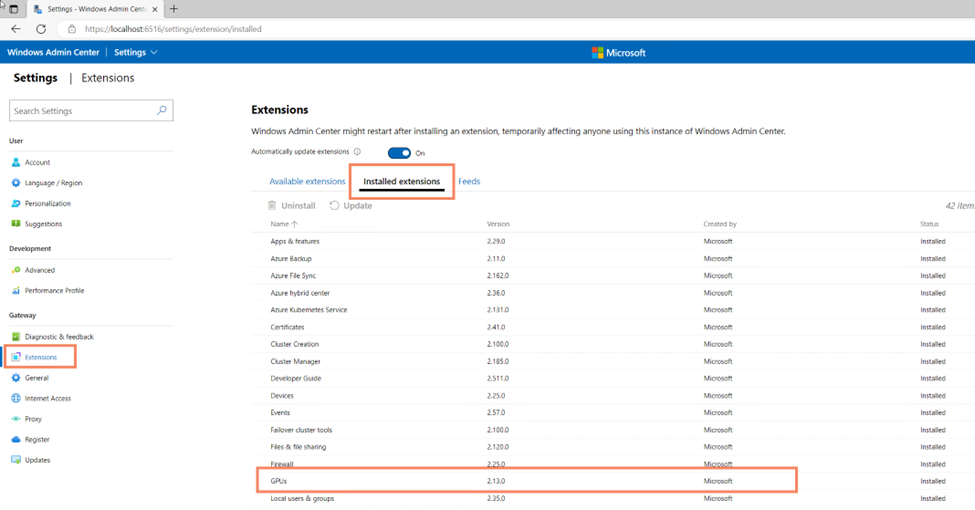
- To view installed extensions, Click the Installed Extensions Tab.
Managing Servers in WAC
- To manage a server remotely using Windows Admin Center, go to the WAC Home screen and select a server. To the right of the WAC home menu is a filter and Server Manager can be selected to only see servers.
- Once a server is selected an Overview of the server will be displayed. This has all the information regarding the server. The server can also be shut down and restarted from this screen.
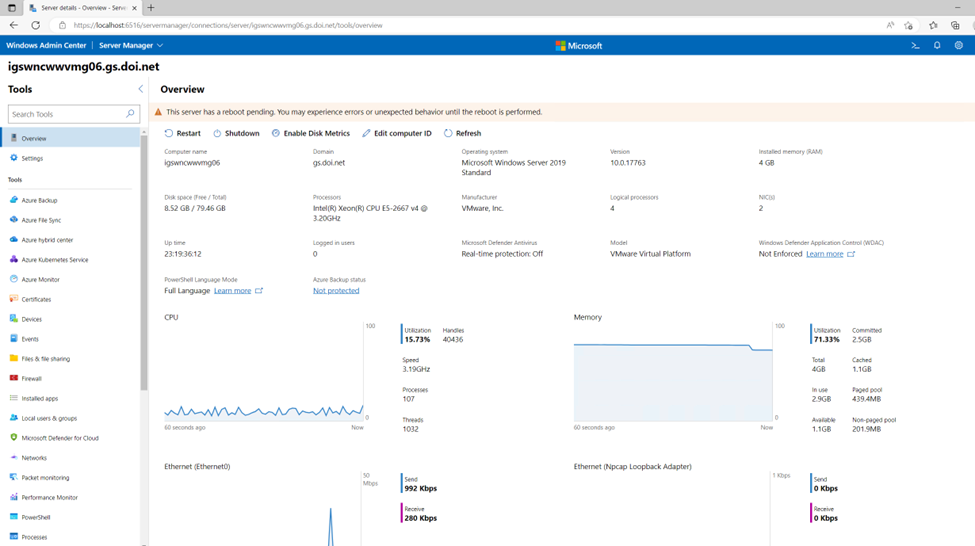
- On the left-hand column of WAC, after a servers is selected, is all the Features and Settings of the server that can be managed remotely. Some Menus will be skipped as they are not being used in the USGS Environment.
- Overview – See basic information about the server
- Settings
- File Services (SMB Server) Settings
- Environmental variables
- Power configuration
- Remote Desktop Settings
- Certificates – See the total amount of certificates that are installed, there location and if they are expired.
- Devices – Basically a remote Device Manager to see what devices are installed. Just like in Device Manager, Devices can be Disabled, Enabled and drivers can be updated.
- Events – A remote Event Logs. View Server Logs remotely
- Files and Sharing – View the file structure of the server, create, delete, rename, and download Files or folders from this menu.
- Firewall – View Incoming and Outgoing Firewall rules. Confirm that Domain, Private, and public firewalls are enabled.
- Installed Apps – See all applications and application information that are installed on the server. Applications can be uninstalled from this menu as well.
- Local users and groups – Information that is pulled from Computer Management. View the Local users and Groups for the Server. Users and groups can be created, managed, or removed from this menu.
- Networks – View installed network adapters for the Server. Information about network adaptors and settings can be modified in this Menu
- Packet Monitoring – Similar to the software Wireshark, use this menu to monitor and diagnose any packet issues regarding the server.
- Powershell – Run Powershell scripts remotely in the background of the server.
- Processes – See all active processes that are running on the server. Processes can be started and stopped from this Menu as well.
- Registry – View and edit registry settings remotely from this Menu.
- Roles and Features – See what R&F are installed and available on the Server. R&F can also be installed in this Menu.
- Scheduled Tasks – This will show all scheduled tasks that are configured on the server. Scheduled Tasks can also be configured in this Menu as well.
- Security – See the last time Defender ran a scan on the server. Scans can also be run from this menu.
- Services – See what Services are installed and running. Services can be stopped, started, and restarted from this menu. Service settings such as General, Log On, and Recovery can be managed here as well.
- Storage – Basically a Remote Disk Manager. Use this menu to extend or resize volumes on the server. Basic drive information is displayed here as well.
- Updates – Scan, install, and view update history for Microsoft Windows Update form from this Menu.
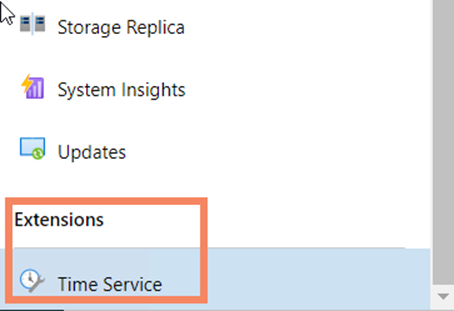
- If additional Extensions are installed, they will be listed below the Updates menu.
Managing Windows Clients in WAC
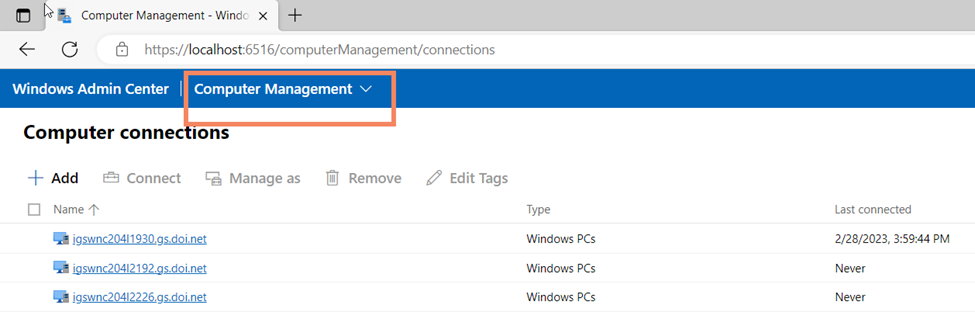
- To manage a computer remotely using Windows Admin Center, go to the WAC Home screen and select a computer. To the right of the WAC home menu is a filter and Computer Management can be selected to only see computers.
- Once a computer is selected an Overview of the system will be displayed. This has all the information regarding the computer. The computer can also be shut down and restarted from this screen.
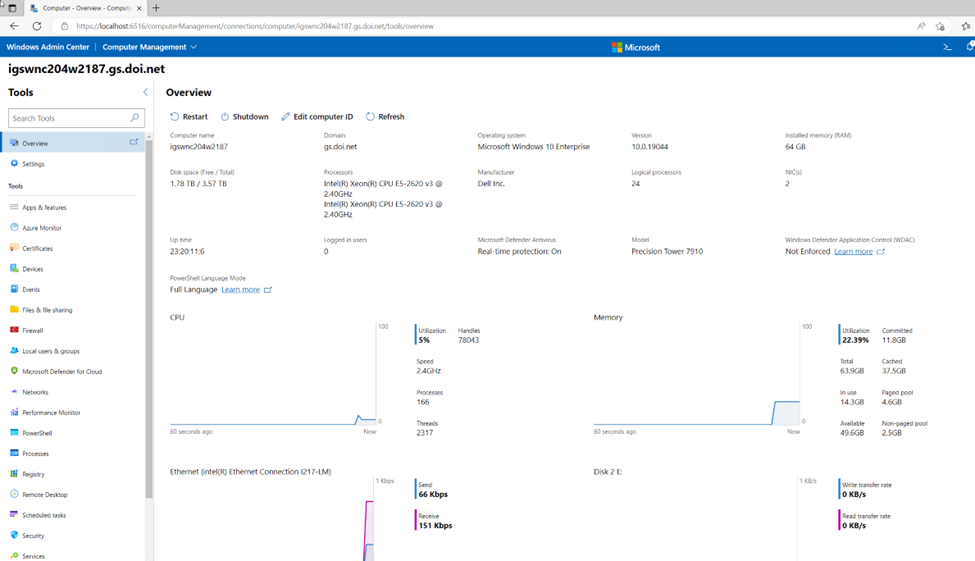
- On the left-hand column of WAC, after a computer is selected, is all the Features and Settings of the computer that can be managed remotely. Some Menus will be skipped as they are not being used in the USGS Environment.
- Overview – See basic information about the computer
- Settings
- File Services (SMB computer) Settings
- Environmental variables
- Power configuration
- Remote Desktop Settings
- Apps and Features – See all applications and application information that are installed on the computer. Applications can be uninstalled from this menu as well.
- Certificates – See the total amount of Certificates that are installed, there location and if they are expired.
- Devices – Basically a remote Device Manager to see what devices are installed. Just like in Device Manager, Devices can be disabled, enabled and drivers can be updates.
- Events – A remote Event Logs. View computer Logs remotely
- Files and Sharing – View the file structure of the computer, create, delete, rename, and download Files and folders from this Menu.
- Firewall – View Incoming and Outgoing Firewall rules. Confirm that Domain, Private, and Public firewalls are enabled.
- Local users and groups – Information that is pulled from Computer Management. View the Local users and Groups for the computer. Users and groups can be created, managed, or removed from this menu.
- Networks – View installed network adapters for the computer. Information about network adaptors and settings can be modified in this Menu
- Powershell – Run Powershell scripts remotely in the background of the computer.
- Processes – See all active processes that are running on the computer. Processes can be started and stopped from this Menu as well.
- Registry – View and edit registry settings remotely from this Menu.
- Scheduled Tasks – This will show all scheduled tasks that are configured on the computer. Scheduled Tasks can also be configured in this Menu as well.
- Security – See the last time Defender ran a scan on the computer. Scans can also be run from this menu.
- Services – See what Services are installed and running. Services can be stopped, started, and restarted from this menu. Service settings such as General, Log On, and Recovery can be managed here as well.
- Storage – Basically a Remote Disk Manager. Use this menu to extend or resize volumes on the computer. Basic drive information is displayed here as well.
- If additional Extensions are installed, they will be listed below the Updates menu.
