Hyper-V can be installed as a role on a full Windows Server 2022 installation. The Hyper-V role includes not only the Hyper-V hypervisor, but the full suite of management components as well.
Installation
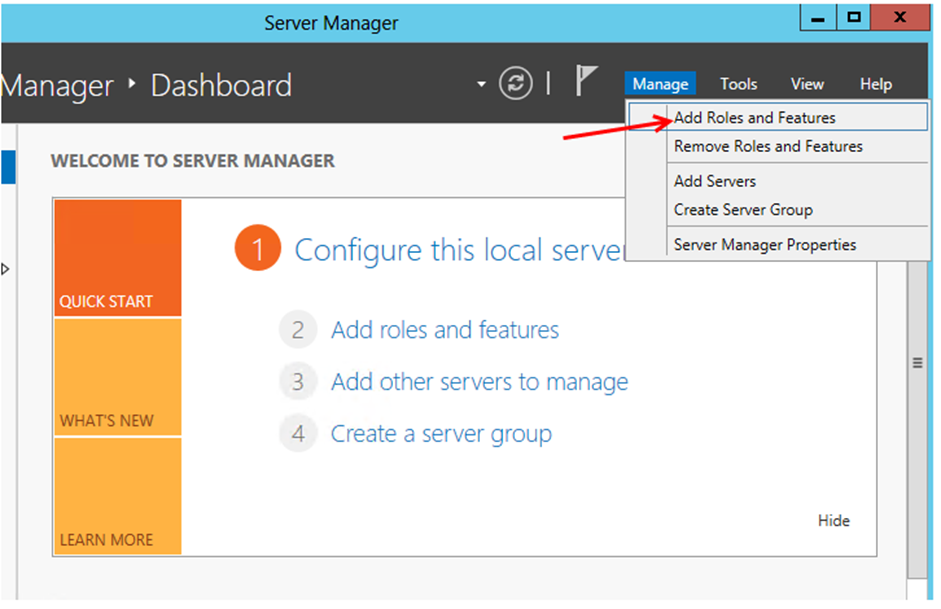
Open Server Manager and click Manage > Add Roles and Features.
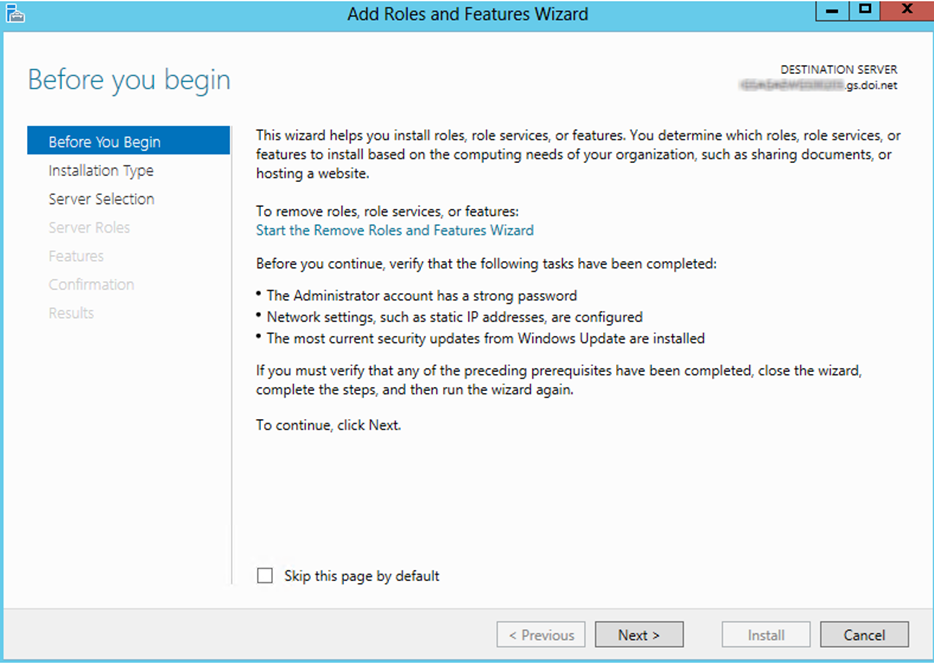
Click Next at the Before you begin window.
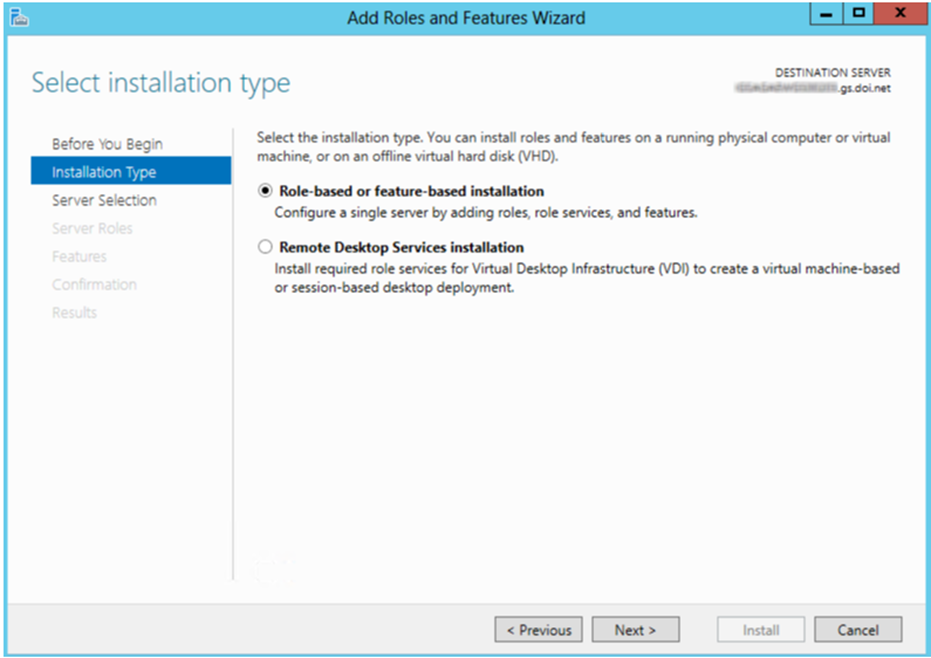
Select Role-based or feature-based installation and click Next.
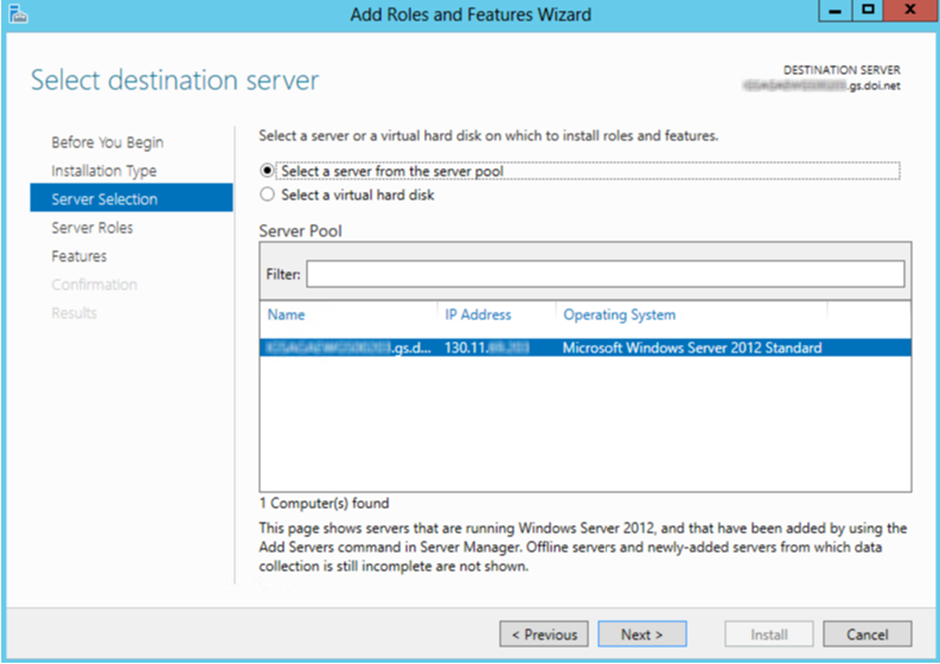
Select the server where the Hyper-V role will be installed and click Next.
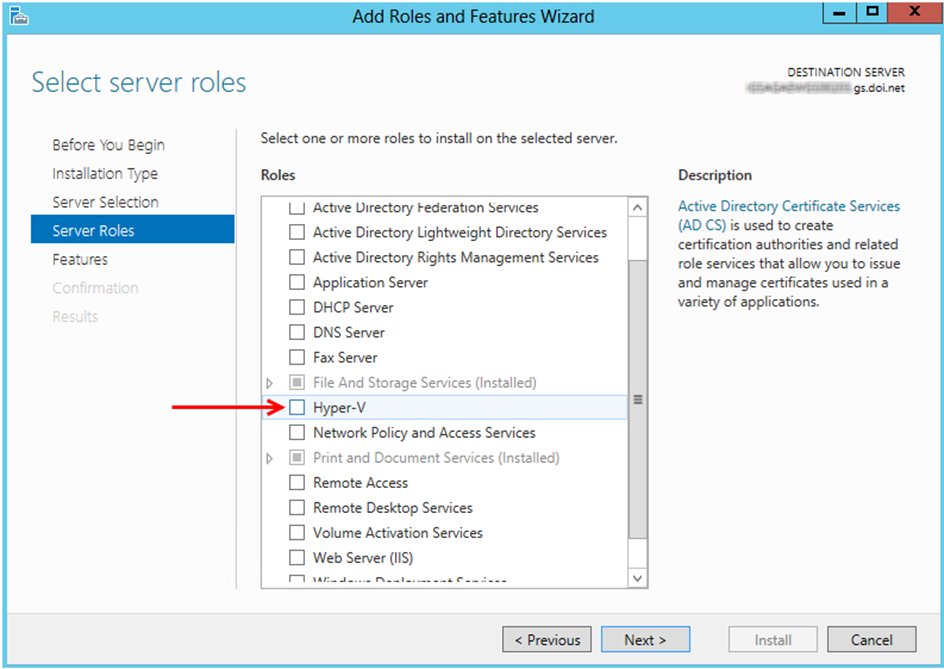
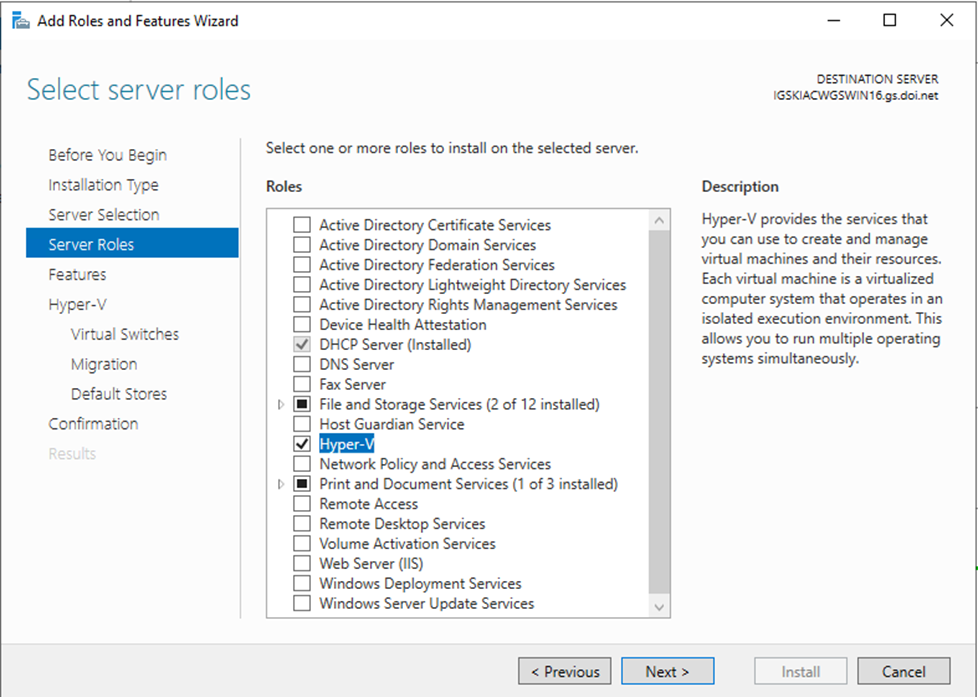
Check the box next to Hyper-V.
This box will automatically open. Click Add Features to install the Hyper-V Management Tools to the selected server.
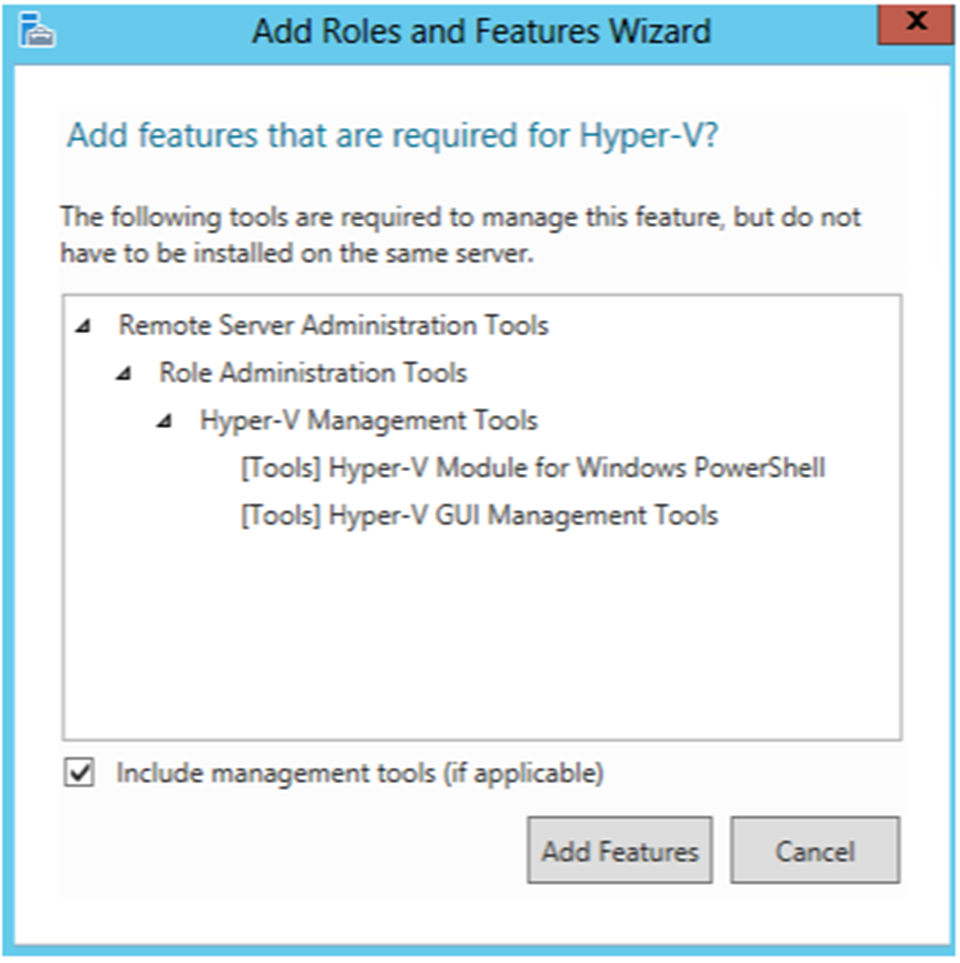
Click Next to continue.
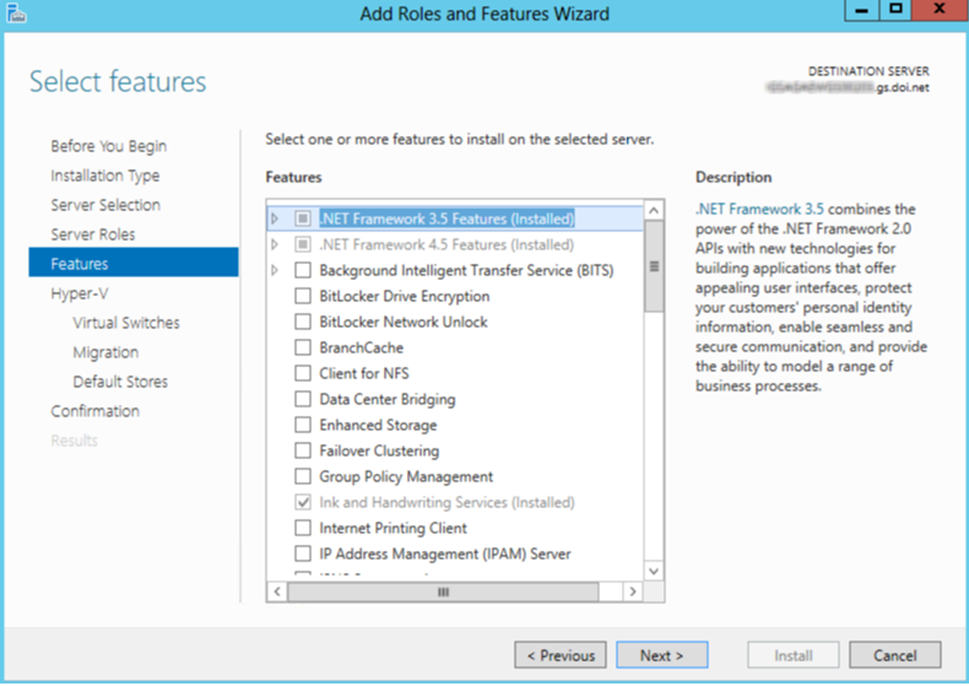
No other features are necessary. Click Next to continue.
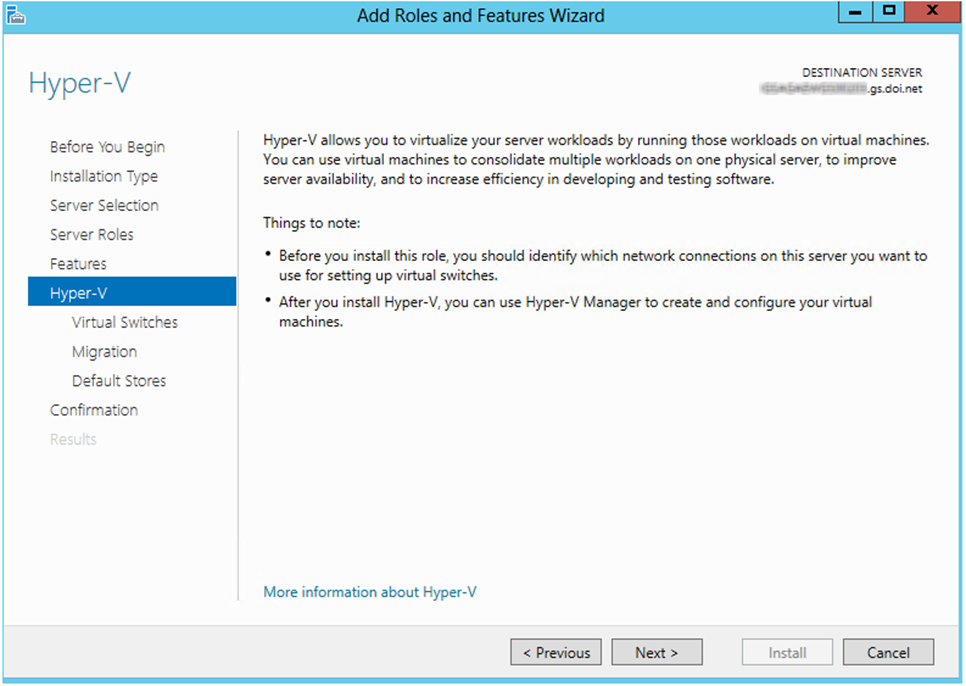
Click Next to continue.
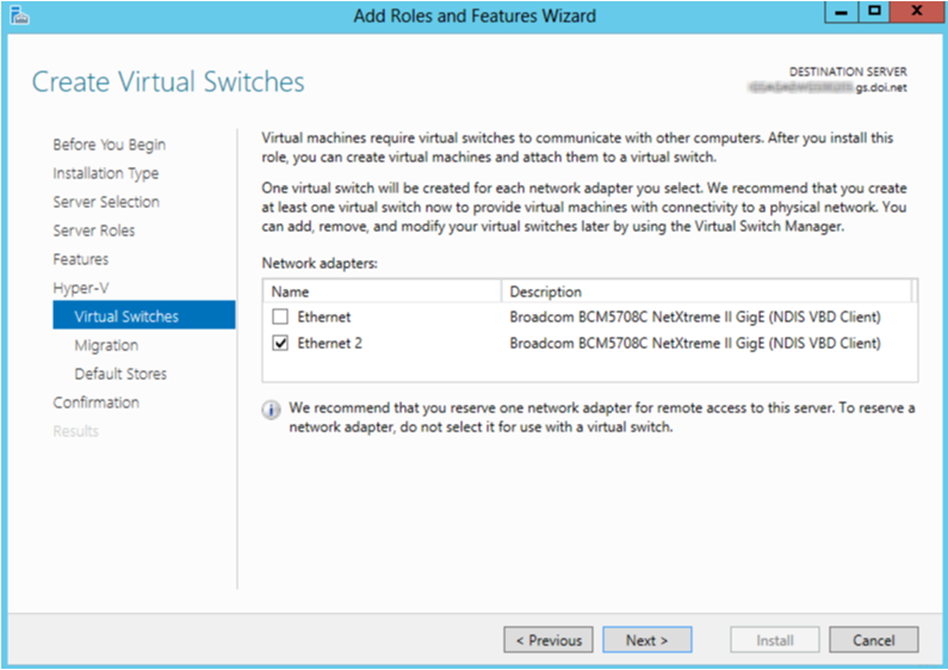
Check the box next to the Ethernet adapter(s) that you would like to host a virtual switch. It is recommended to reserve one network adapter dedicated to remote access to the server. Click Next to continue.
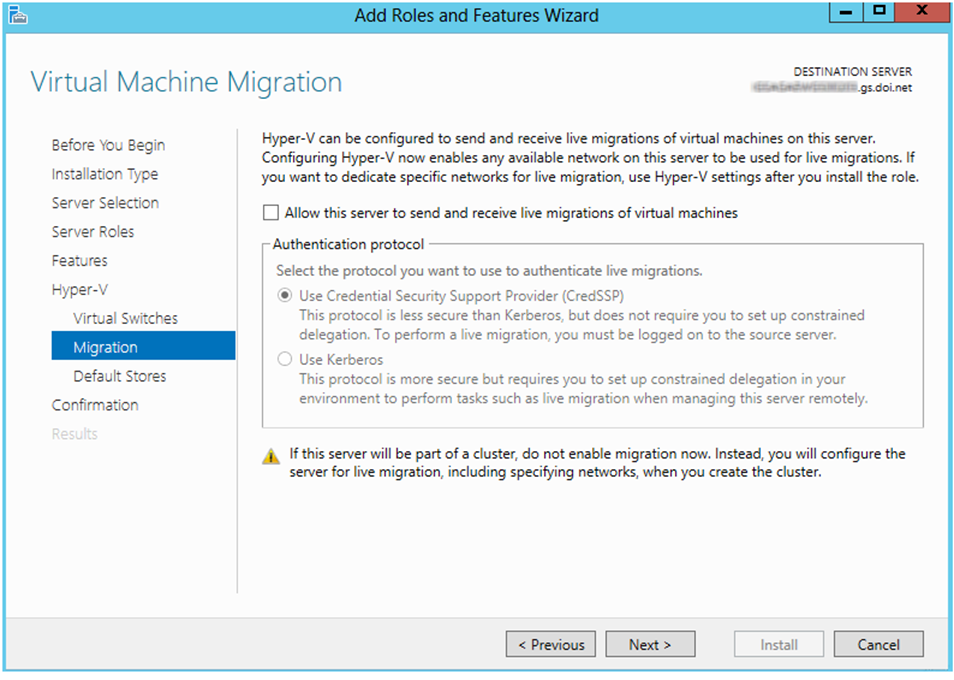
To enable live migrations of virtual machines on this server, check the box and select the appropriate authentication protocol.
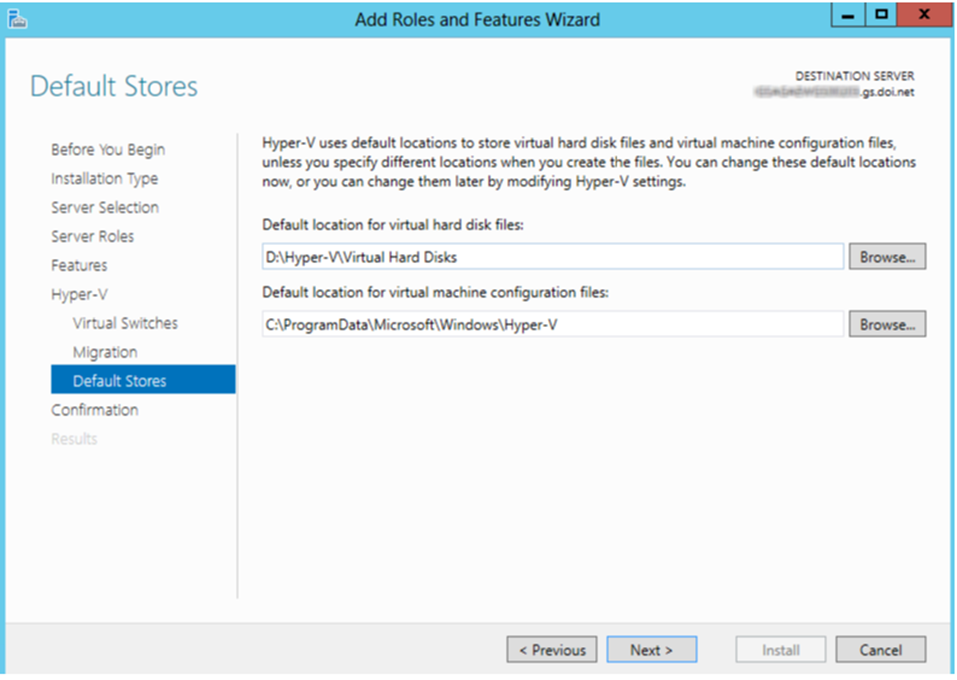
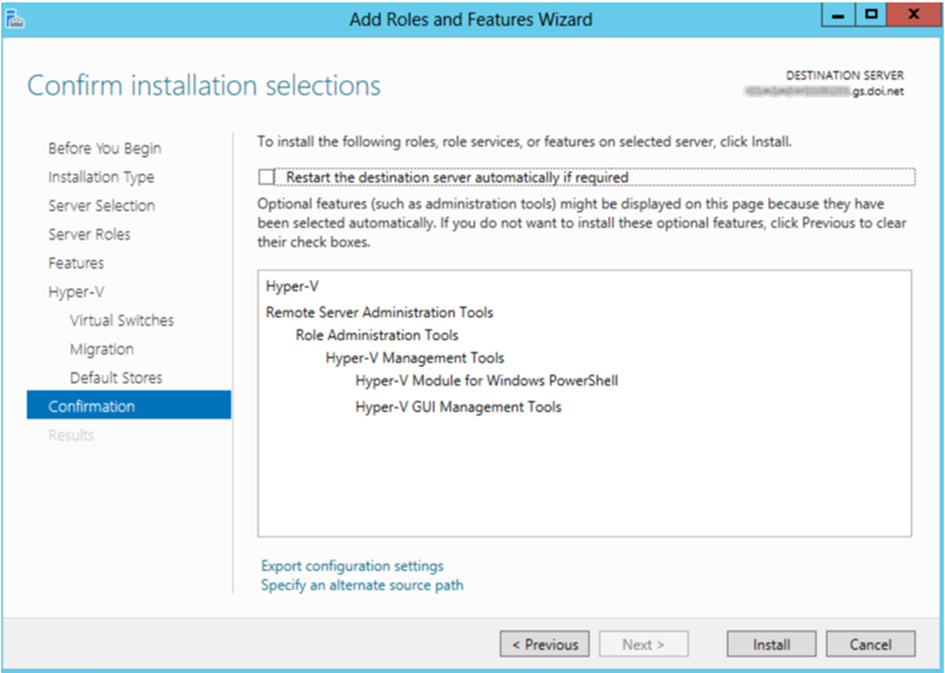
Select the default locations for the virtual hard disks and configuration files. It is generally recommended to store the virtual hard disks on a disk set with RAID enabled for protection.
To begin installation click Install.
Installation progress will be shown.
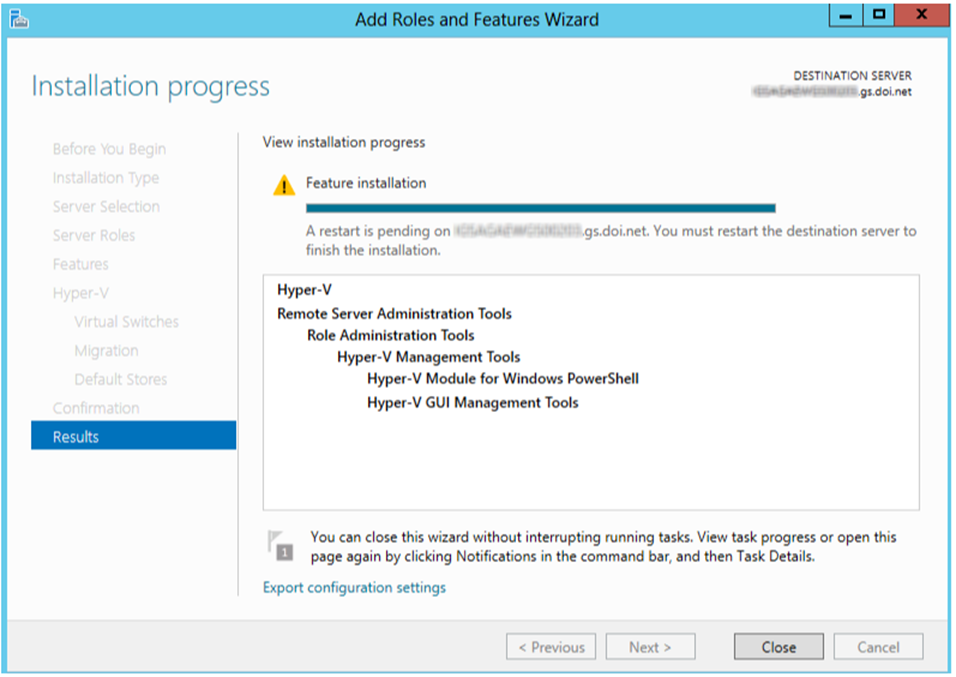
Click Close and restart the server to complete installation.