Print and Document Services enables you to centralize print server and network printer tasks
Adding the Print and Document Services Role
Configuring a New Print Server and Adding a Printer
Installing a Print Driver
Adding a Printer to Print Management
Configuring a Printer Once Added to Print Management
Adding the Print and Document Services Role
Log directly onto the server that needs to have Print Management enabled
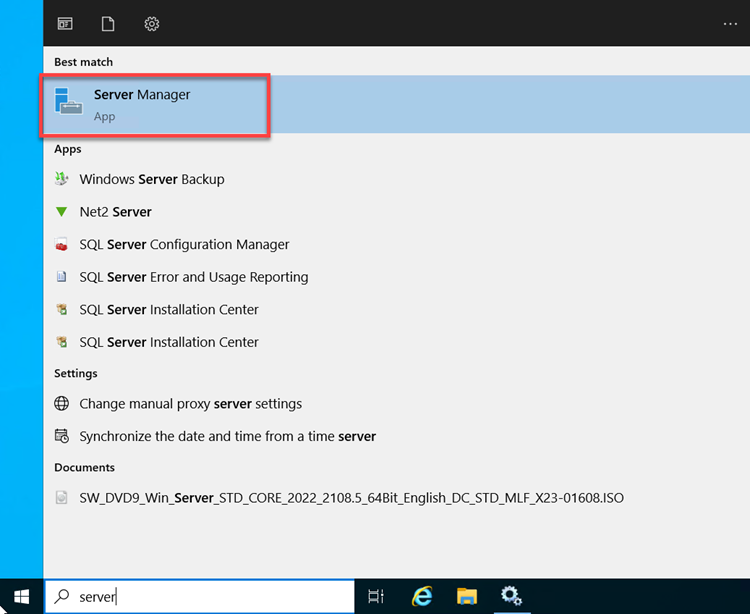
Click on Start and open Server Manager
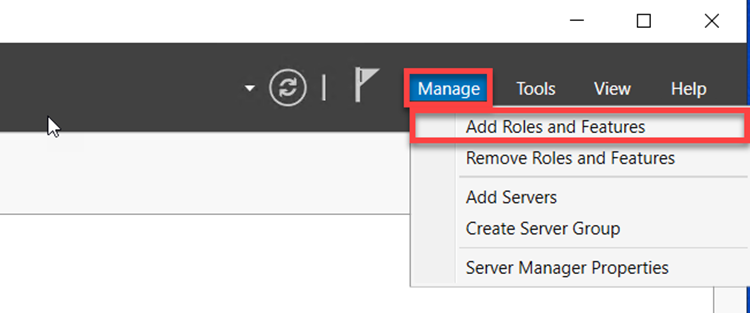
In Server Manager, on the top right, select Manage > Add Roles and Features
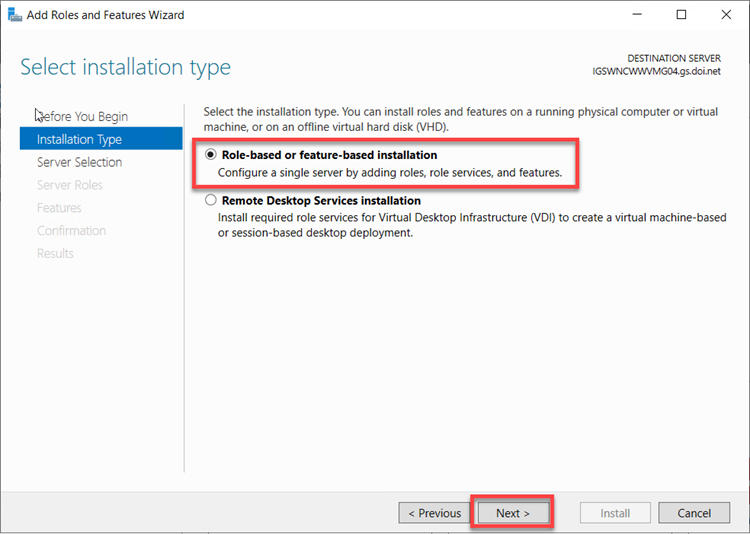
On the Popup window select Next, On the next page choose Role-based or feature-based installation
Choose, Select a server from the server pool

Confirm that the server does not have a pending restart, if there is a yellow banner at the top of the popup indicating a restart, please restart the server before proceeding
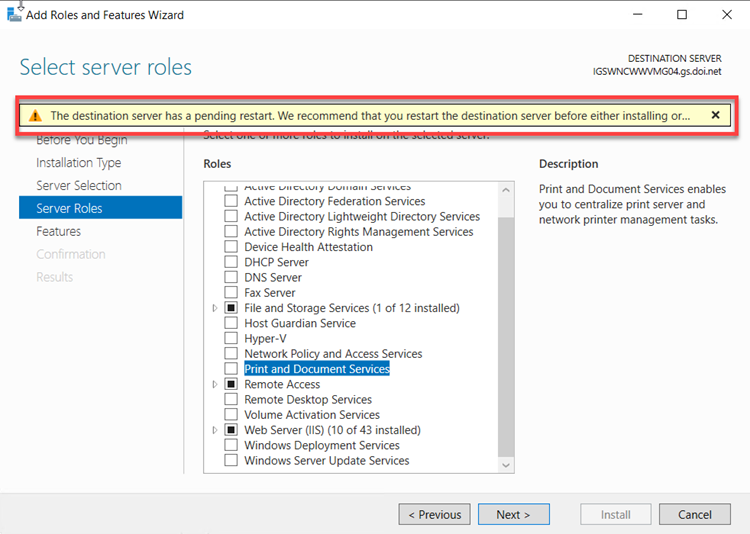
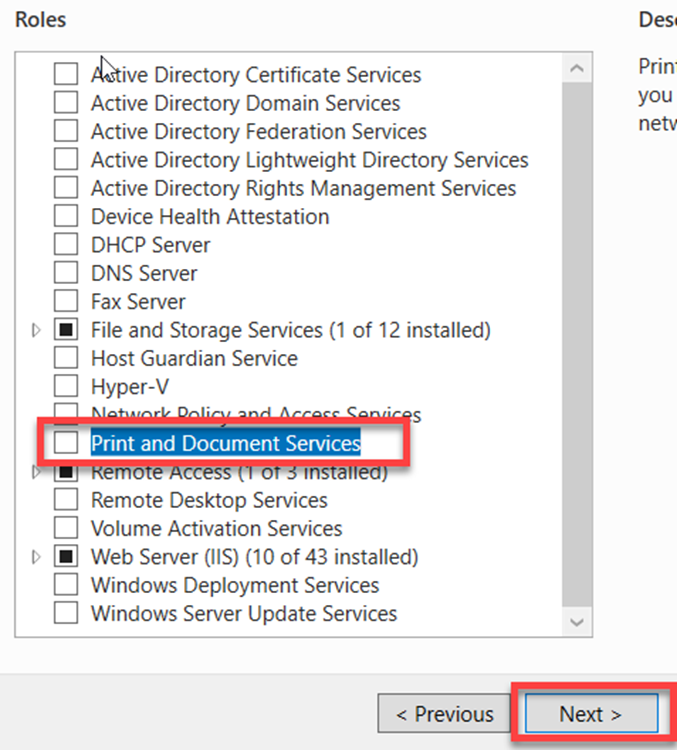
Scroll down and select Print and Document Services
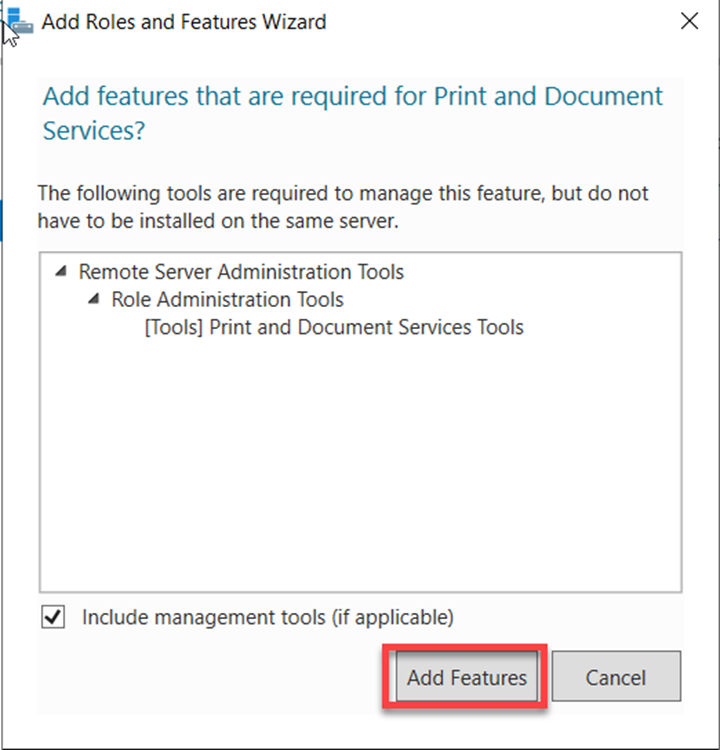
A new pop-up window will appear, accept the defaults and click Add Features
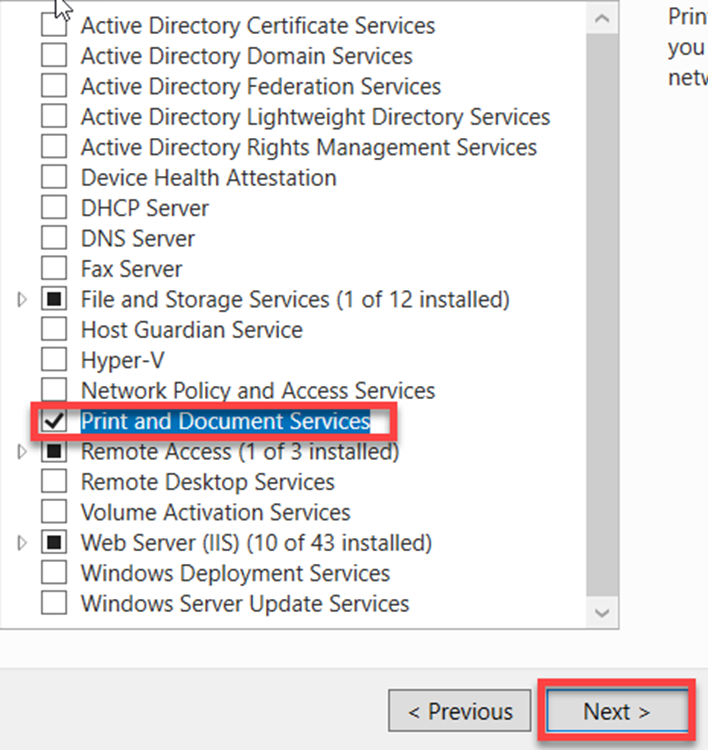
Confirm that Print and Document Services is checked and click Next
In the Features Tab, accept the defaults and click Next
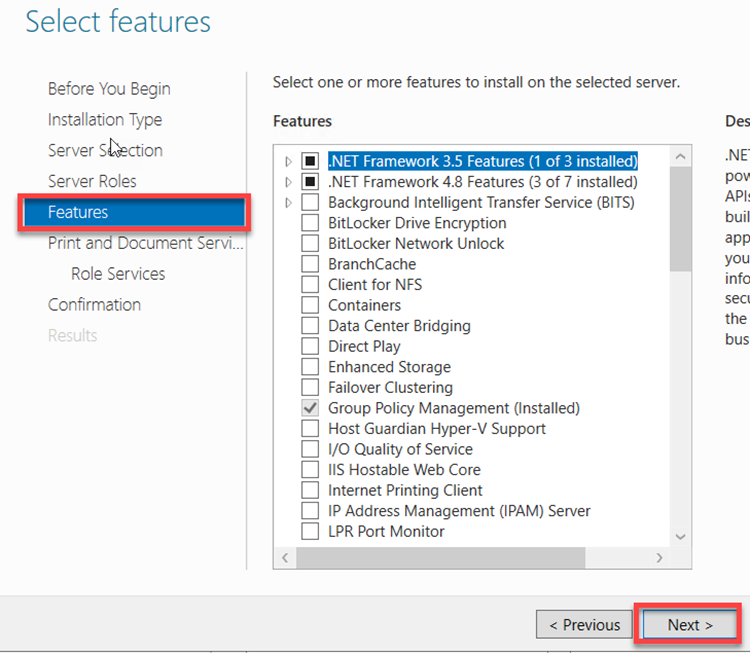
Please read the Things to Note on the Print and Document Services tab

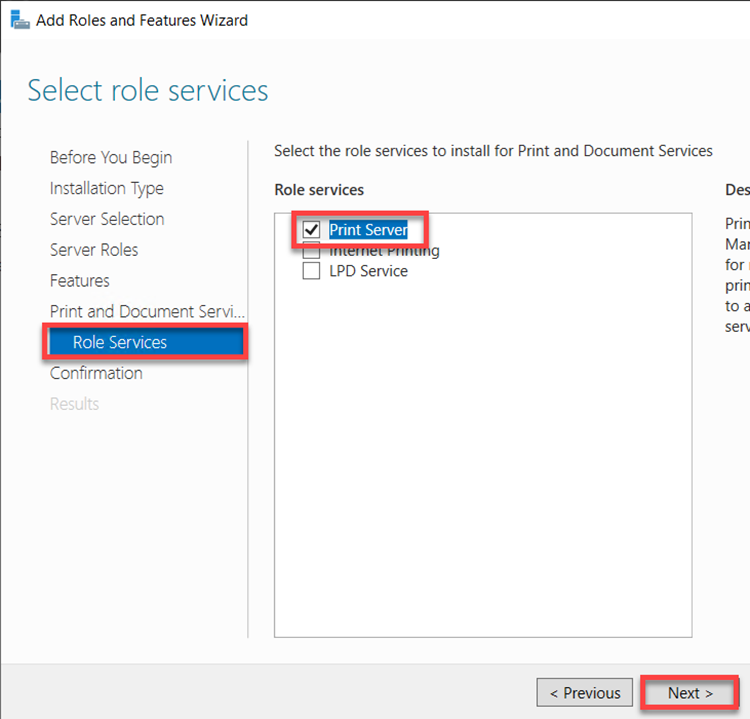
In Role Services, located under Print and Document Services, check Print Server
Under the Confirmation Tab, confirm all the details are correct. It is recommended to check the box to Restart the destination server automatically if required, however it is not required. Click Install
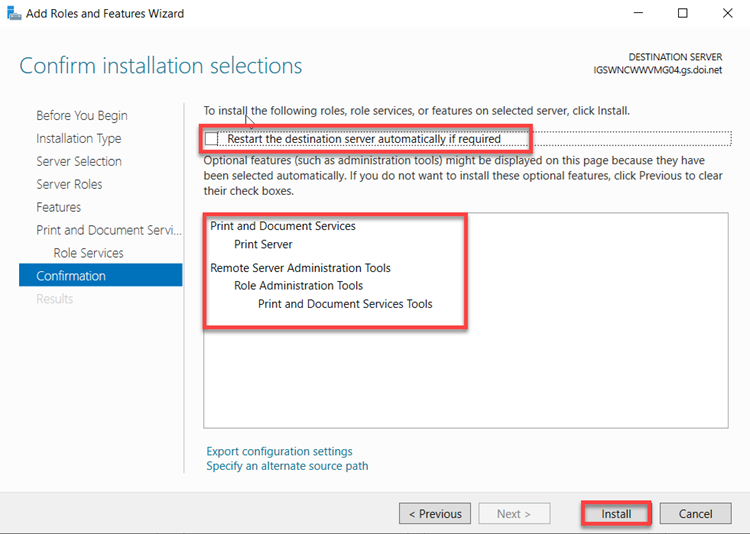
The Print and Document Services will be installed. Once completed, click Close

Configuring a New Print Server and Adding a Printer
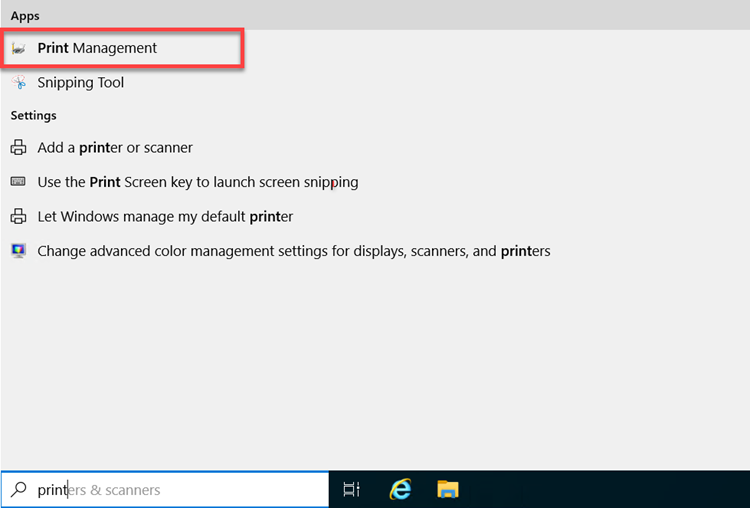
Once the Print and Document Service feature has been added, click on the Start Menu, search for, and open Print Management
Installing a Print Driver
Before a printer can be added to the Print Server, it is easier and recommended to add the print drivers to Print Management first
Go to the manufacturer website and download the latest drivers for the printer that needs to be added into Print Management. Microsoft recommends using type 4 print drivers with Server 2022. Once downloaded, copy the drivers to a directory of your choice on the server
Click on the Start Menu, search for, and open Print Management
In the Print Management console, expand Print Servers > <server name> (local) and click on Drivers
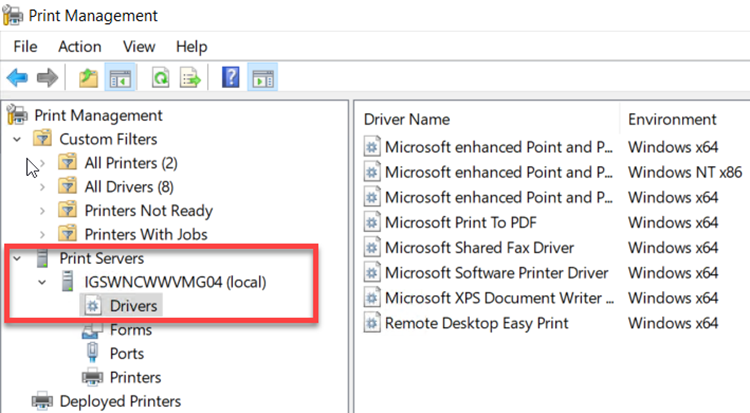
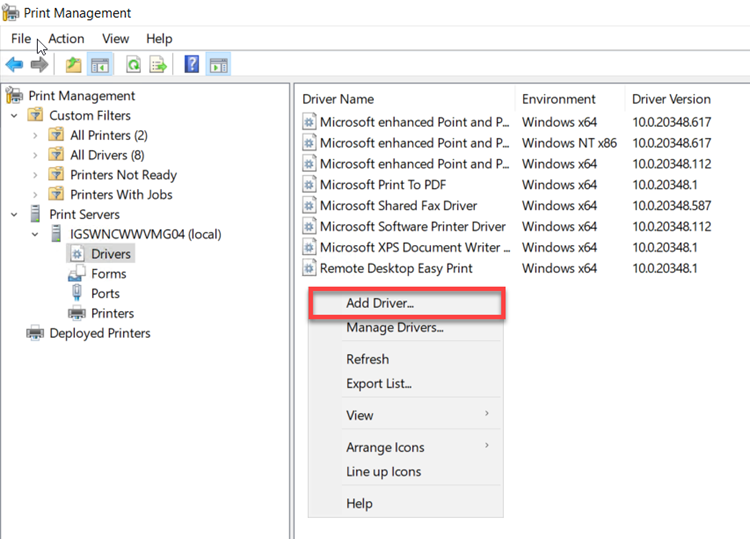
In the middle window of the Driver’s menu, right-click and select, Add Driver
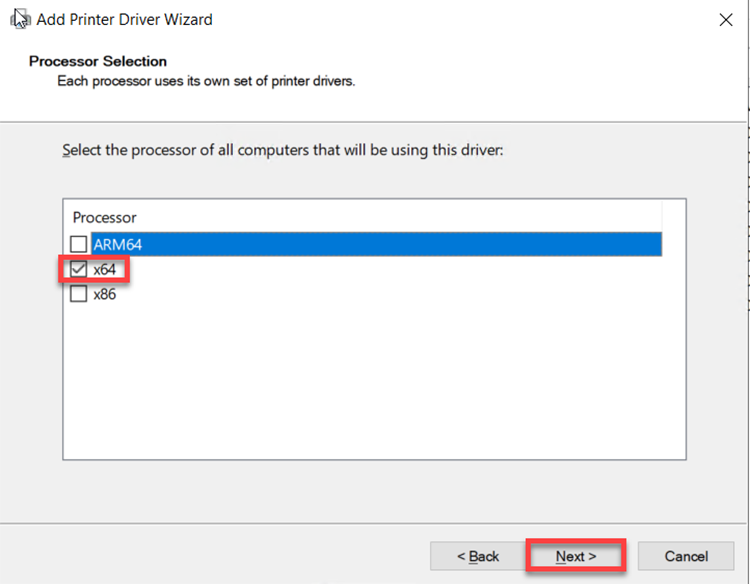
At the pop-up window, click Next on the initial screen and then check x64 on the Processor Selection window
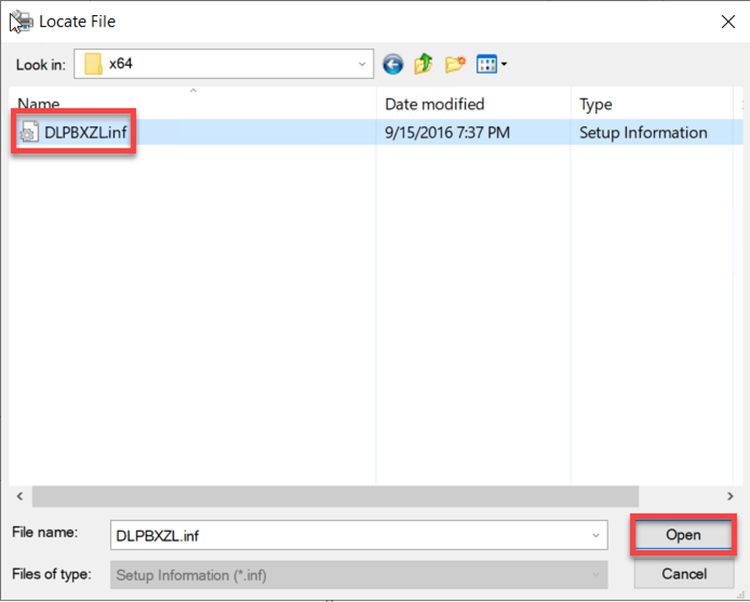
Click on Have Disk, then Browse to the location of the drivers that were copied to the servers in step 1
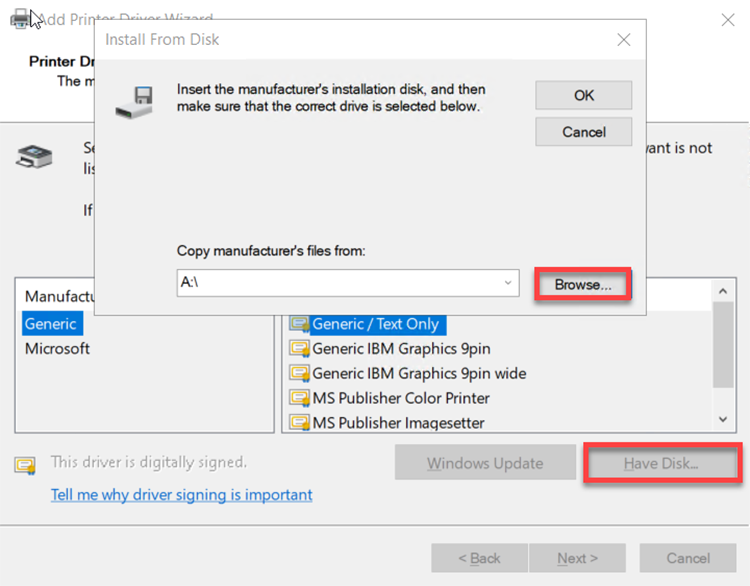
Select the appropriate driver file and click Open and then OK
Select the appropriate driver and click Next then Finish
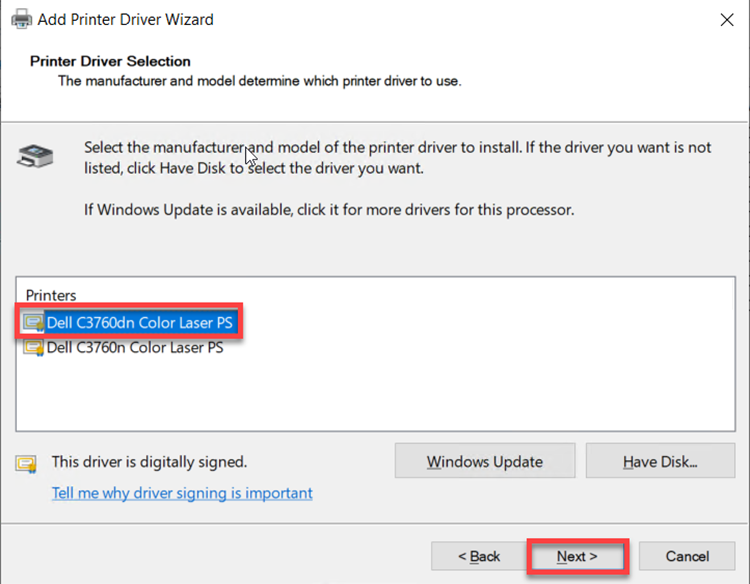
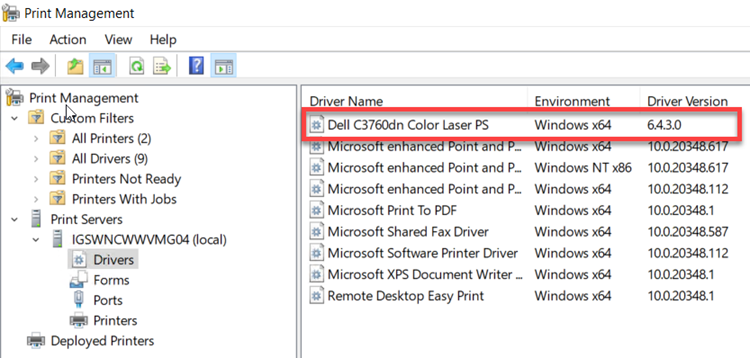
Let the driver install and confirm the driver has been successfully added
Adding a Printer to Print Management
Before adding a printer into Print Managment, it is highly recommended that the printer be already setup, named according to USGS standards, configured, and has a static IP address.
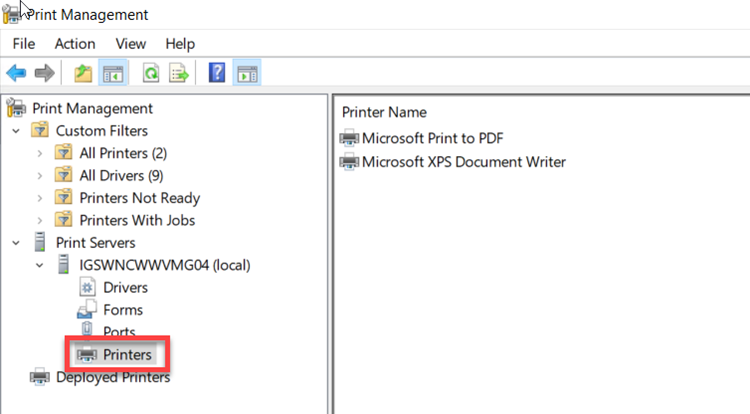
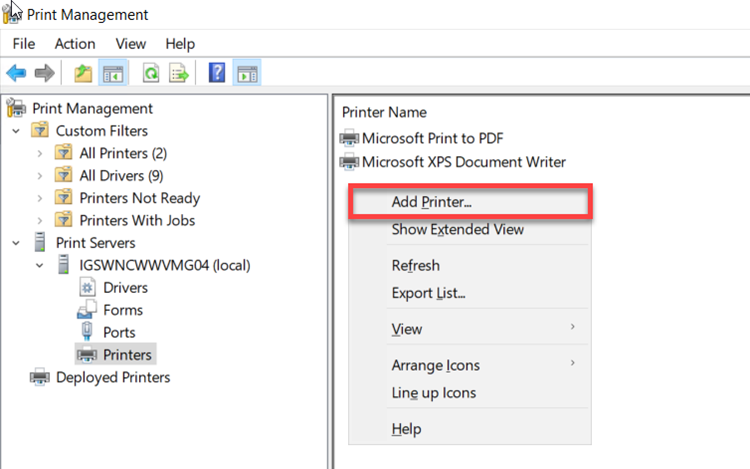
In the middle window of the Printers’ menu, right-click and select, Add Printer
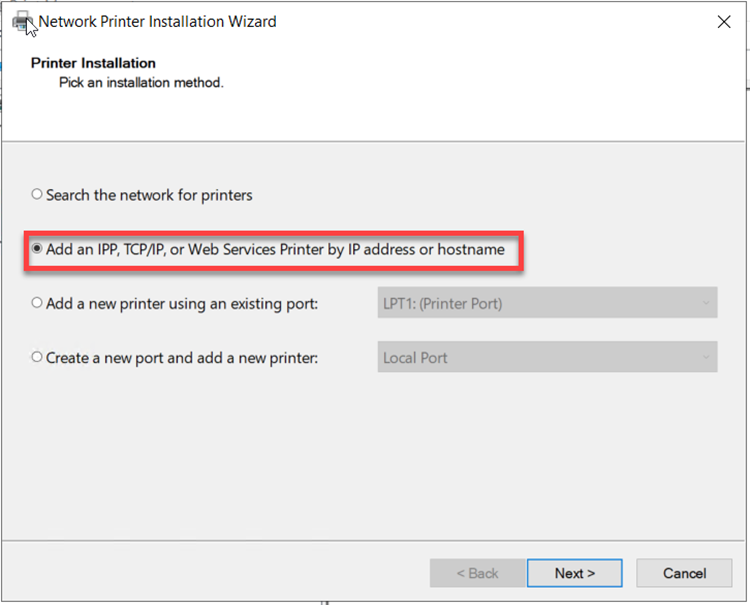
At the pop-up window, select Add an IPP, TCP/IP, or Web Services Printer by IP Address or Hostname then click Next
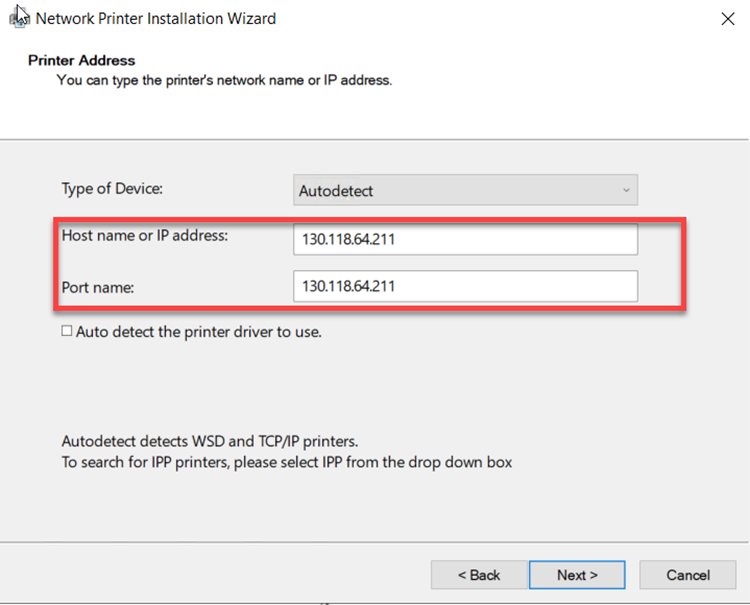
Under the Type of Device dropdown, select Autodetect or TCP/IP, and input the IP address for the printer that needs to be added
You may want to uncheck “Auto detect the printer driver to use” to ensure you can select the exact driver you want to use
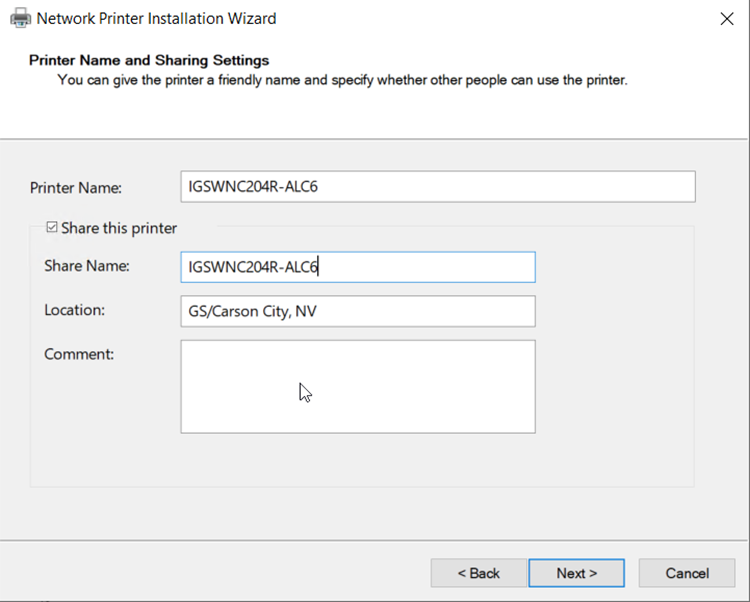
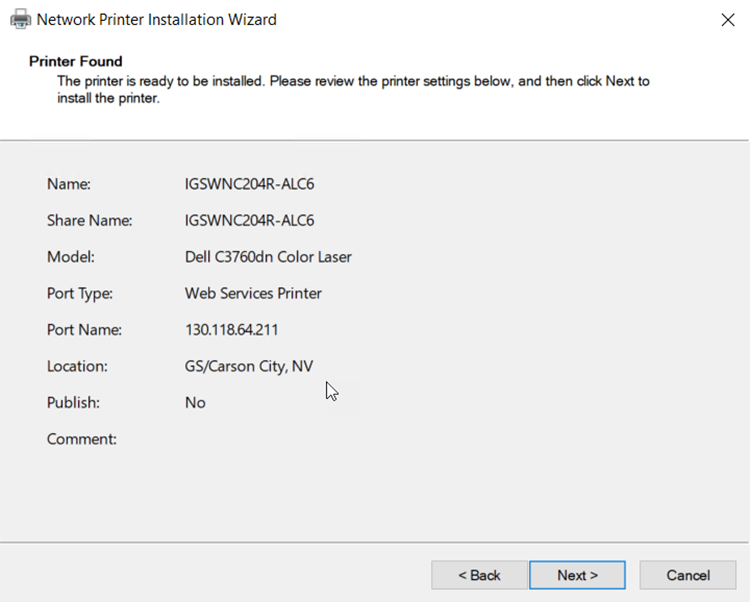
Following the USGS naming standards, enter the printer name, share name, location and any comments for the printer, then click Next
Confirm all the details are correct and then click Next
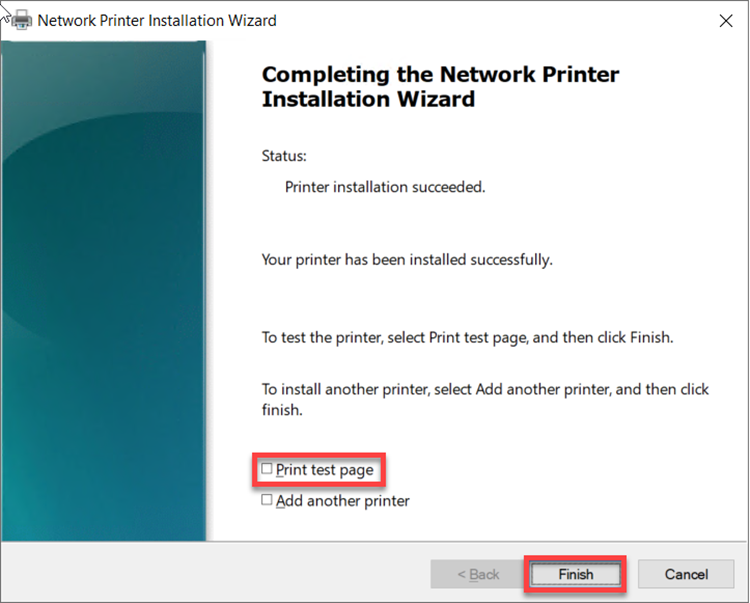
The wizard will install the printer. Once installed, you can check the Print test page box to confirm the printer is working
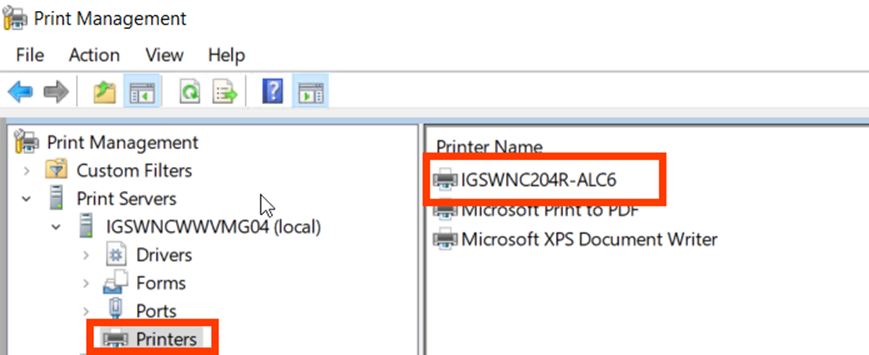
Confirm that the printer has been added under Printers and that the test page was successful
Configuring a Printer Once Added to Print Management
Adding a printer to Print Management does not automatically add it into AD. A few additional steps need to be completed before the printer is ready to be used
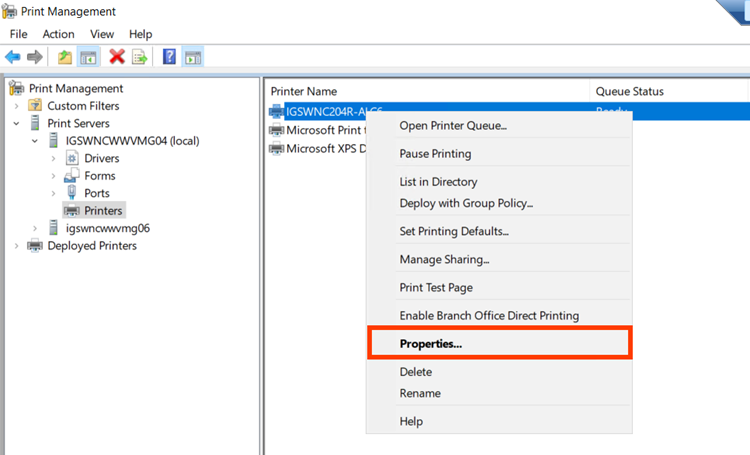
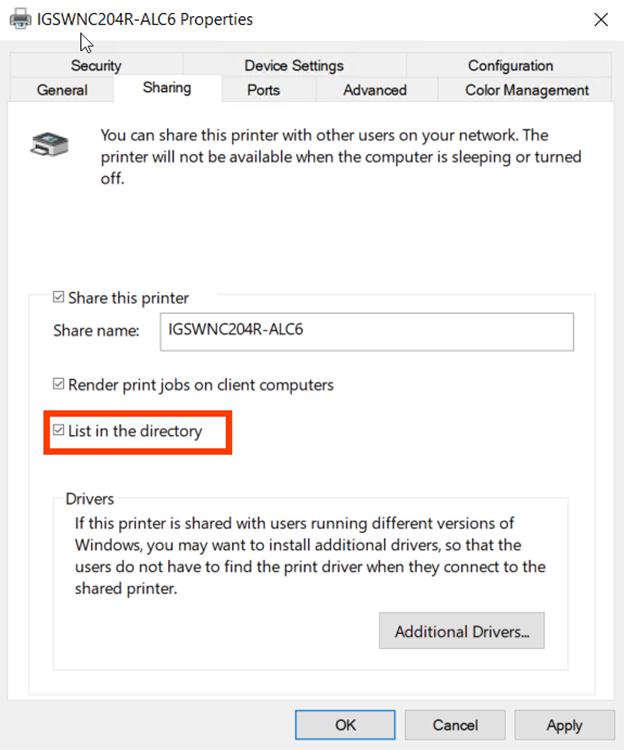
Launch Print Management on the print server, expand Print Servers > <server name> (local) and select Printers. Locate the desired printer, right-click and select Properties
Click the Sharing tab and check List in the directory. While on this tab, confirm the name of the printer is correct, then click OK
Note – It can take several hours for printers to be listed in AD after the List in the directory box is checked and applied
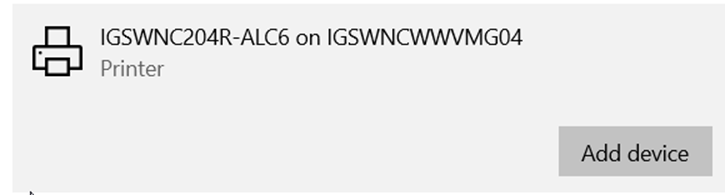
On a standard Windows 10 computer, confirm that the newly added printer is discoverable in Settings > Devices > Printers & Scanners. Install the printer and confirm that a job can be sent to the printer and that the printer prints the job
Note – if Type 4 drivers are not used, an administrator will need to install the driver on the client system