Watch macOS Big Sur Jamf Enrollment ABM on Microsoft Stream.
What is Apple Business Manager (ABM)?
The Department of Interior has enabled Apple Business Manager (ABM) functionality, which allows Jamf to have enhanced device supervision, security, and configuration capabilities on or off the USGS/DOI network.
Since March 1, 2021 newly purchased Macs from the DOI Storefront are enrolled in ABM, and IT Specialists may expect a slightly different but streamlined Jamf enrollment process.
ABM, combined with the mandatory use of the DOI Storefront for Apple hardware acquisition reinforces a secure supply chain (avoidance of gray market Apple hardware entering the USGS/DOI network) and allows for enhanced device supervision capabilities. If a supervised device is lost or stolen, a special command is relayed by Apple Servers and devices may be Remotely Locked or Remotely Wiped. Attempts to “wipe and reset” a Mac device in a supervised state will not remove supervision or remote lock.
Most of the following screenshots are already familiar to you if you’ve enrolled Macs running Catalina or Big Sur into Jamf using “self-initiated enrollment.” A few will be different and maybe somewhat confusing. This page hopes to alleviate that confusion.
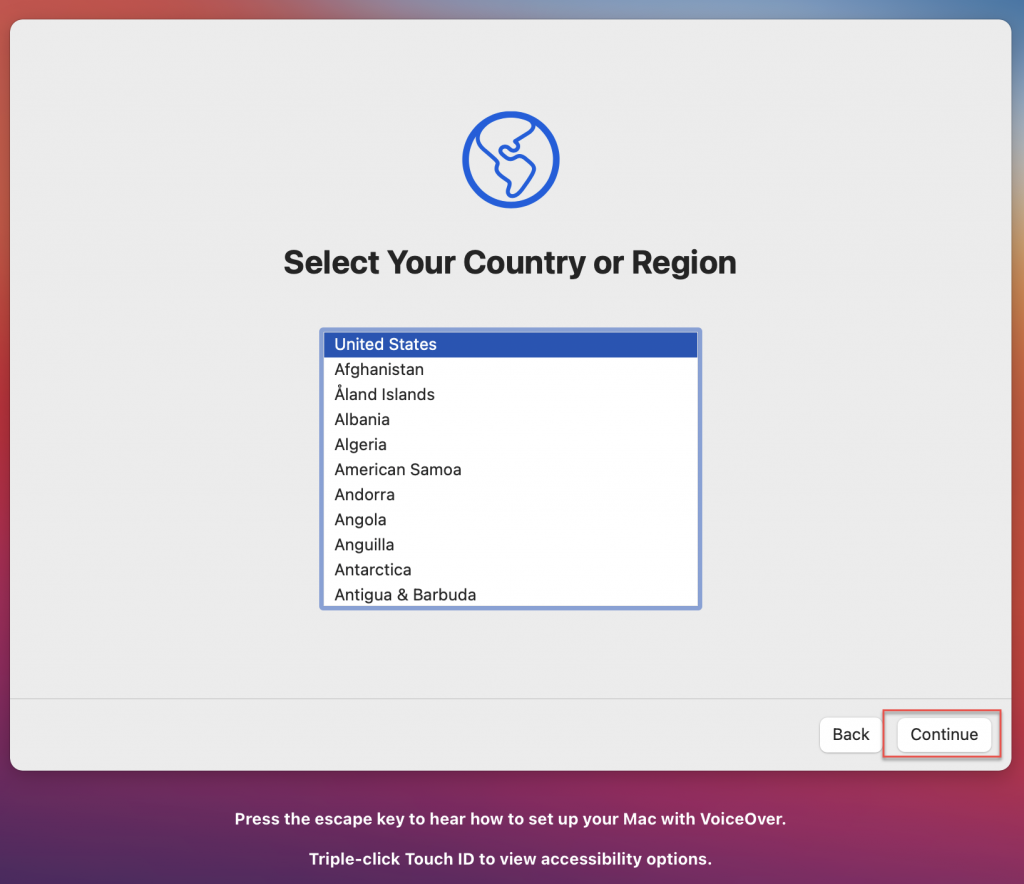
Select your Country or Region and click ‘Continue’
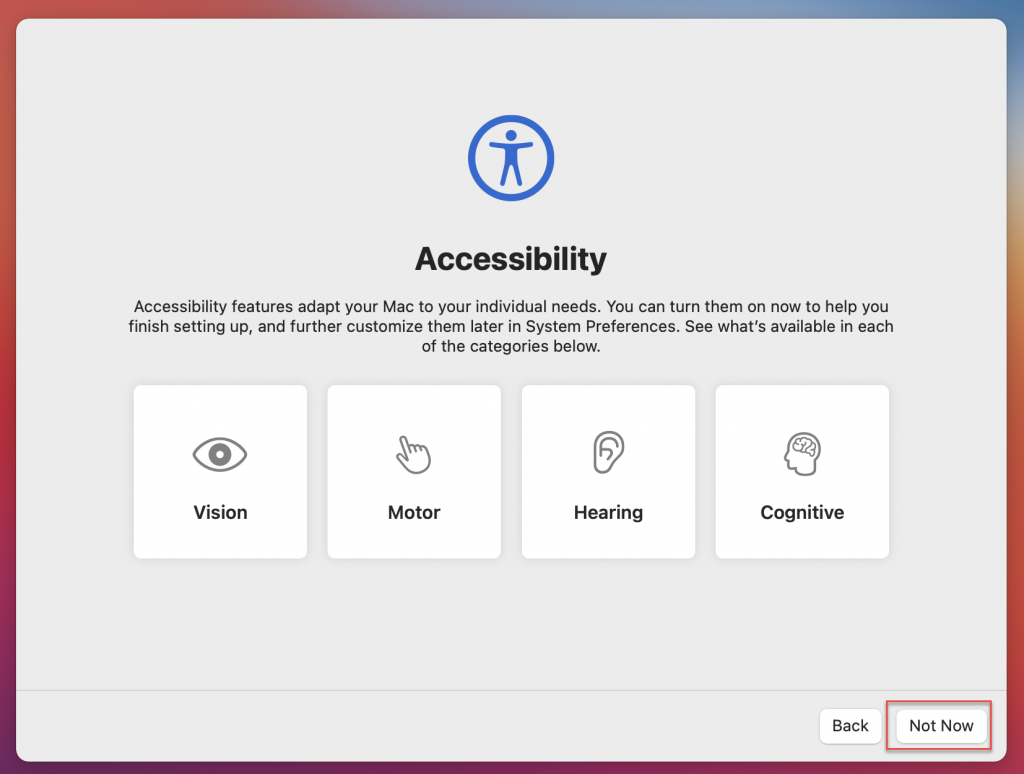
Select ‘Not Now’
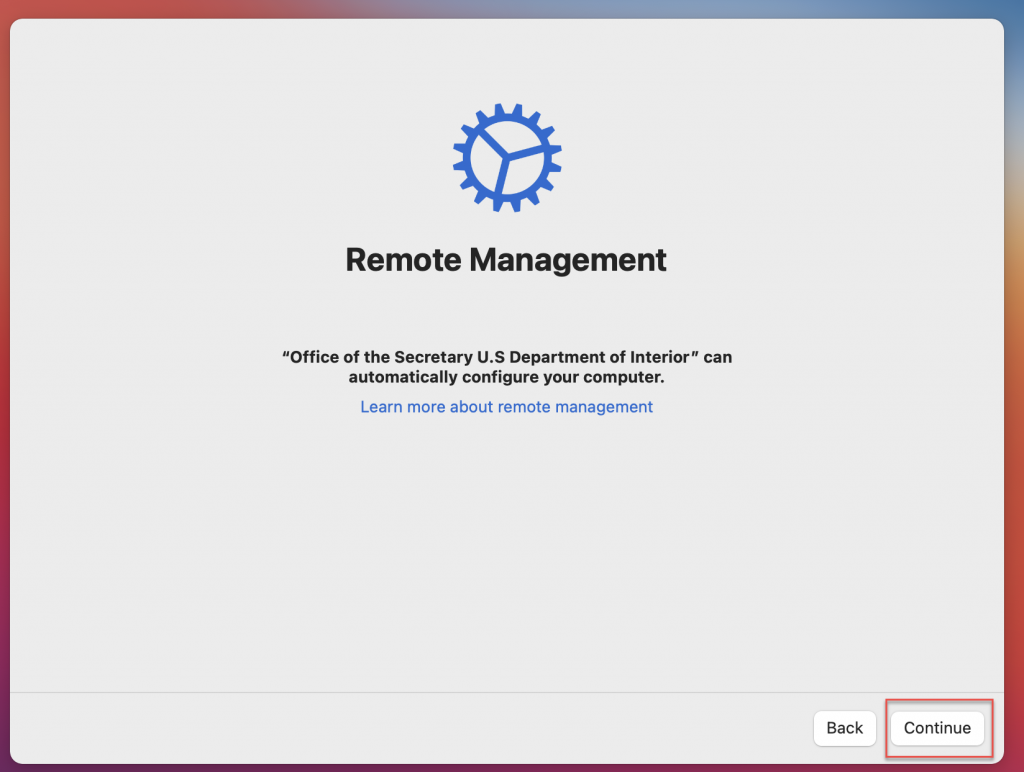
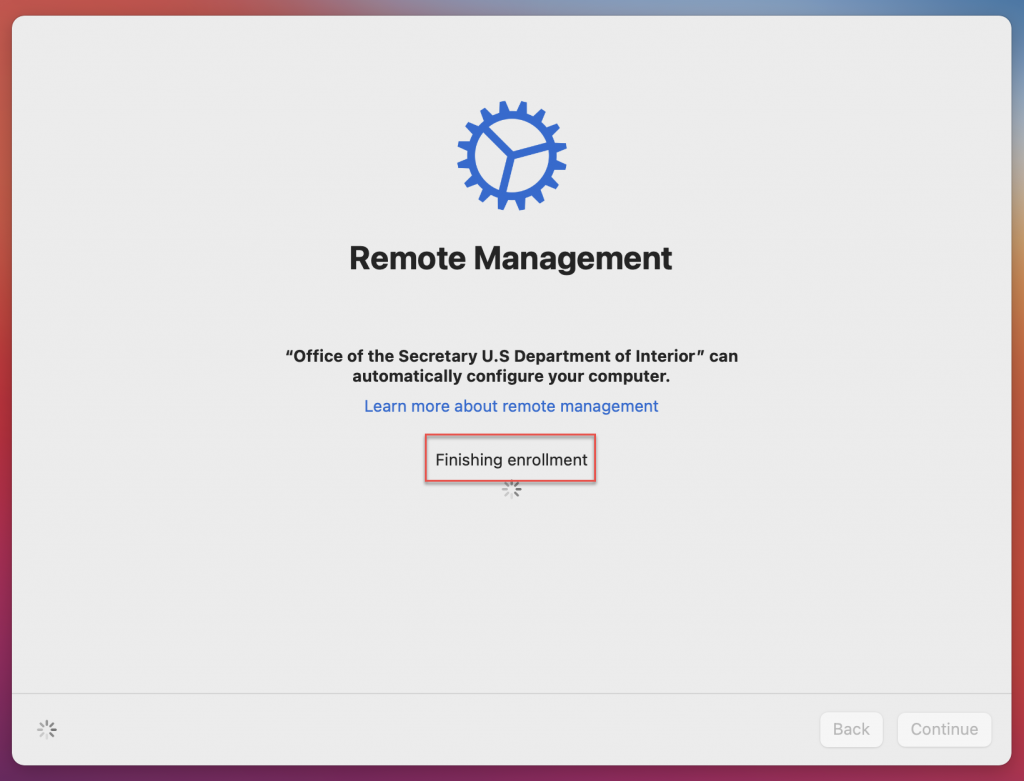
You should now see a screen that says ‘Remote Management’. Click ‘Continue’. This starts the automation with Jamf.
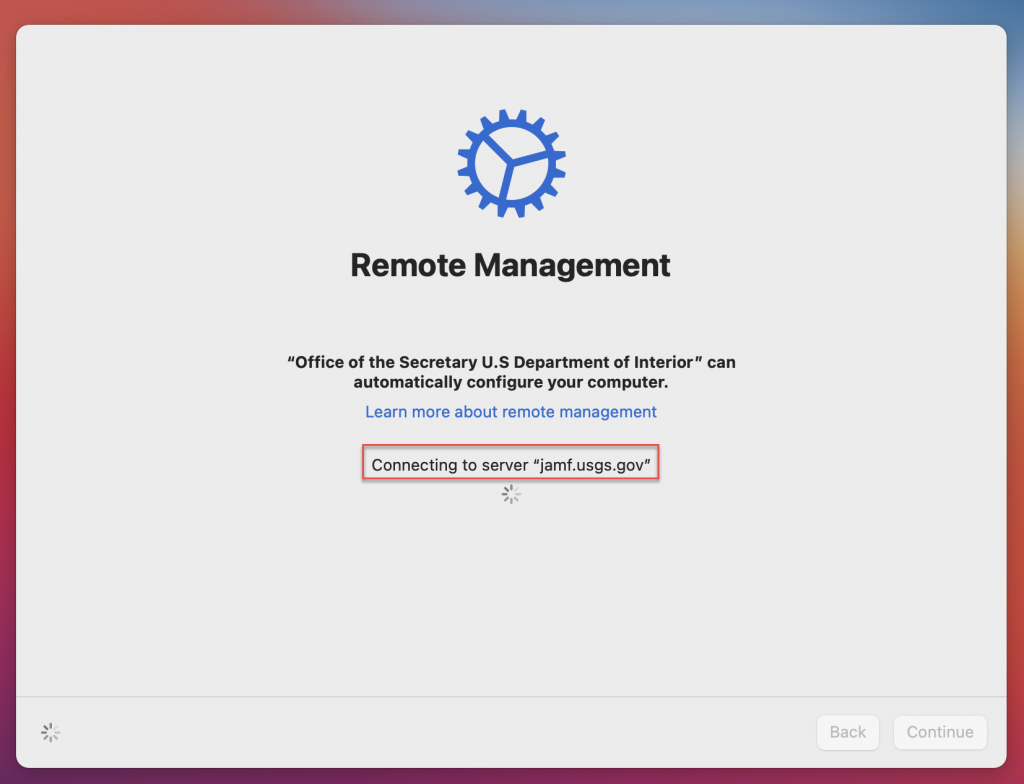
‘Remote Management’ continues with ‘Connecting to server “jamf.usgs.gov”‘. Let it run.
After several minutes you should see the screen that says ‘Finishing Enrollment’
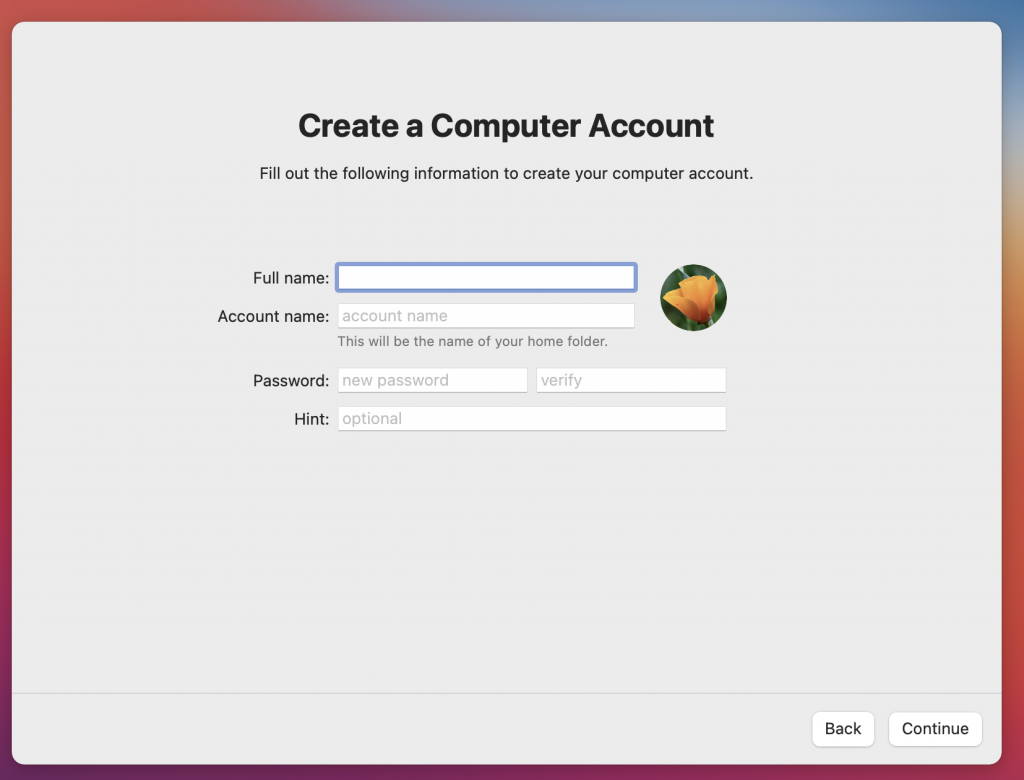
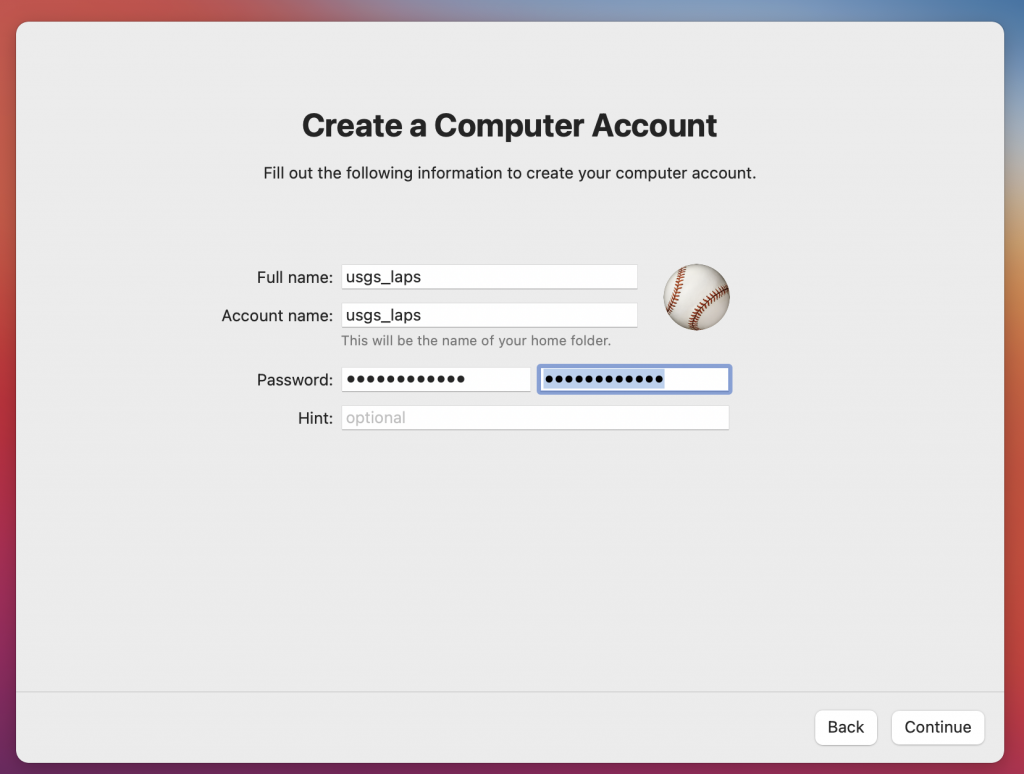
Create your usgs_laps account with your local admin password. If you’ve wiped the system or somehow bypassed ‘Remote Management’ you may see a prompt that tells you that account is already created or being used. In that case, create another admin account with a different name.
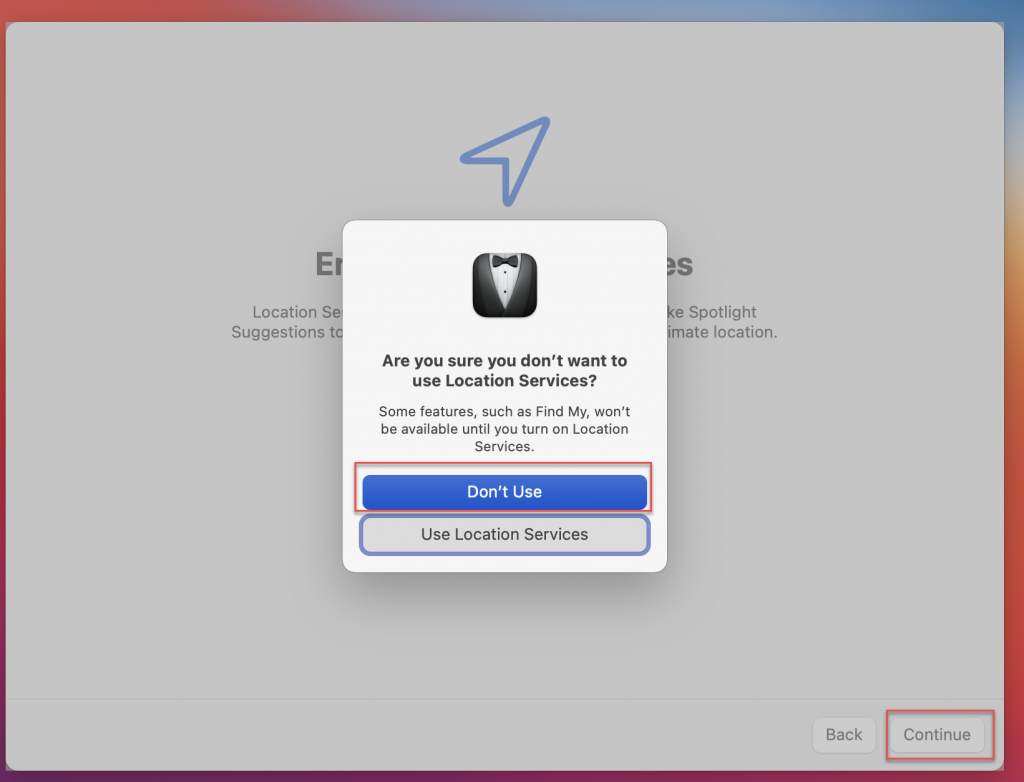
Do not enable ‘Location Services’.
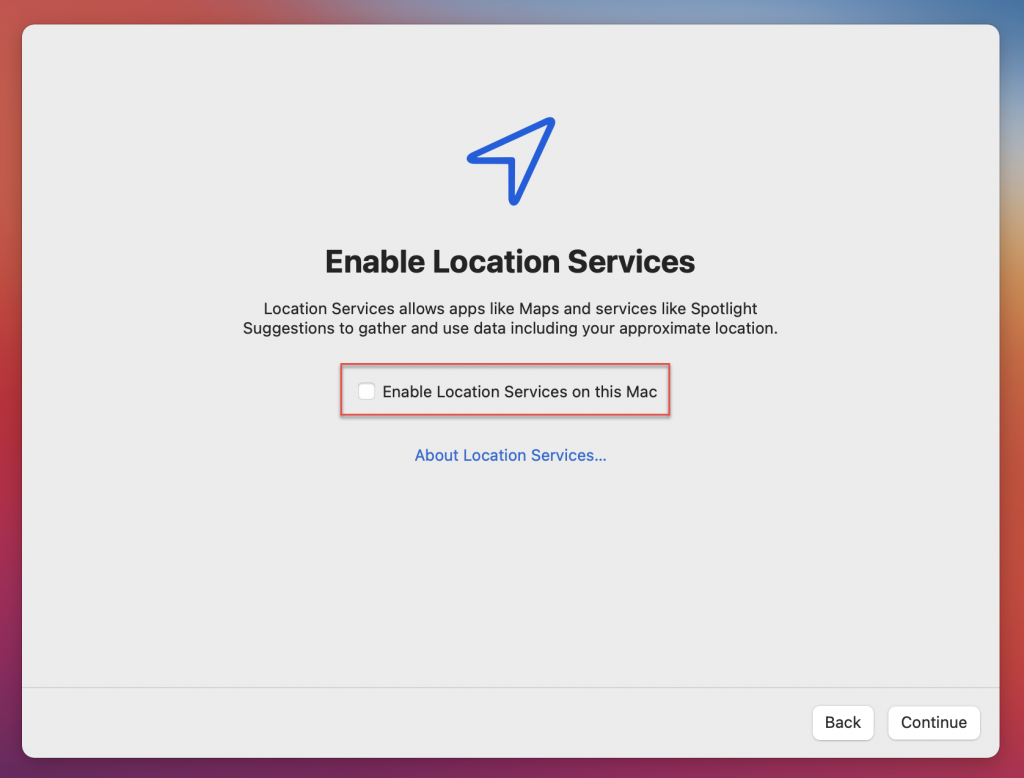
Select ‘Don’t Use’ and ‘Continue’
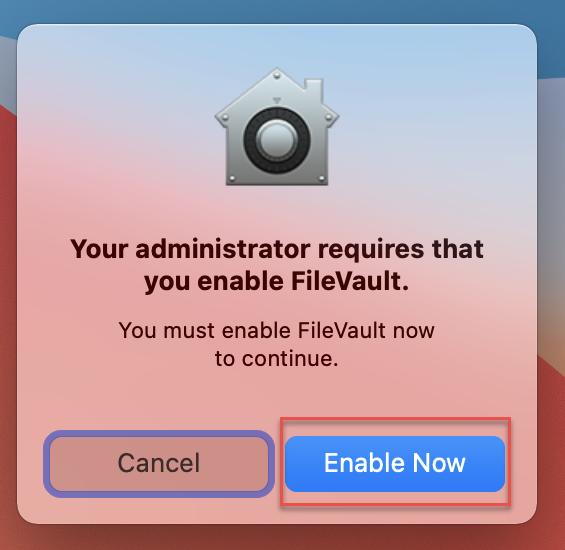
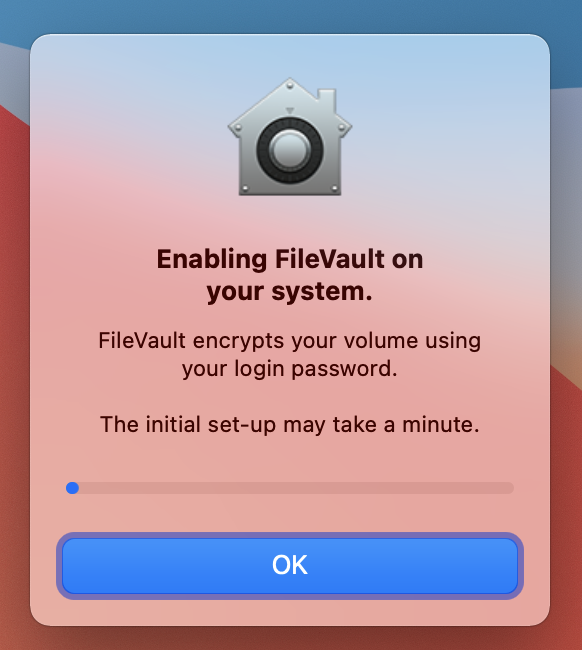
‘Enable Filevault’
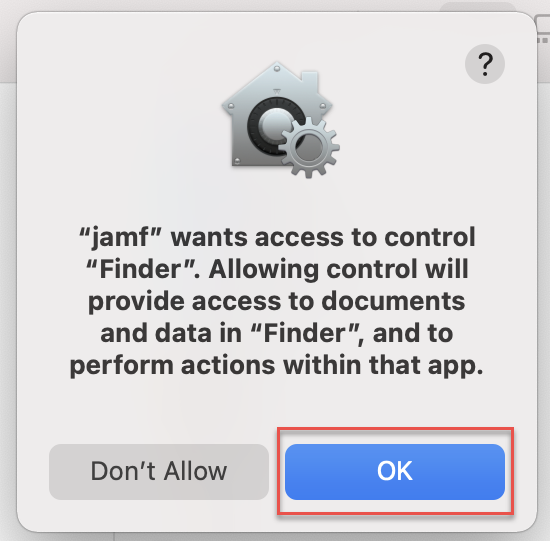
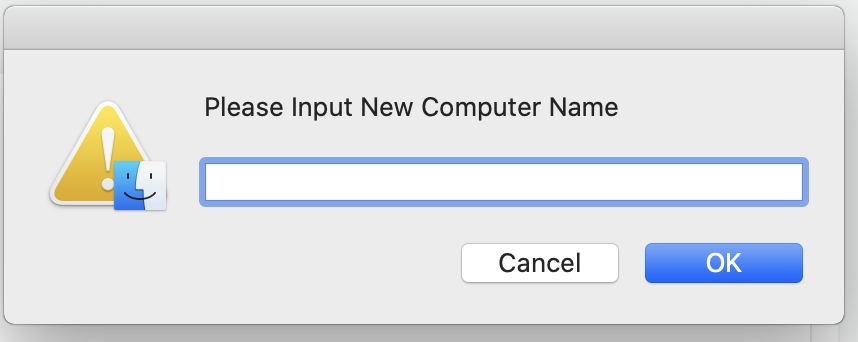
A pop-up window will display, asking to give JAMF permission to control Finder. Click OK:
When the “Please Input New Computer Name” prompt is displayed, enter the hostname of the computer, IN ALL CAPS, following USGS Enterprise Naming Standards. AD Binding will fail if naming standards are not followed.
Application installation will occur automatically.
The following list contains the baseline applications that will begin to install by both JAMF and BigFix. If BigFix prompts for a patch reboot, it is recommended to wait to reboot until all validation steps in this section have been completed. This list is subject to change.
- USGS Self Service Portal
- BigFix (see below for key-file configuration steps)
- MS Defender for Endpoint (installed by BigFix)
- NoMAD
- Office
- 365Teams
- OneDrive
- Edge
- Pulse Secure
- Adobe Acrobat Reader
It is recommended to stay at the computer while it processes these actions so that prompts can be responded to in a timely manner. Progress can be monitored by watching the contents of the jamf.log:
- Press the Command key + Space Bar to open spotlight search, and type “Console” to launch Console.app. Console.app can also be found in the Utilities folder.
- Watch the contents of jamf.log to monitor progress

When prompted, enter the System and Subsystem AA Boundary codes. For example, to put the keyfiles in place for a system in the Water Subsystem of 045, the values WAT would be entered at the first prompt and the value 045 would be entered at the second prompt.
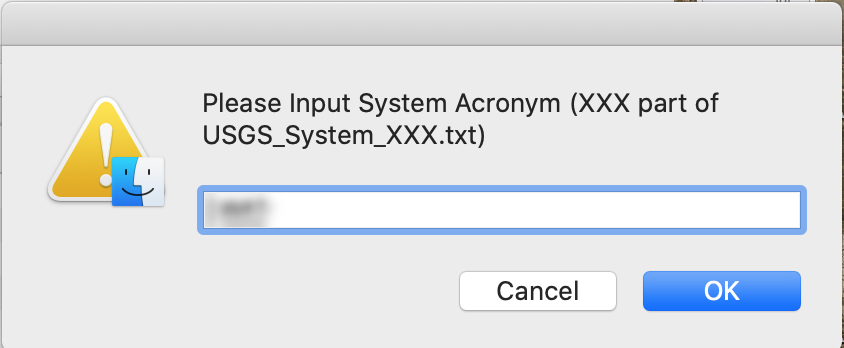
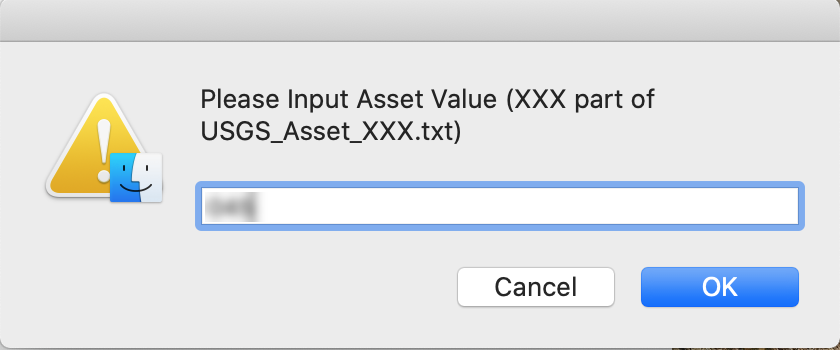
If the AA Boundary information is unknown, please see the USGS BigFix A&A Boundary Properties spreadsheet and collaborate with local BigFix operators and webreports viewers to confirm the keyfile values that should be used. Values entered incorrectly should be fixed manually by editing the file names of the keyfiles, which are located at: Macintosh HD\Library\Application Support\BigFix\BES Agent.
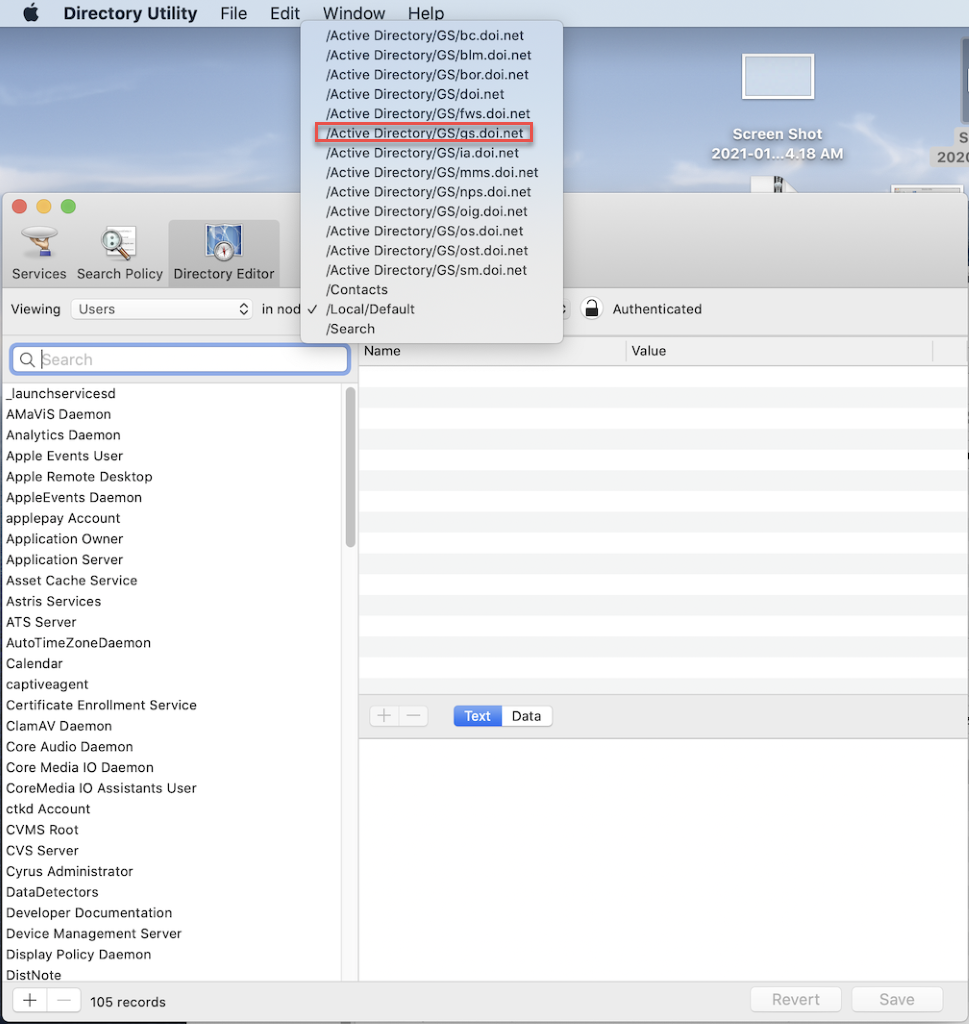
Validate AD Joining has completed using Directory Utility.
- Press the Command key + Space Bar to open spotlight search, and type “Directory Utility”.
- In the Directory Editor section, change the “in node” to /Active Directory/GS/gs.doi.net. Domain user accounts should begin to populate in the left-hand pane.
- If AD Binding was successful, local COUAs should move the AD object for the computer out of the OU DI\ECM\OSD Computers.
- If AD Binding was not successful, email the Service Desk to open a ticket in the JAMF queue for troubleshooting and assistance re-binding the system.
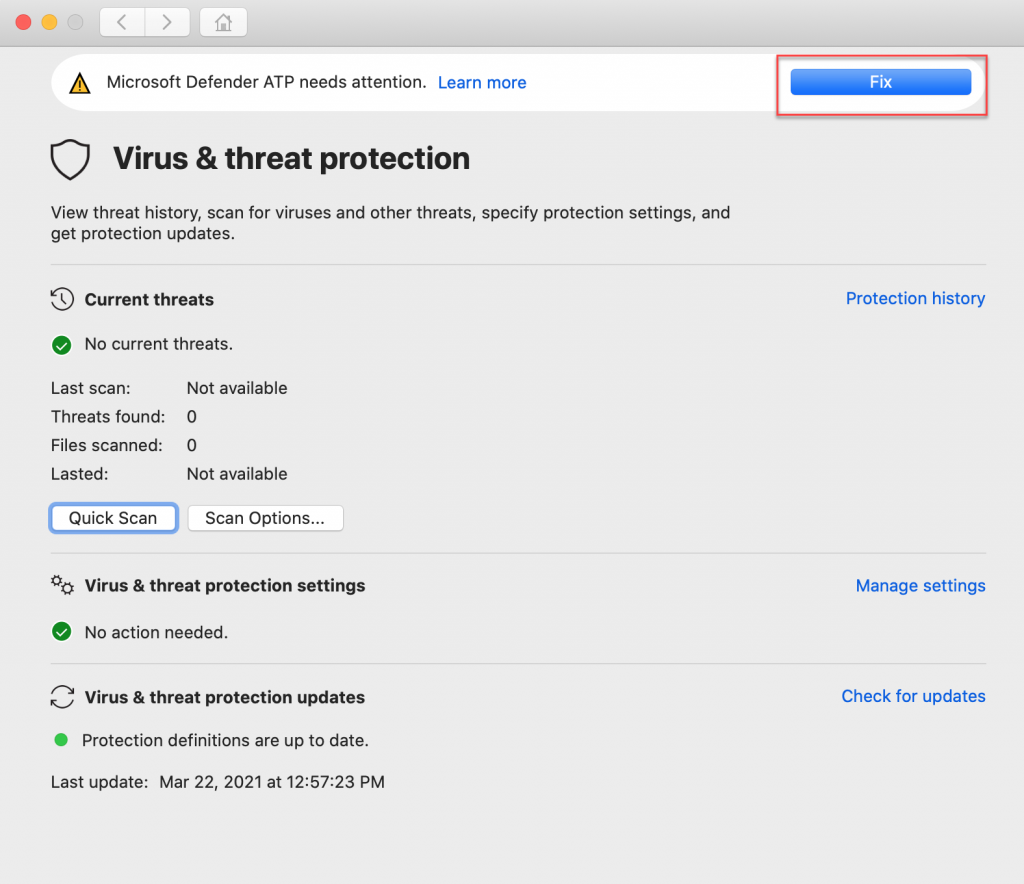
Validate MS Defender is Running
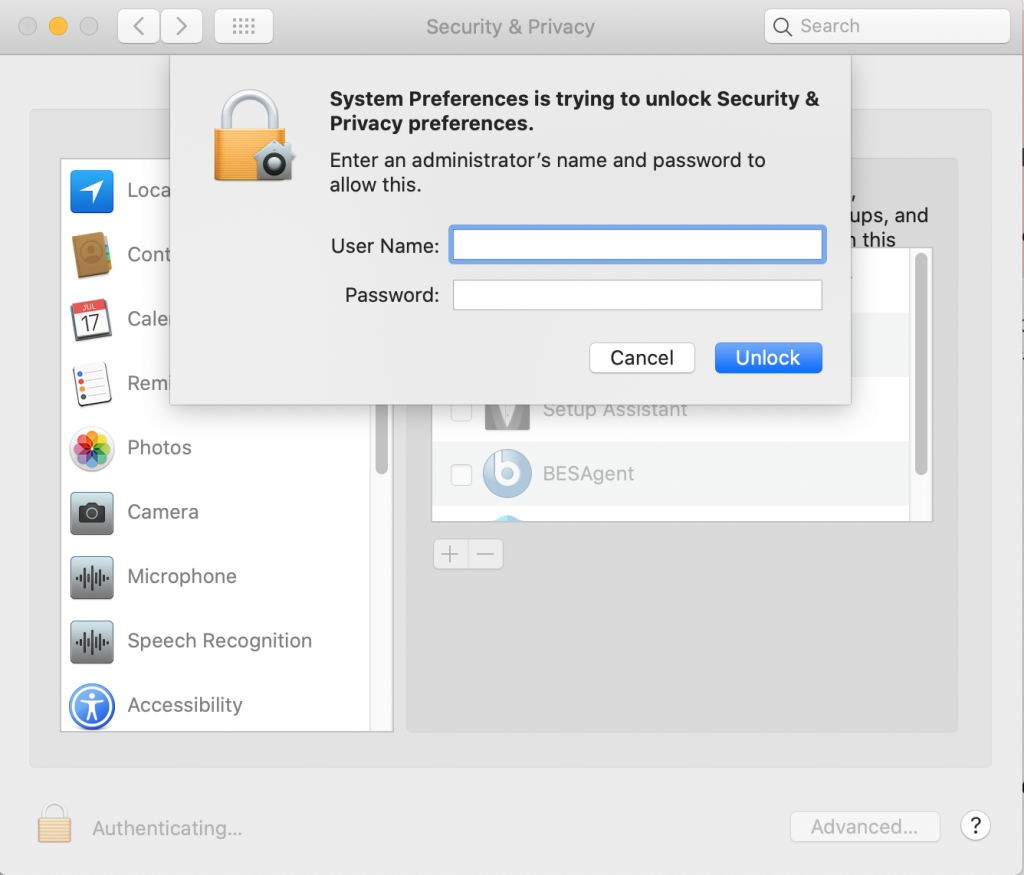
- The Security & Privacy window opens on the Privacy pane. Click on the Lock icon and authenticate with the local usgs_laps account credentials:
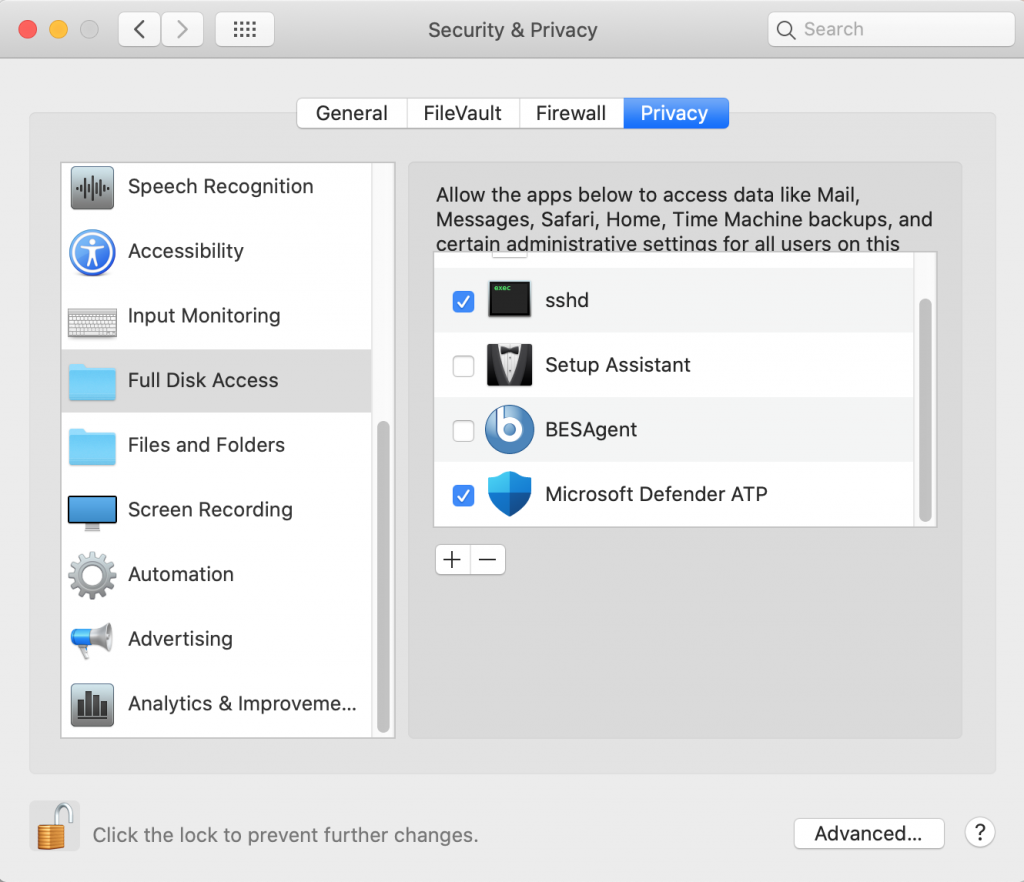
- On the left, scroll down and click Full Disk Access if it is not already selected, and then check the box next to Microsoft Defender ATP at the bottom of the list on the right:
- Close the Security & Privacy window. Validate that the error message in Microsoft Defender ATP has cleared.
Validate and test SmartCard authentication.
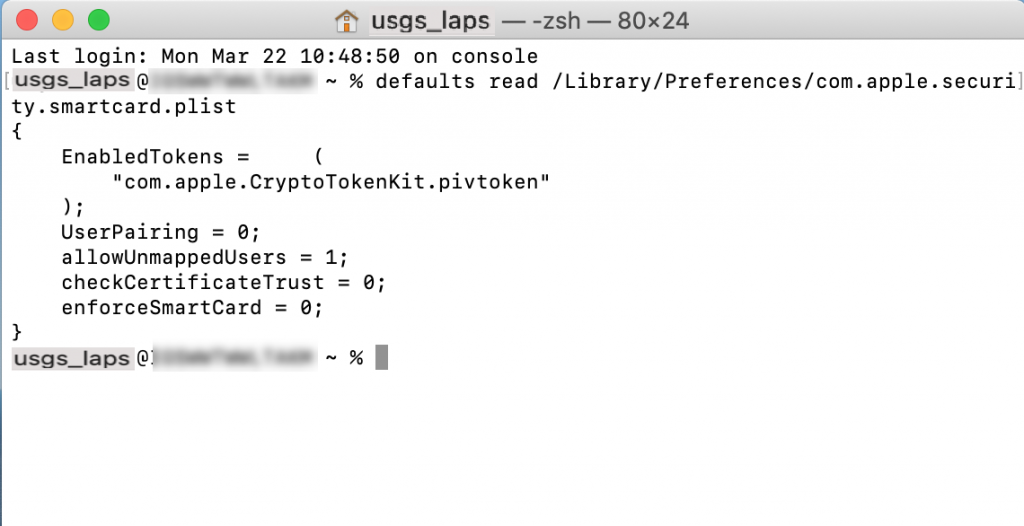
- Press the Command key + Space Bar to open spotlight search, and type “Terminal”. Terminal.app can also be found in the Utilities folder.
- In Terminal, type the following and hit Enter:
defaults read /Library/Preferences/com.apple.security.smartcard.plist- Validate that the following is returned:
Test SmartCard login:
- Log out of the local “usgs_laps” account
- When the smartcard is connected, the login screen should display a prompt for a PIN.
- Log on with a smartcard credential.
- Log out.
Enable ‘Screen Recording’ for ‘Teams in Security and Privacy>Privacy so the user is able to share their screen. Unlock the lock, and using the + sign, add the Teams Application from Applications>Teams

Follow the remaining instructions for naming standards, DNS settings, etc on the Jamf Onboarding page.