Portions derived from Microsoft Documentation
Windows Server 2019 Post Installation
After Server 2019 has finished installing a login prompt will be displayed as shown below. Press Control+Alt+Delete to login.
Enter the local admin password you provided during installation.

Once you have logged in Server Manager will open allowing you to perform the initial configuration of your server. To get started, click Configure this local server.
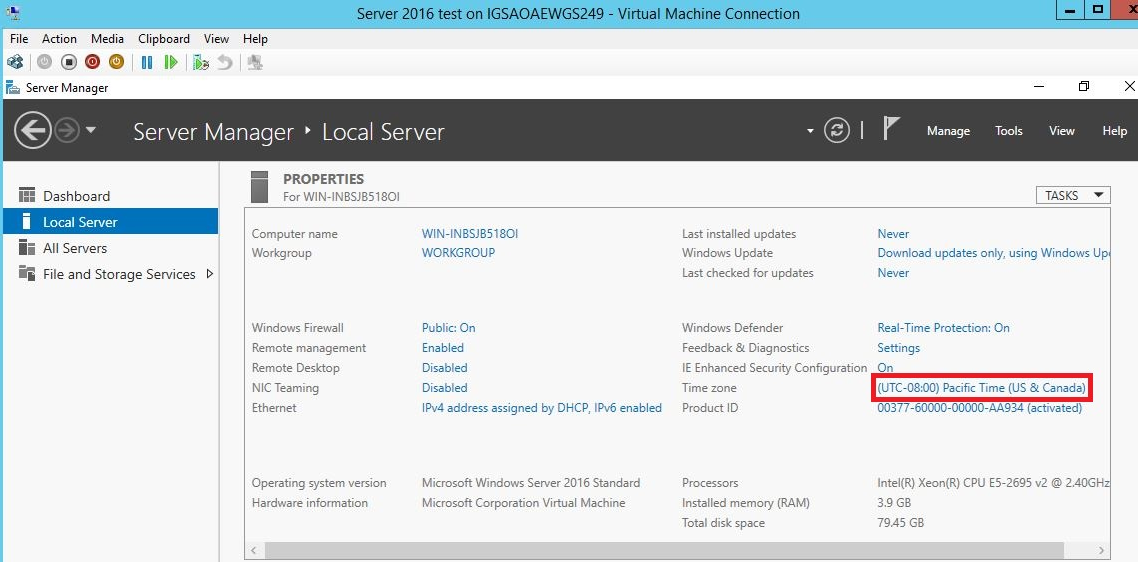
Click the link next to Time zone to edit the time and date settings.
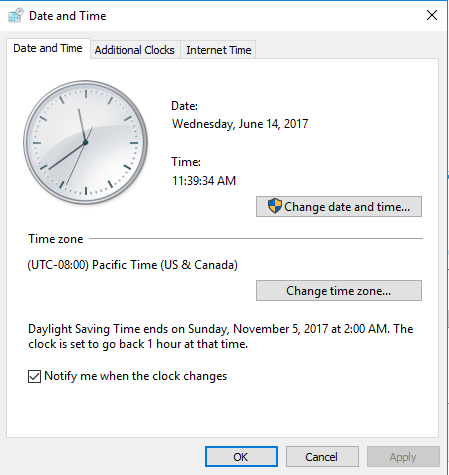
Set the time accordingly. The additional clocks tab lets you have multiple clocks and multiple time zones if needed. Click OK when completed.

Click the “IPv4 address assigned by DHCP, IPv6 enabled” link next to Local Area Connection.
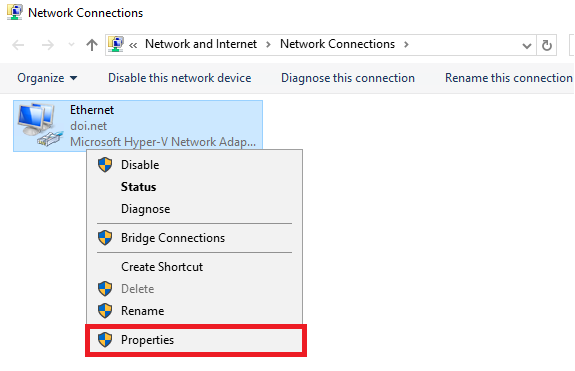
Right-click on the network connection you would like to configure and select properties.
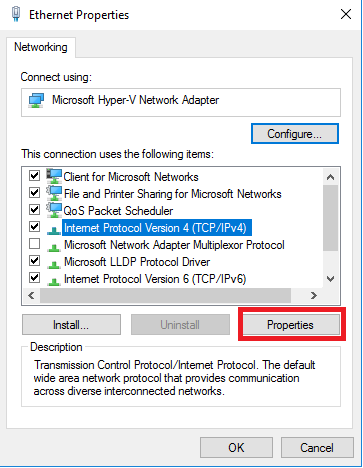
“Microsoft Network Adapter Multiplexor Protocol” is a new feature since Server 2016 that is used to implement NIC teaming. If you do not foresee using this feature, leave this box unchecked. Note: Leave IPv6 enabled but not configured as we are expecting DOI guidance on implementation in the near future. Also, make sure to link theDI – BWTST Windows Server 2012 Disable IPv6 GPO to your server OU keeping in mind that it may need to be replaced by another GPO re-enabling IPv6 when DOI guidance becomes available in the future.
Click on “Internet Protocol Version 4 (TCP/IPv4) and then click the Properties button to configure IPv4 addressing. When finished click OK to close the Connection Properties Window.
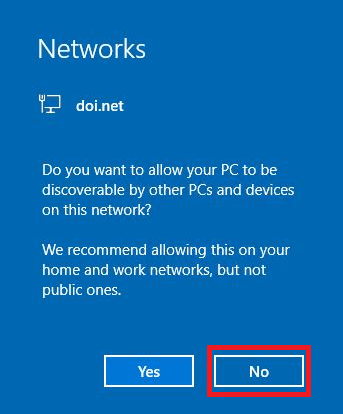
This message may appear after connecting to a network. It is recommended to click No.
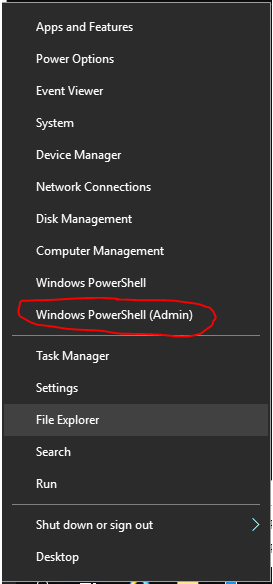
On the Windows desktop, right-click the Start button then click Windows PowerShell (Admin)
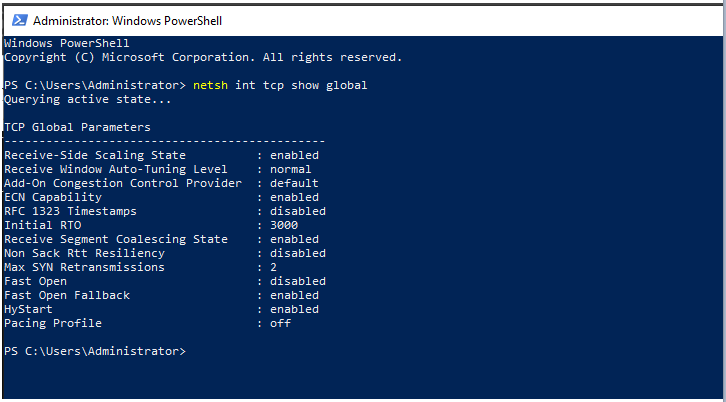
Type “netsh int tcp show global” to display the current settings for TCP parameters in Windows Server 2019. The settings in the screenshot above are the Windows Server 2019 defaults.
BWTST recommends leaving the TCP Global Parameters at their default settings, unless a site has a specific need to change them.
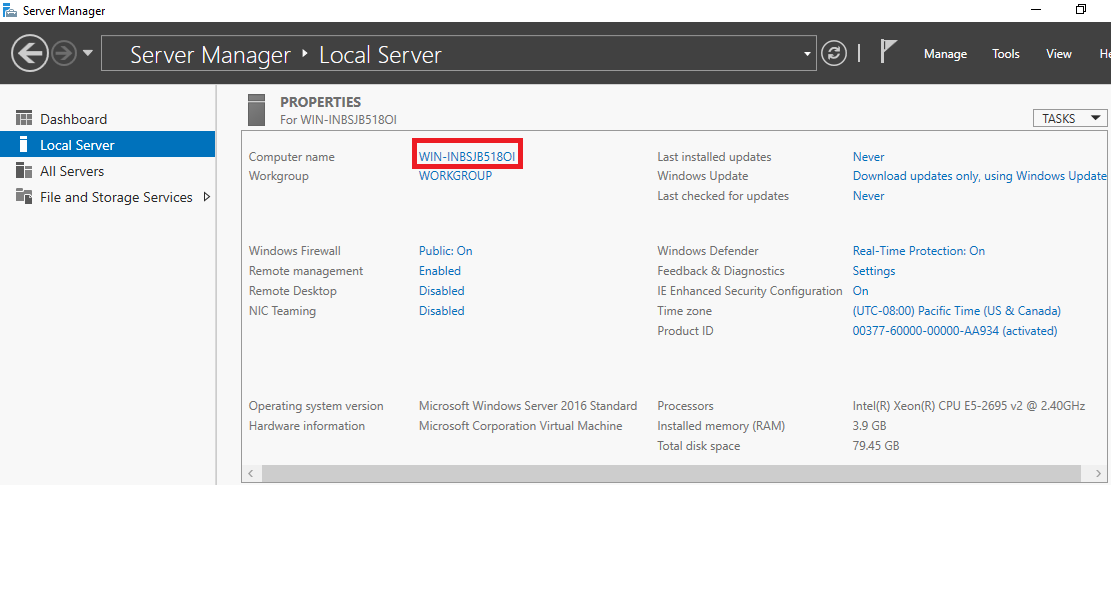
Click the link next to Computer name to change the host name.
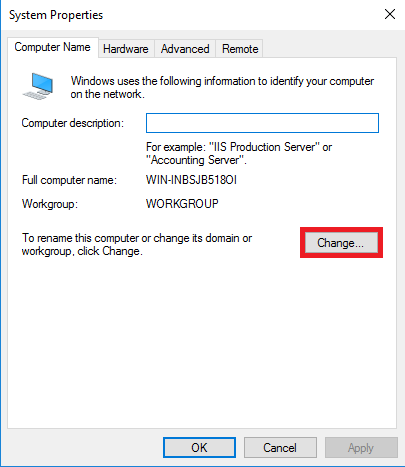
Click the Change button to change the computer name and join the system to the GS domain. A restart is required for the change to take effect.
Note: The USGS Server 2019 STIG will be linked at the upper level
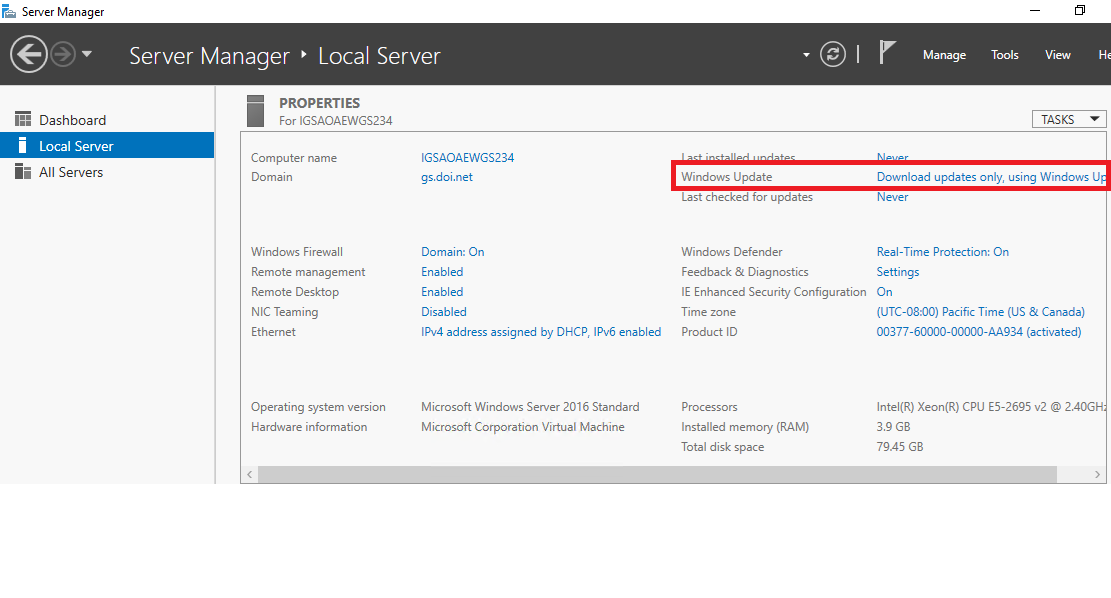
Check that “Download updates only, using Windows Update” is displayed next to Windows Update. Once joined to the domain, Windows Update will run automatically after the first login. More information on Automatic Updates and Reboot policies is in the Server 2019 FAQ.
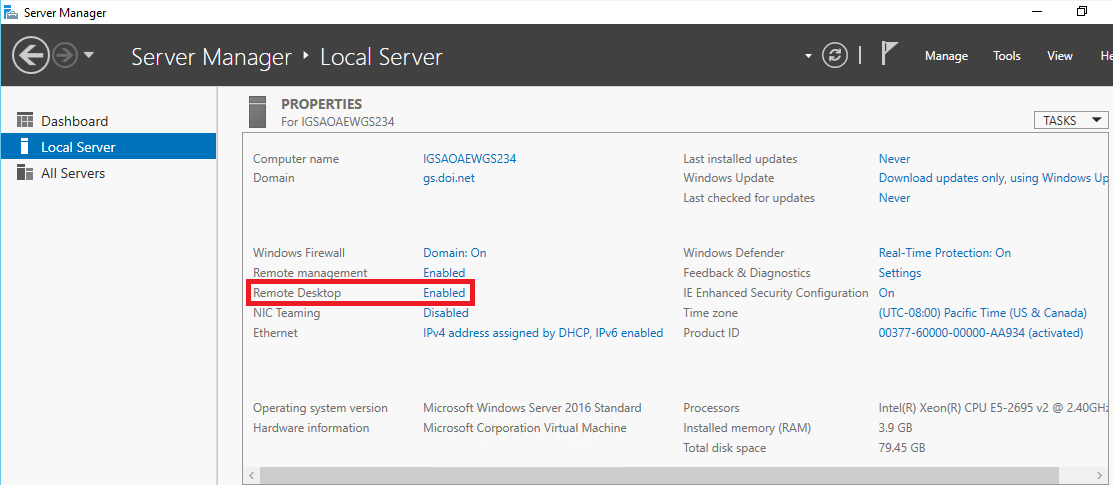
Check that “Enabled” is displayed next to Remote Desktop.
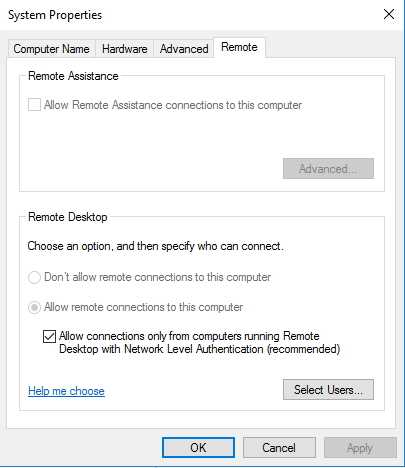
Check that the necessary settings are set for your environment.
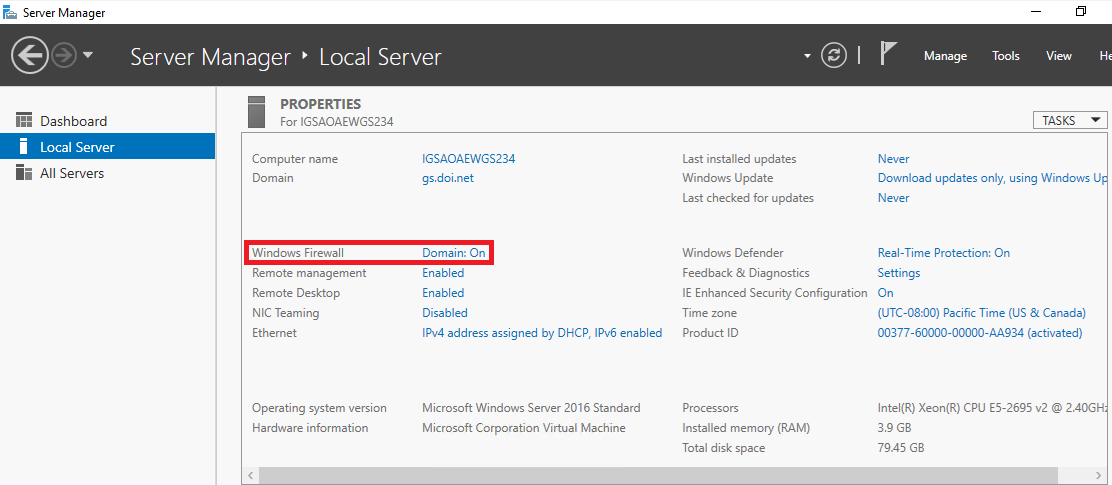
Click the link next to Windows Firewall.
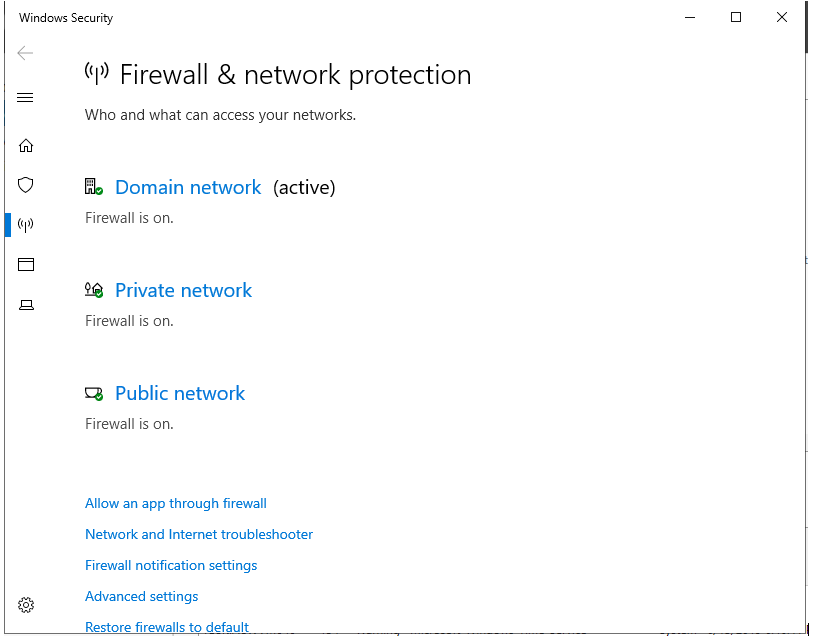
Configure any firewall settings necessary for your environment. The default firewall settings are set in the Windows Server 2016 STIG
In Windows 10/Server 2019, the option to display a confirmation message when deleting a file is disabled by default. To enable this setting, right-click the Recycle Bin icon on the desktop and click Properties.
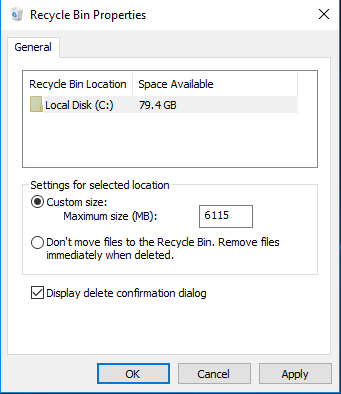
Check the box next to Display delete confirmation dialog and click OK.
Continue on to Roles and Features